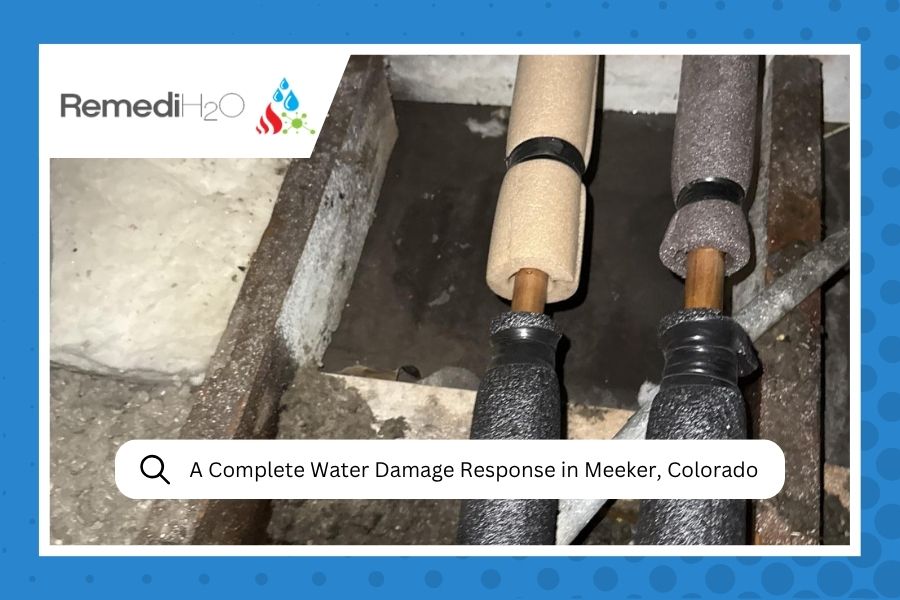
January nights in Meeker, Colorado don’t mess around. When our team got the call on January 10, 2026, we knew we were heading into something significant. A water loss at 219 East Market Street had spread through multiple units, and every hour mattered. We loaded up and made the drive out west.
This was a multi-room, multi-unit job that required real coordination. Our emergency water damage restoration process had to adapt room by room. Here’s how it unfolded.
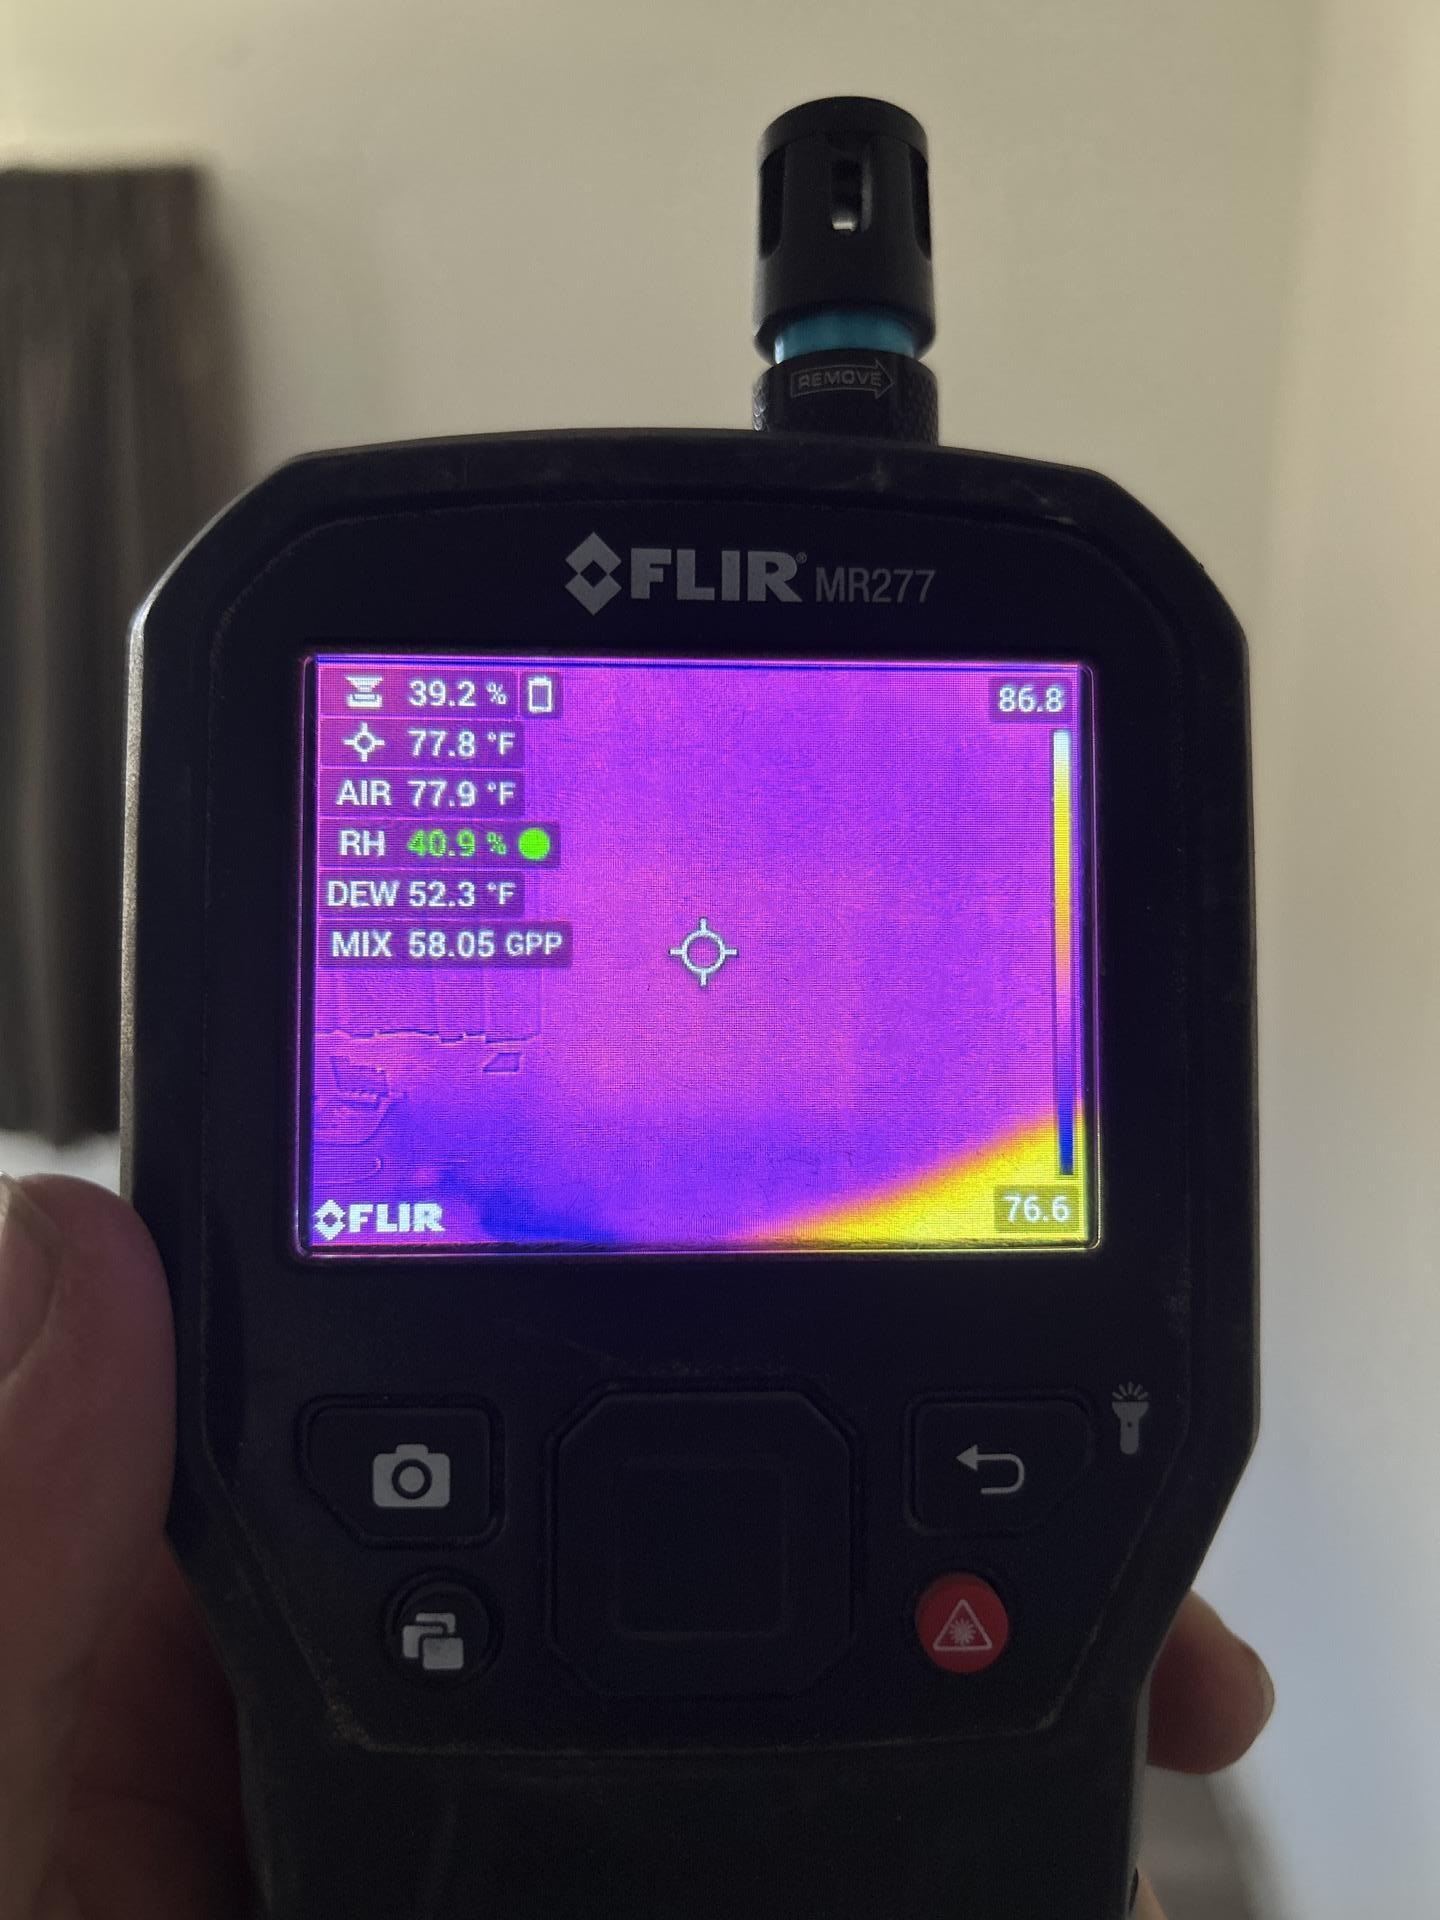
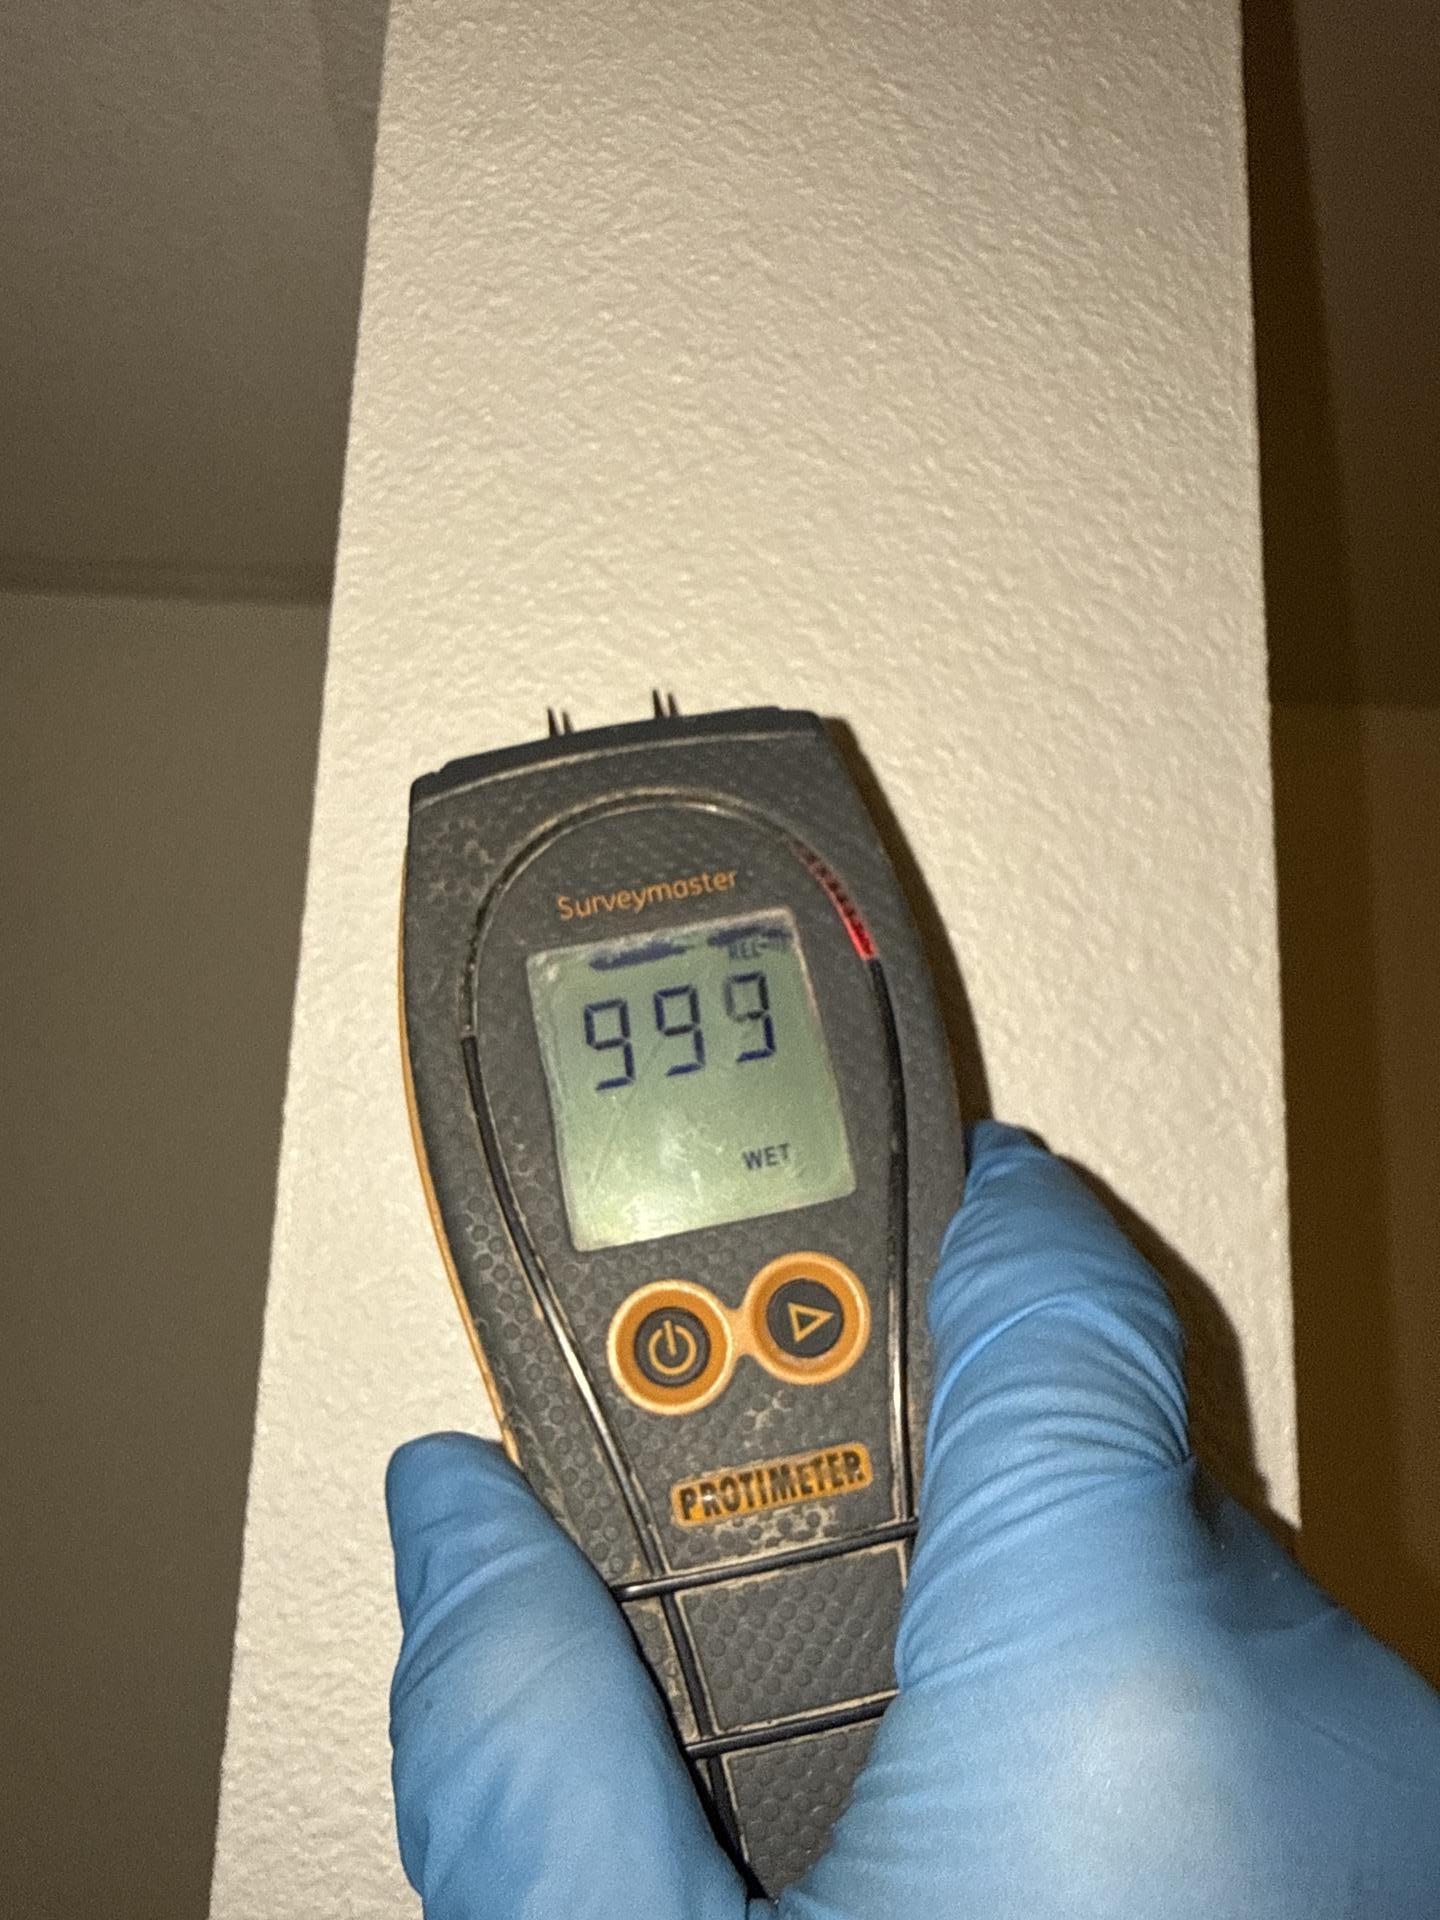
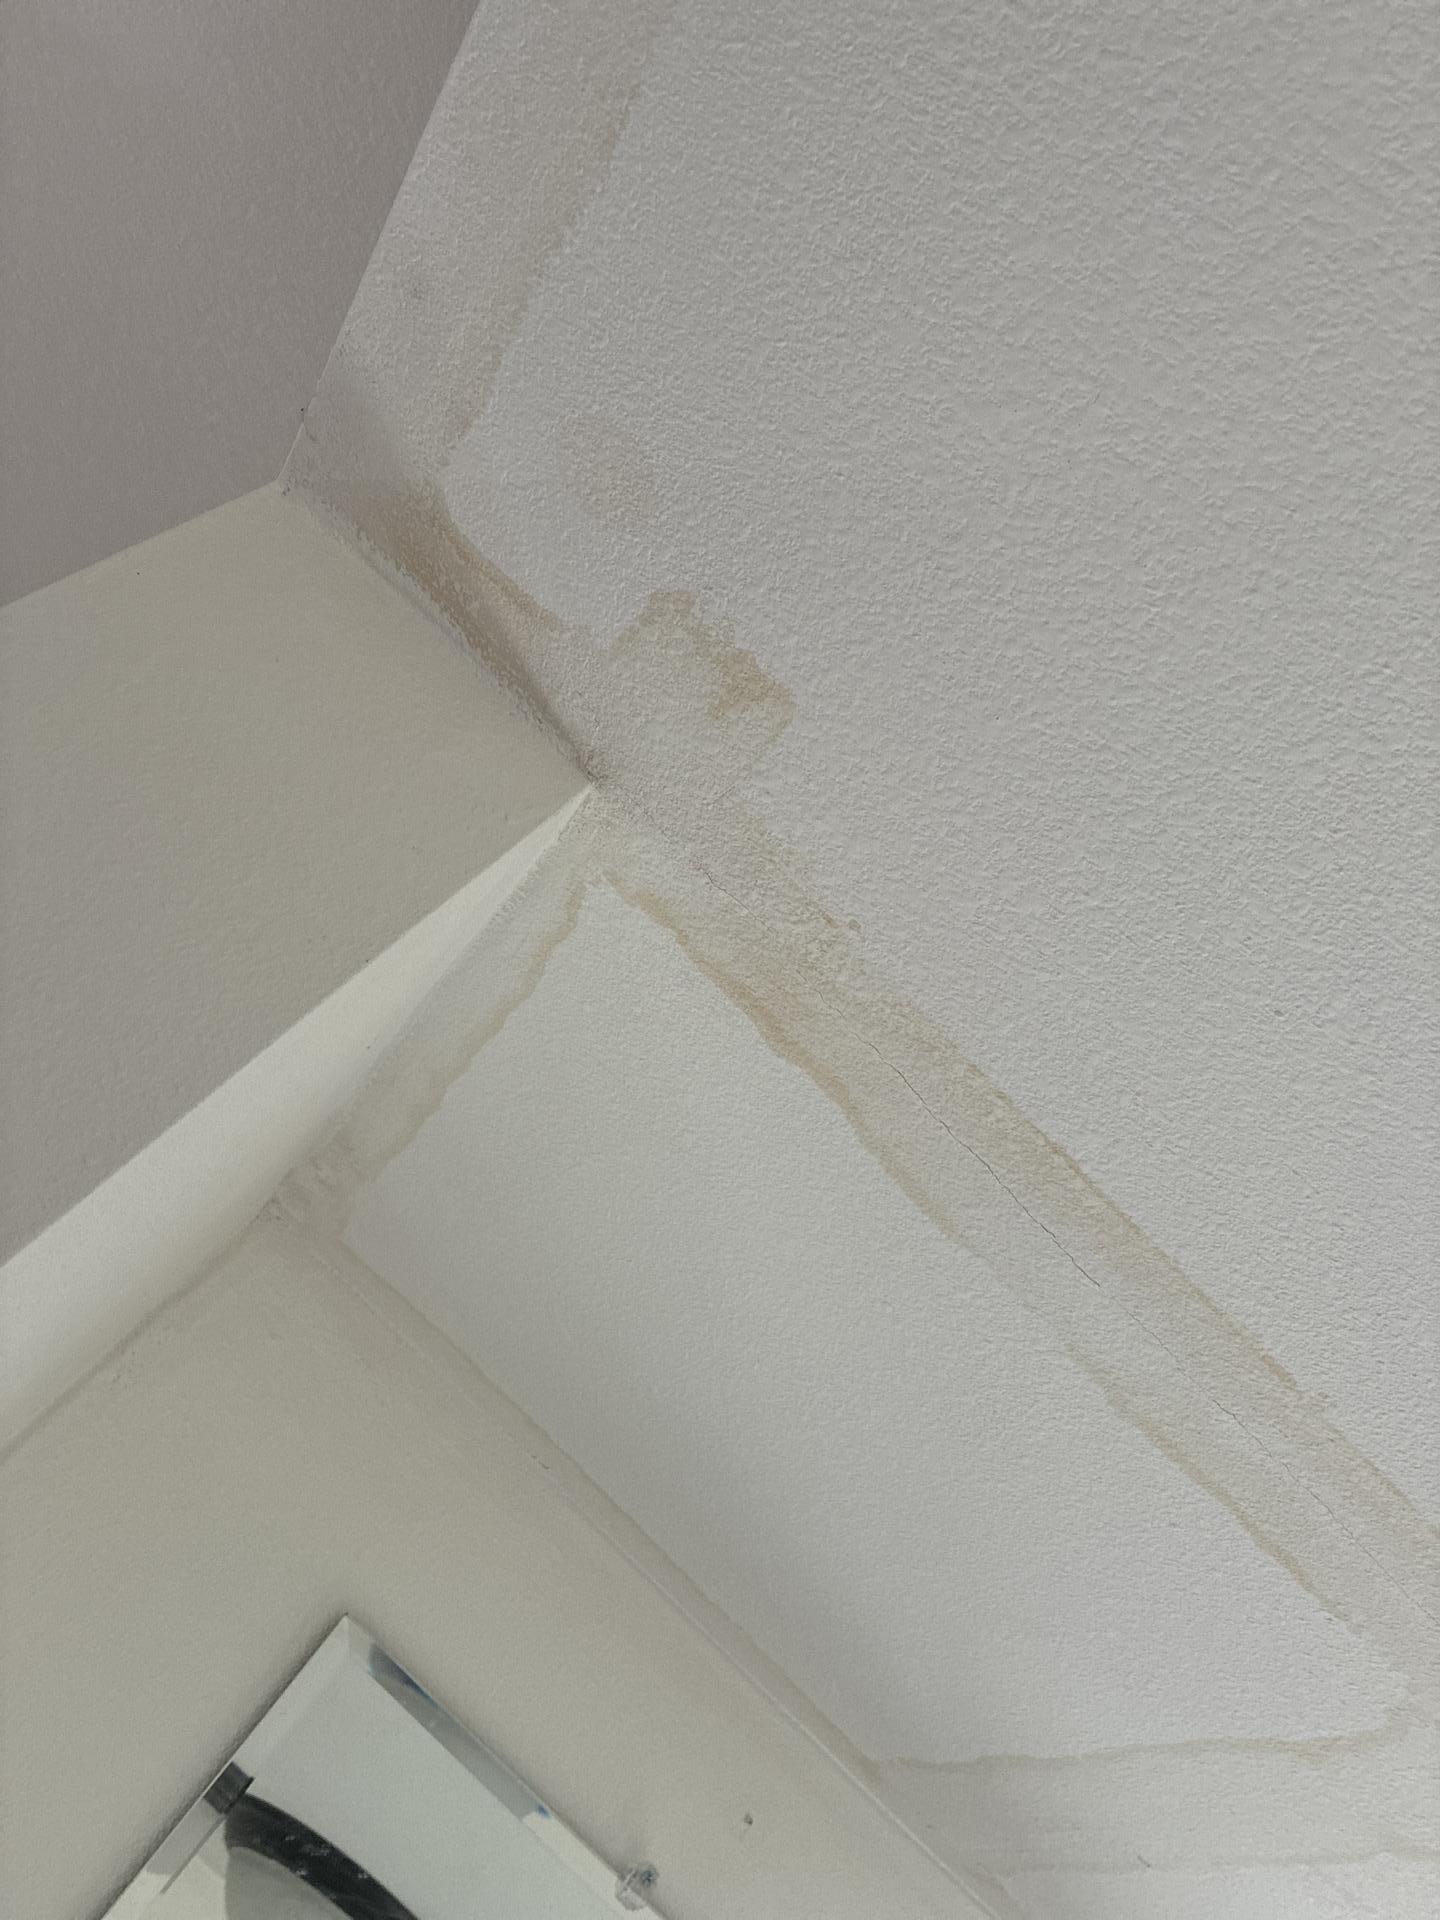
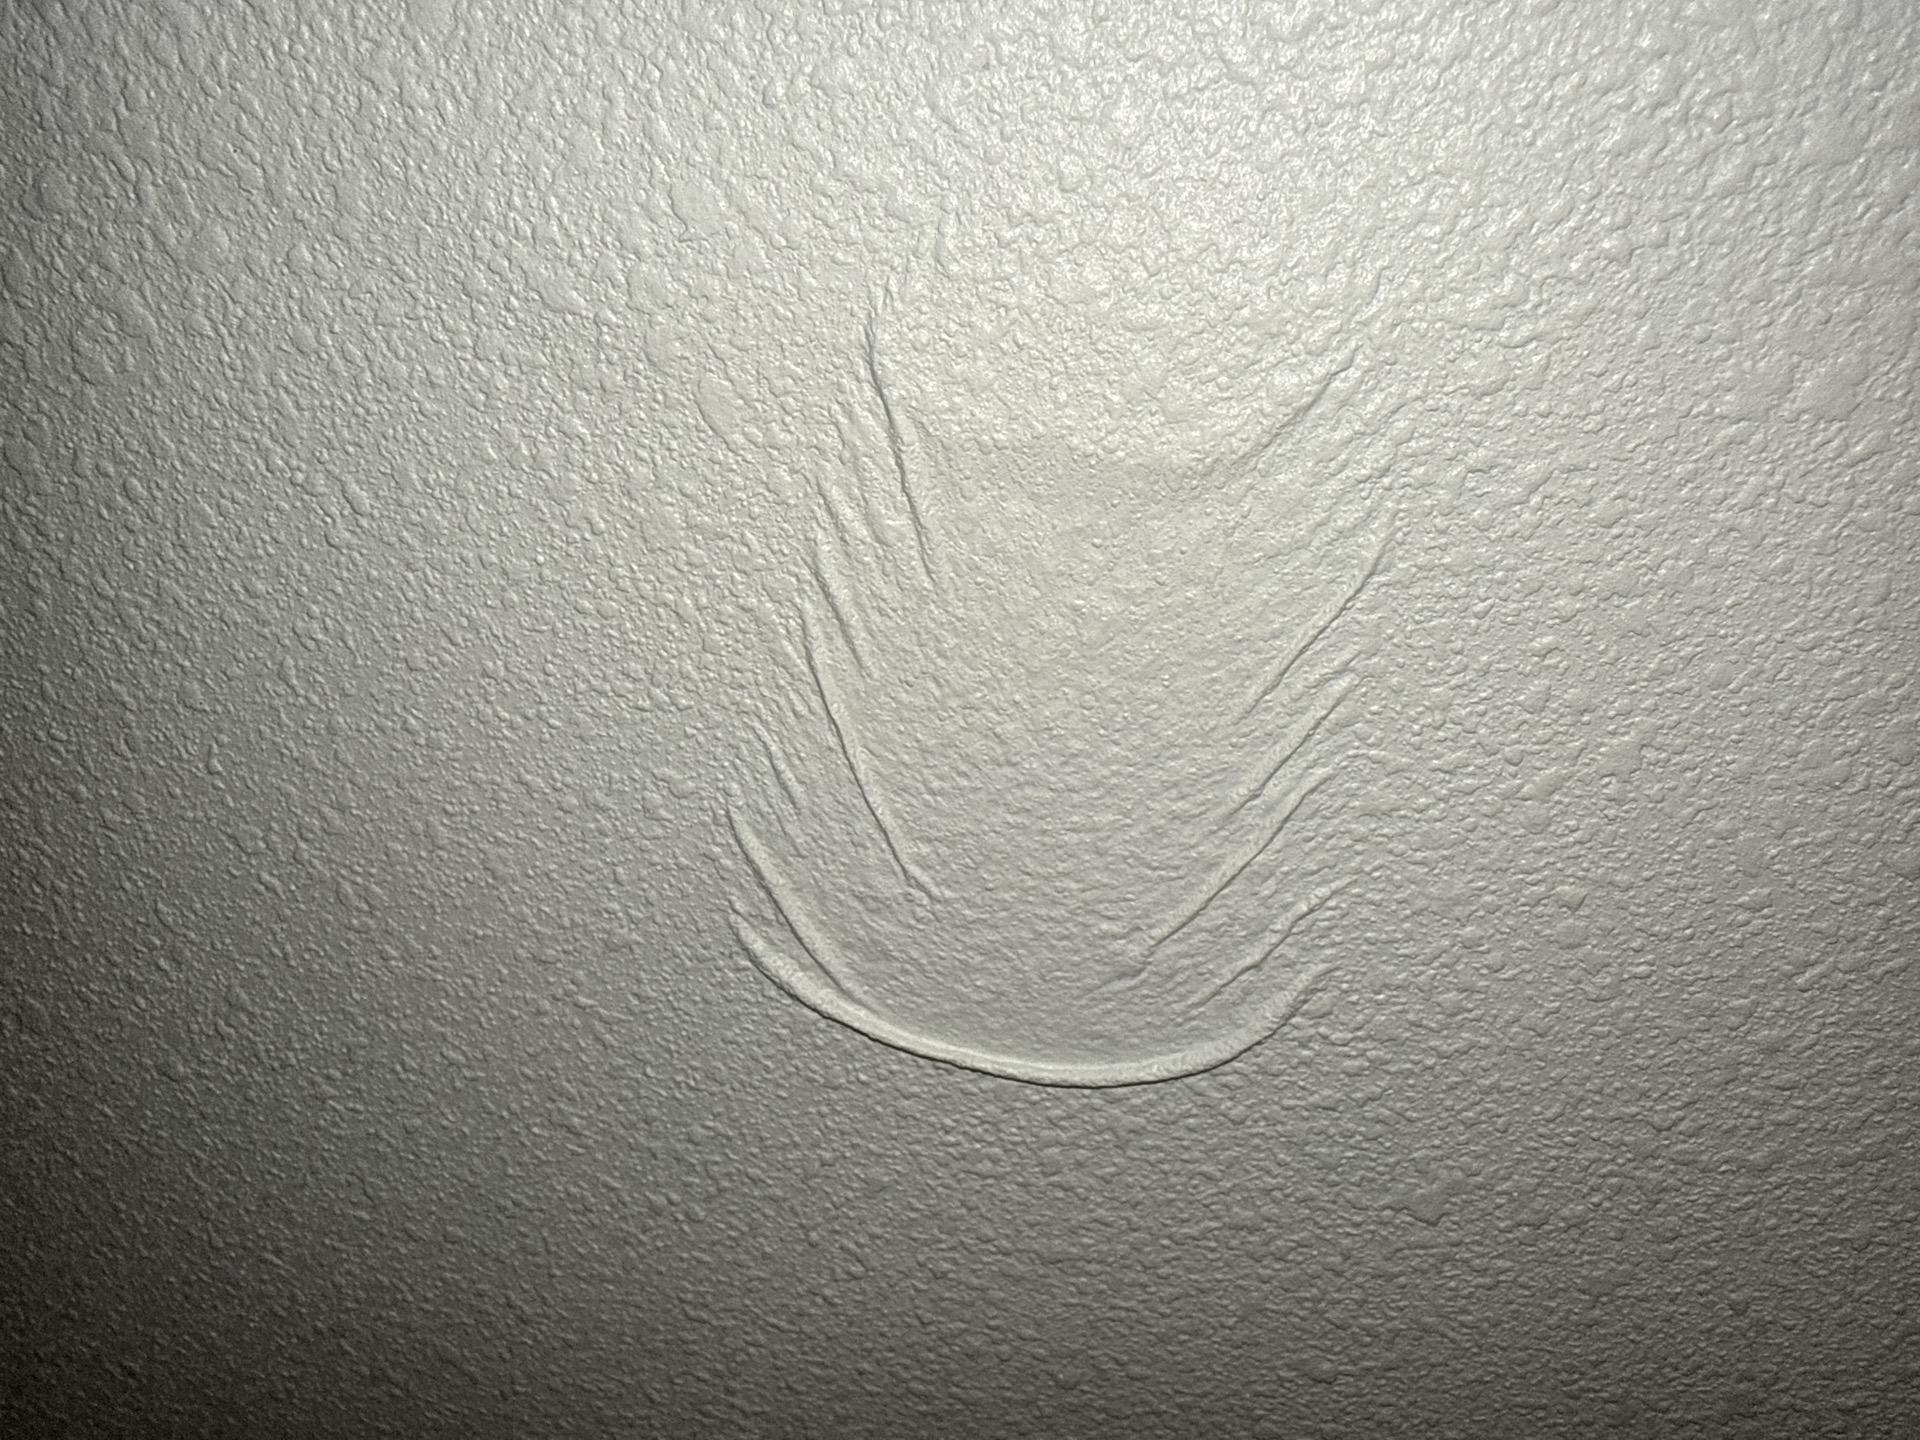
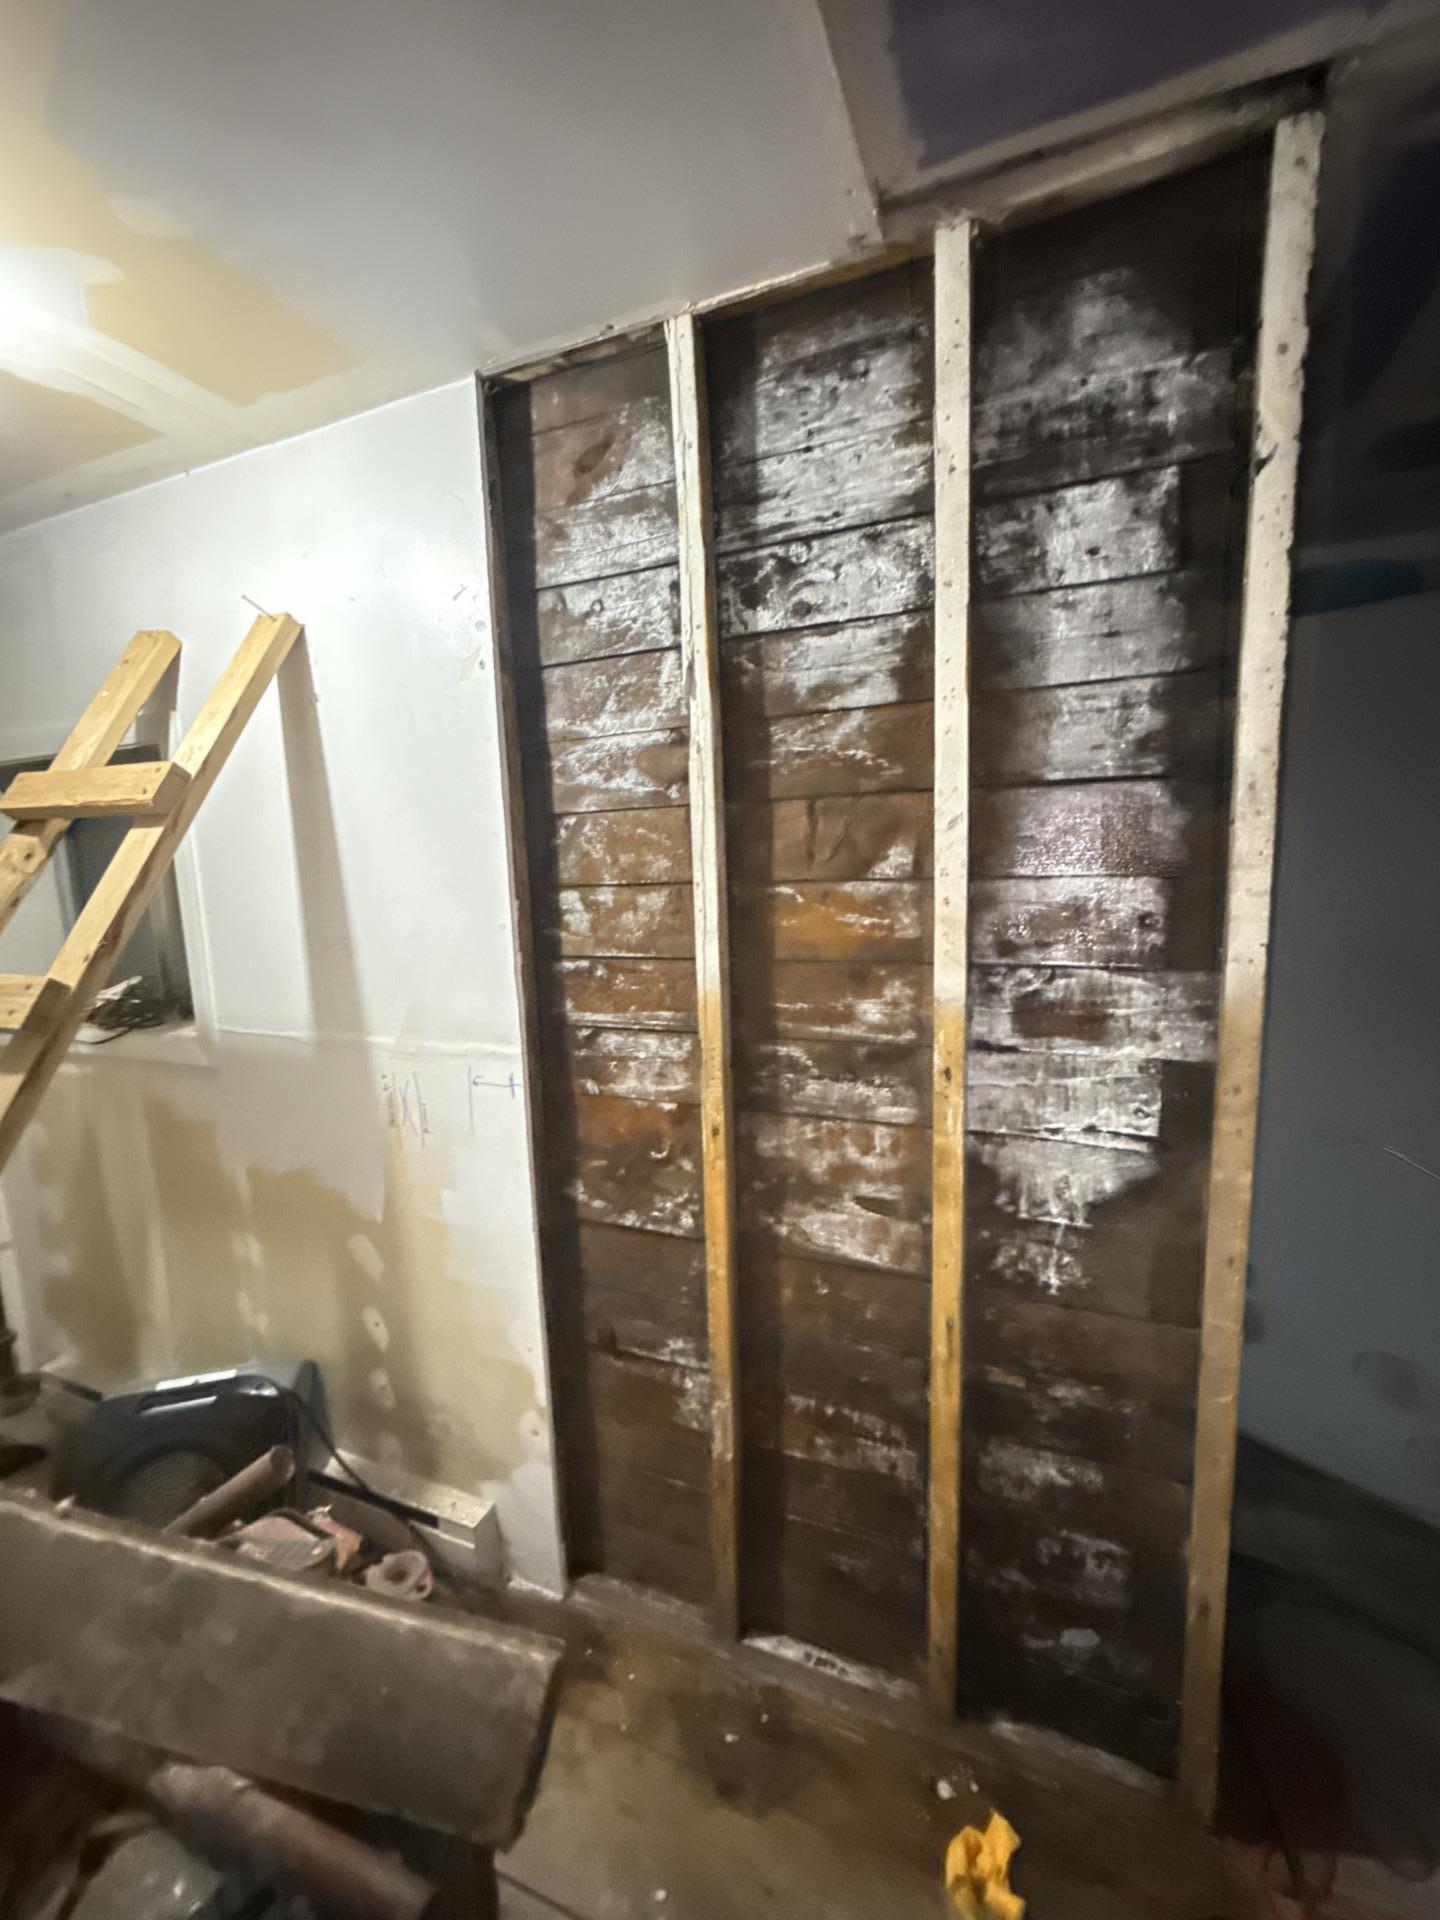
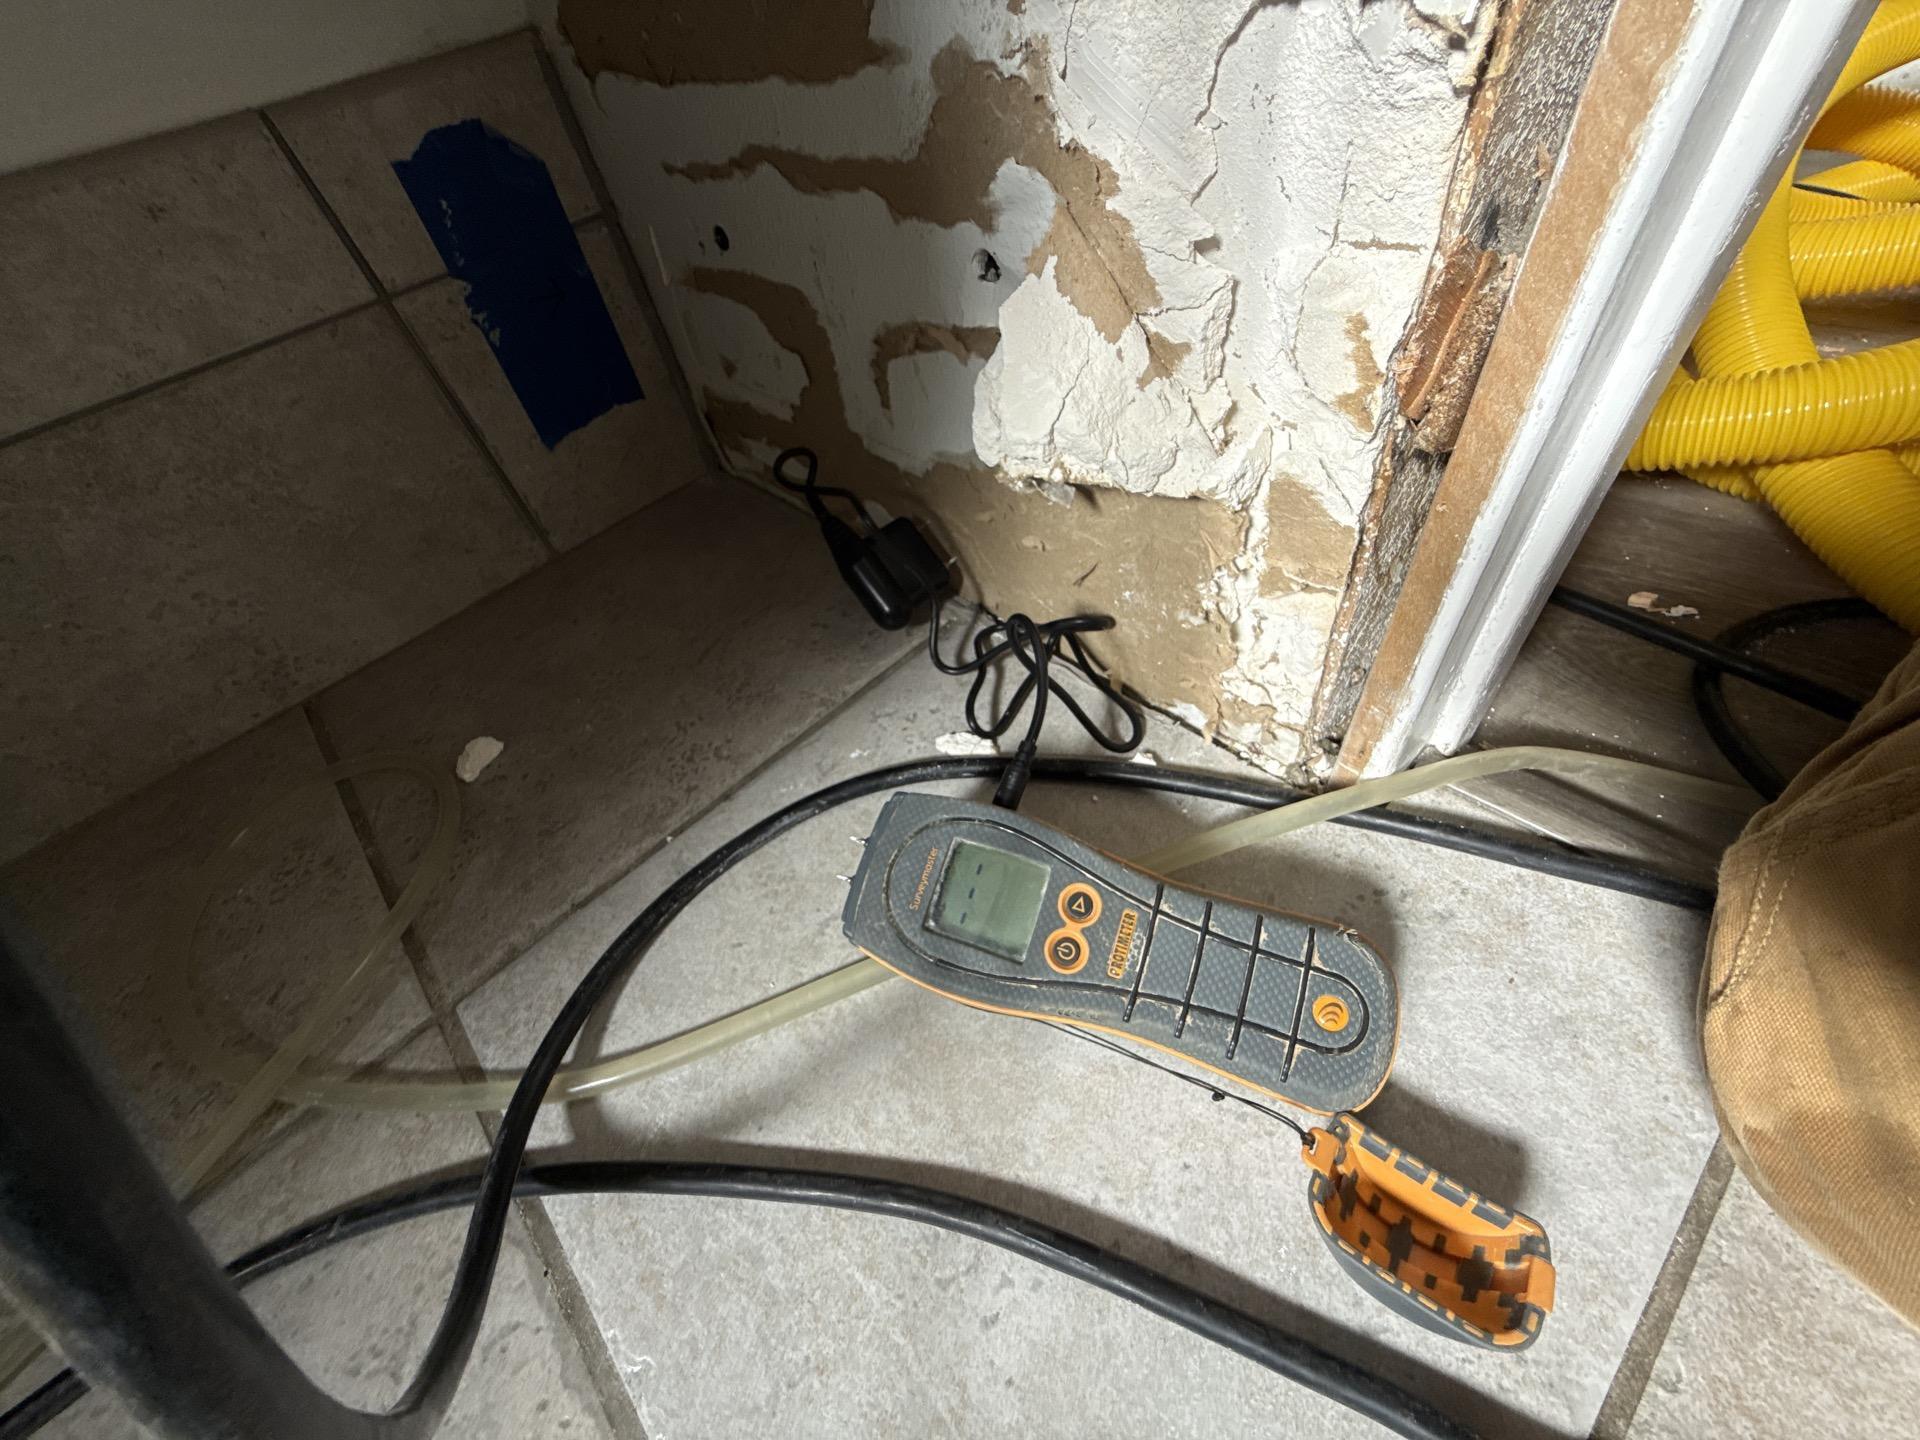
Initial assessment: thermal imaging, moisture readings, and visible damage across the property.
 |
 |
 |
 |
 |
 |
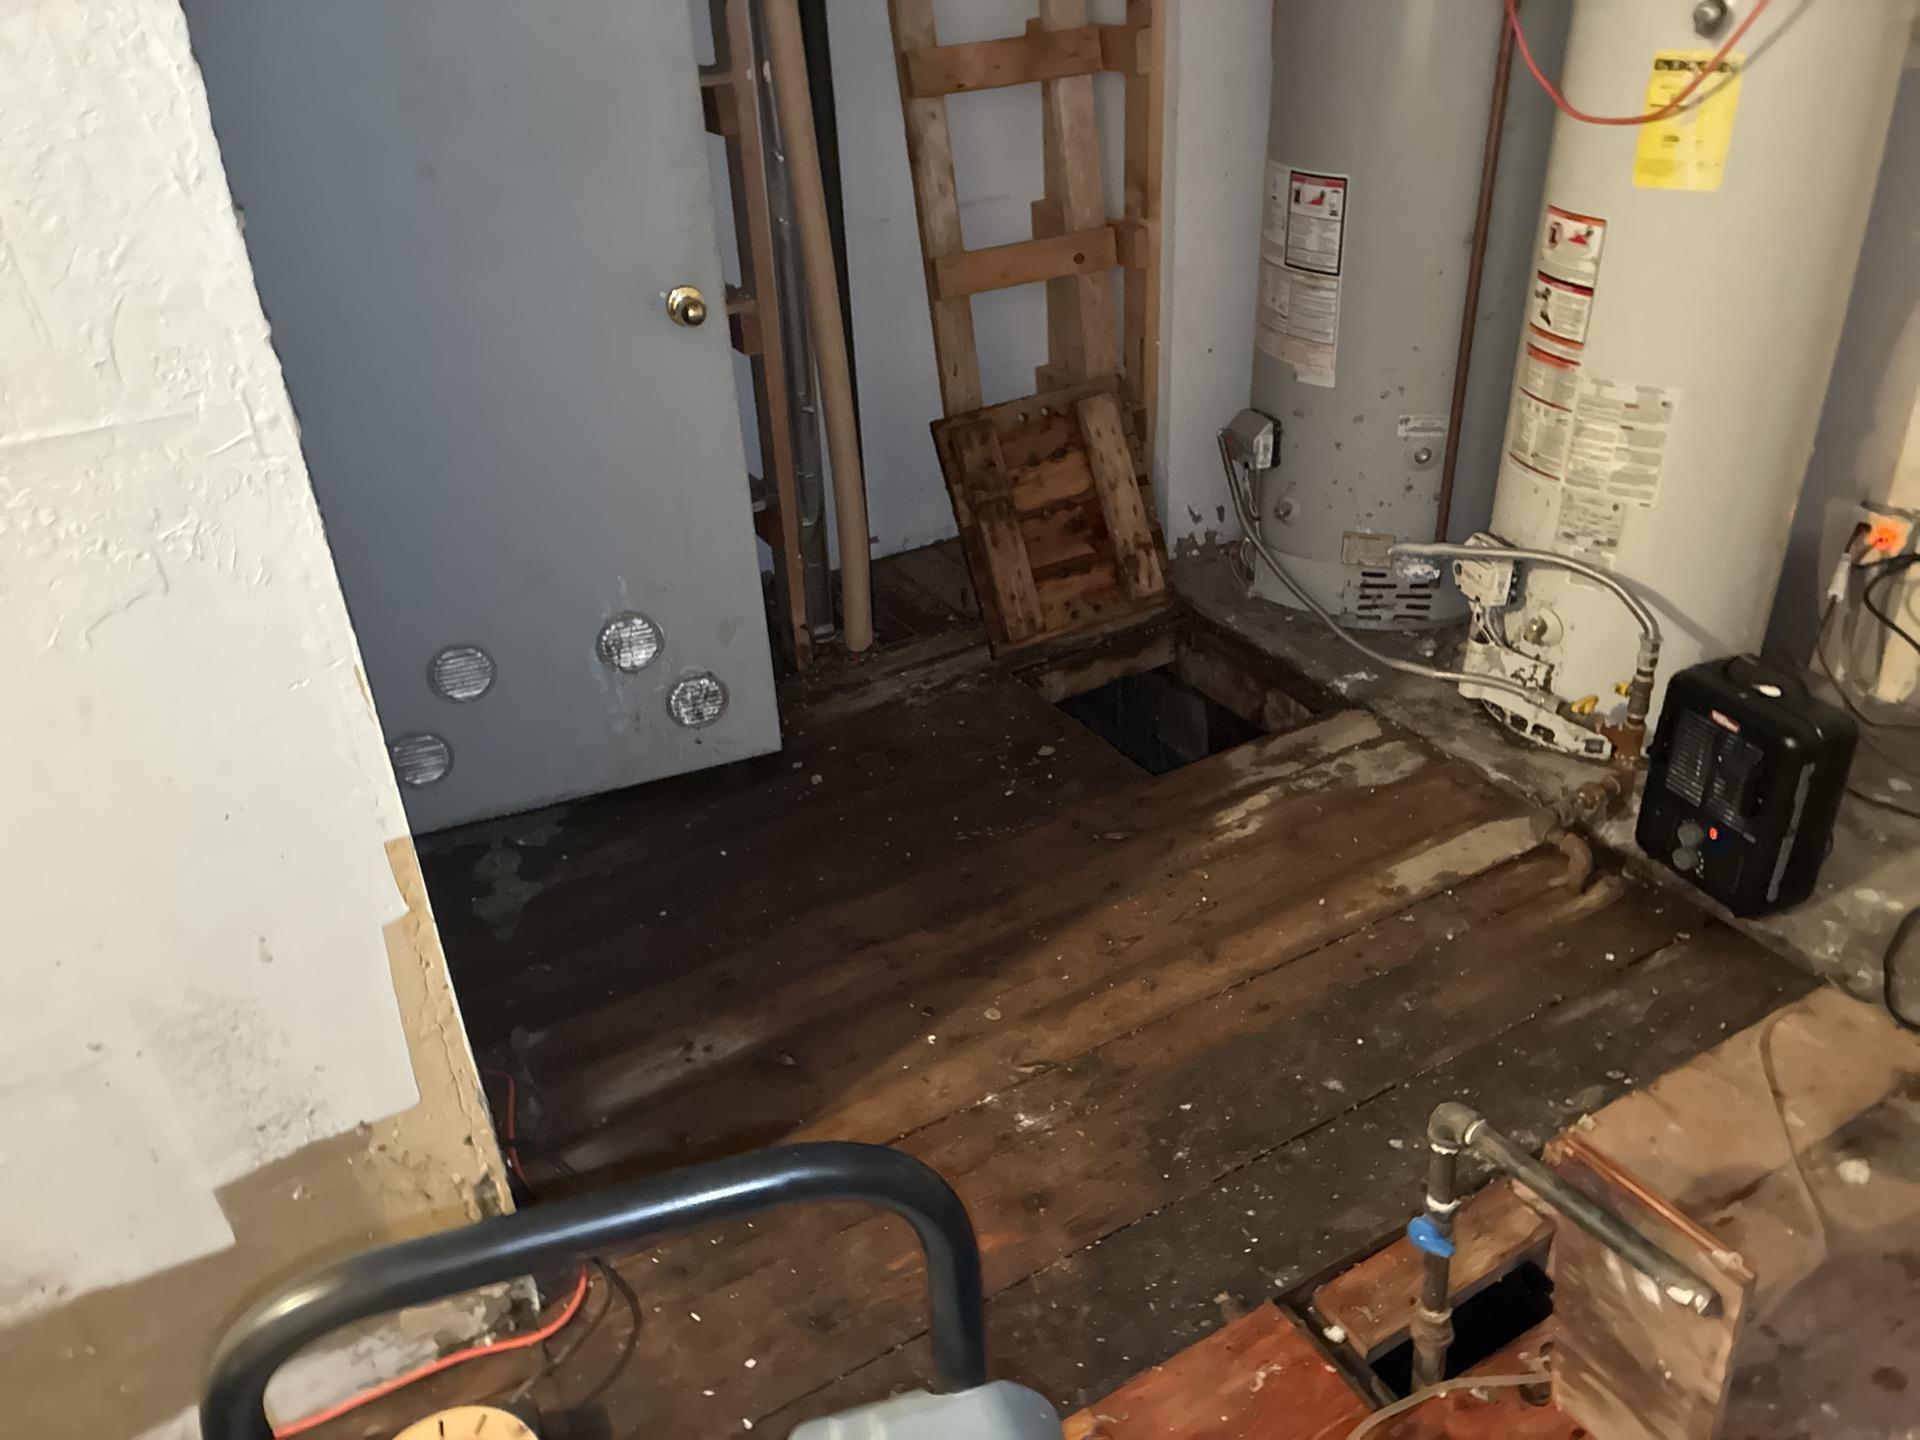
What We Found on Arrival
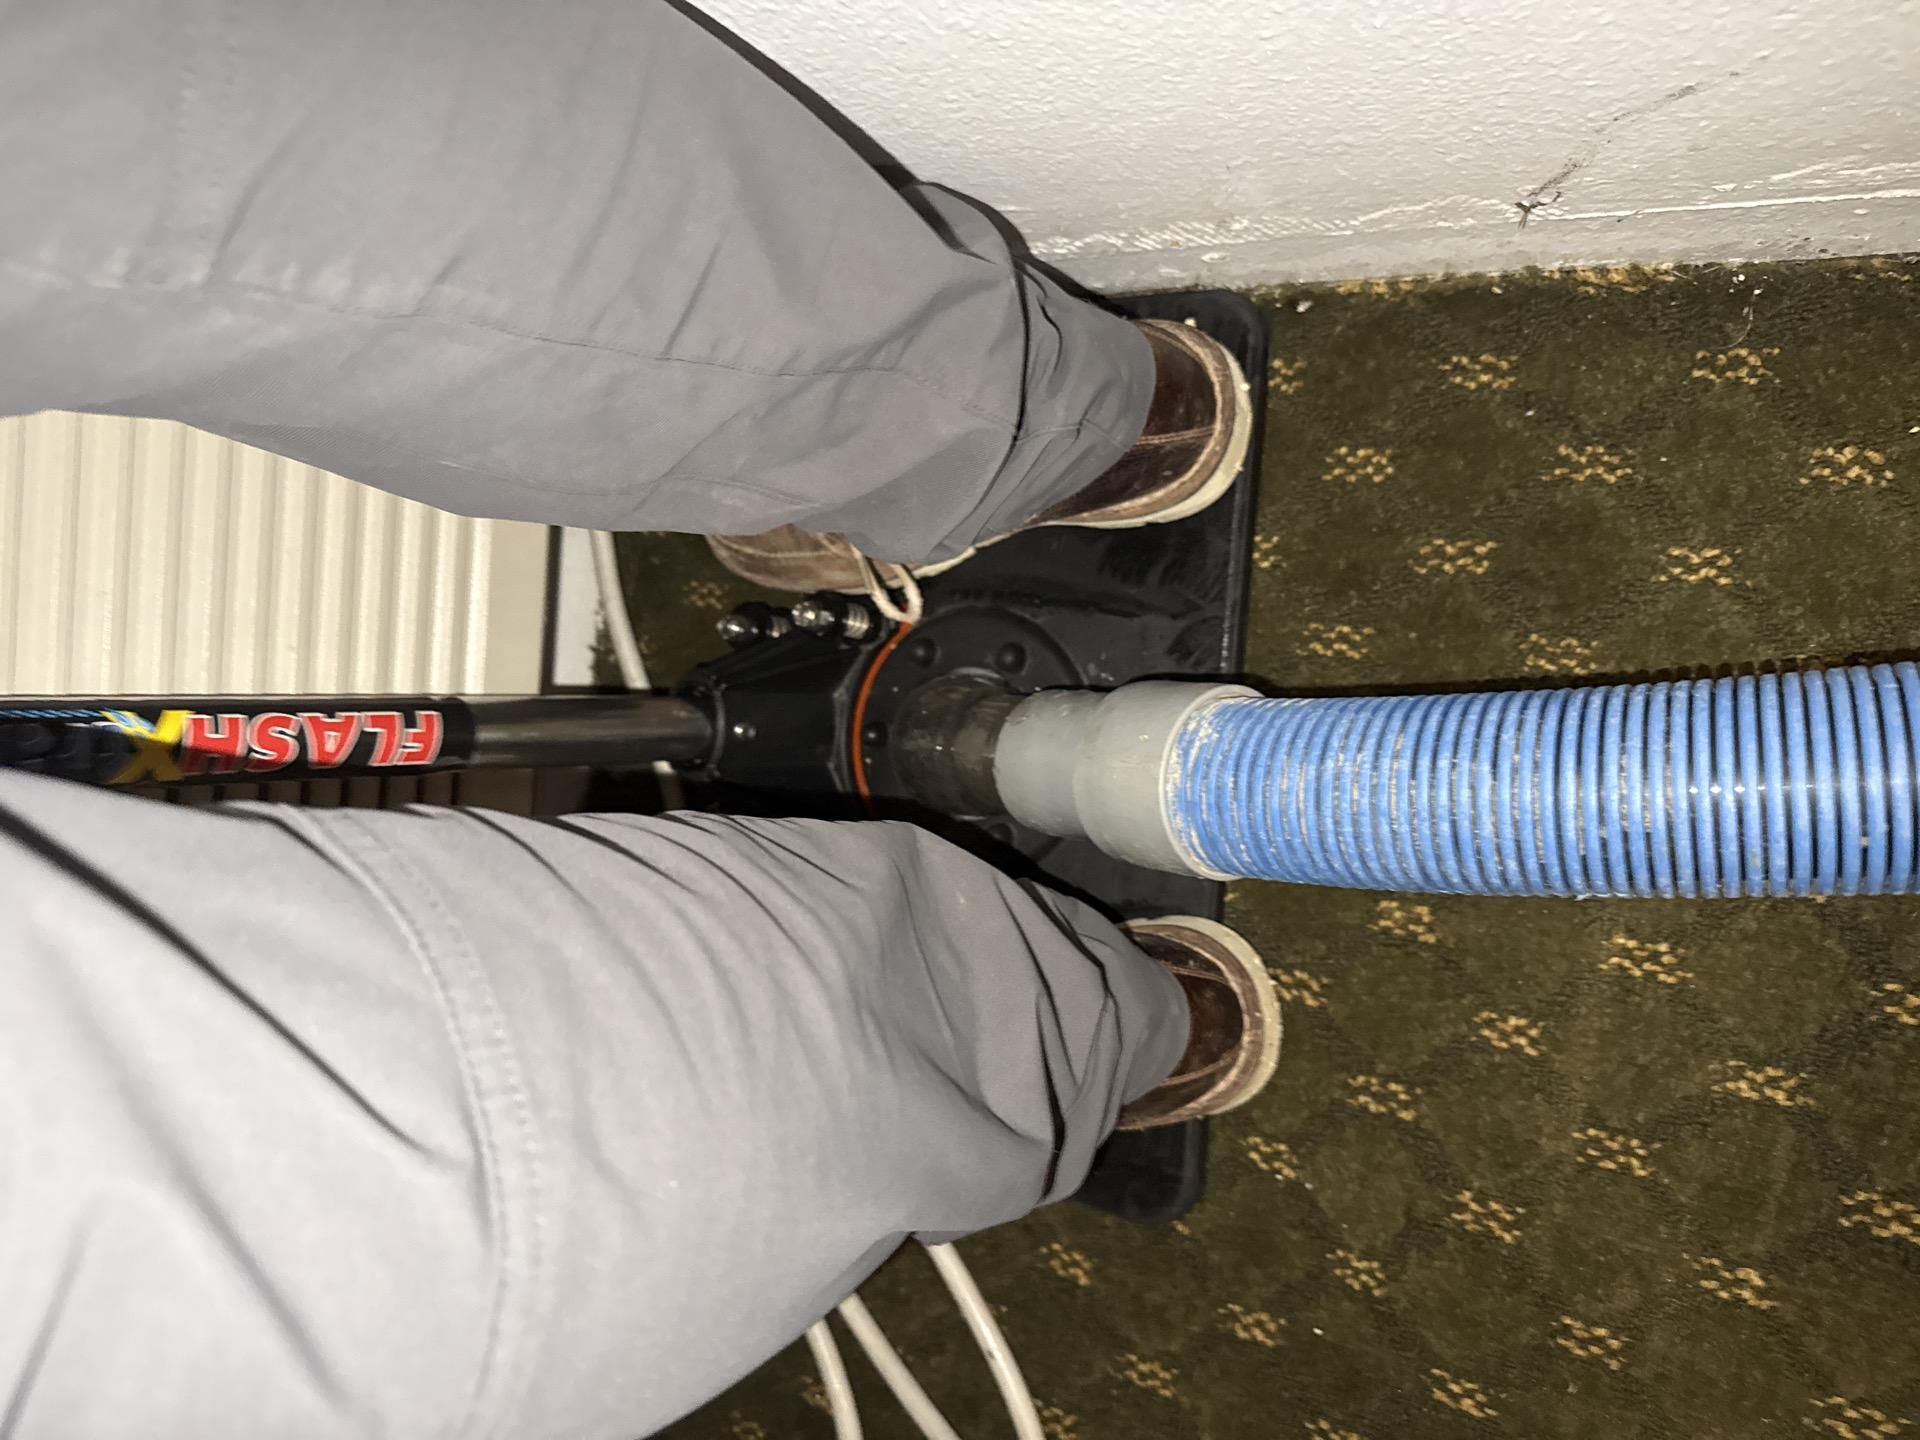
Water had impacted Unit 100, Unit 101, and a rear storage room with a crawlspace below. Flooring, walls, ceilings, and the attic insulation above were all affected. Standing water was present in multiple areas. We started with extraction, using a hard-surface extractor in the living room and weighted assist equipment where carpet was involved. Contents got relocated or protected, and vinyl baseboard came off in affected rooms to give moisture trapped in walls somewhere to migrate.
Room by Room Breakdown
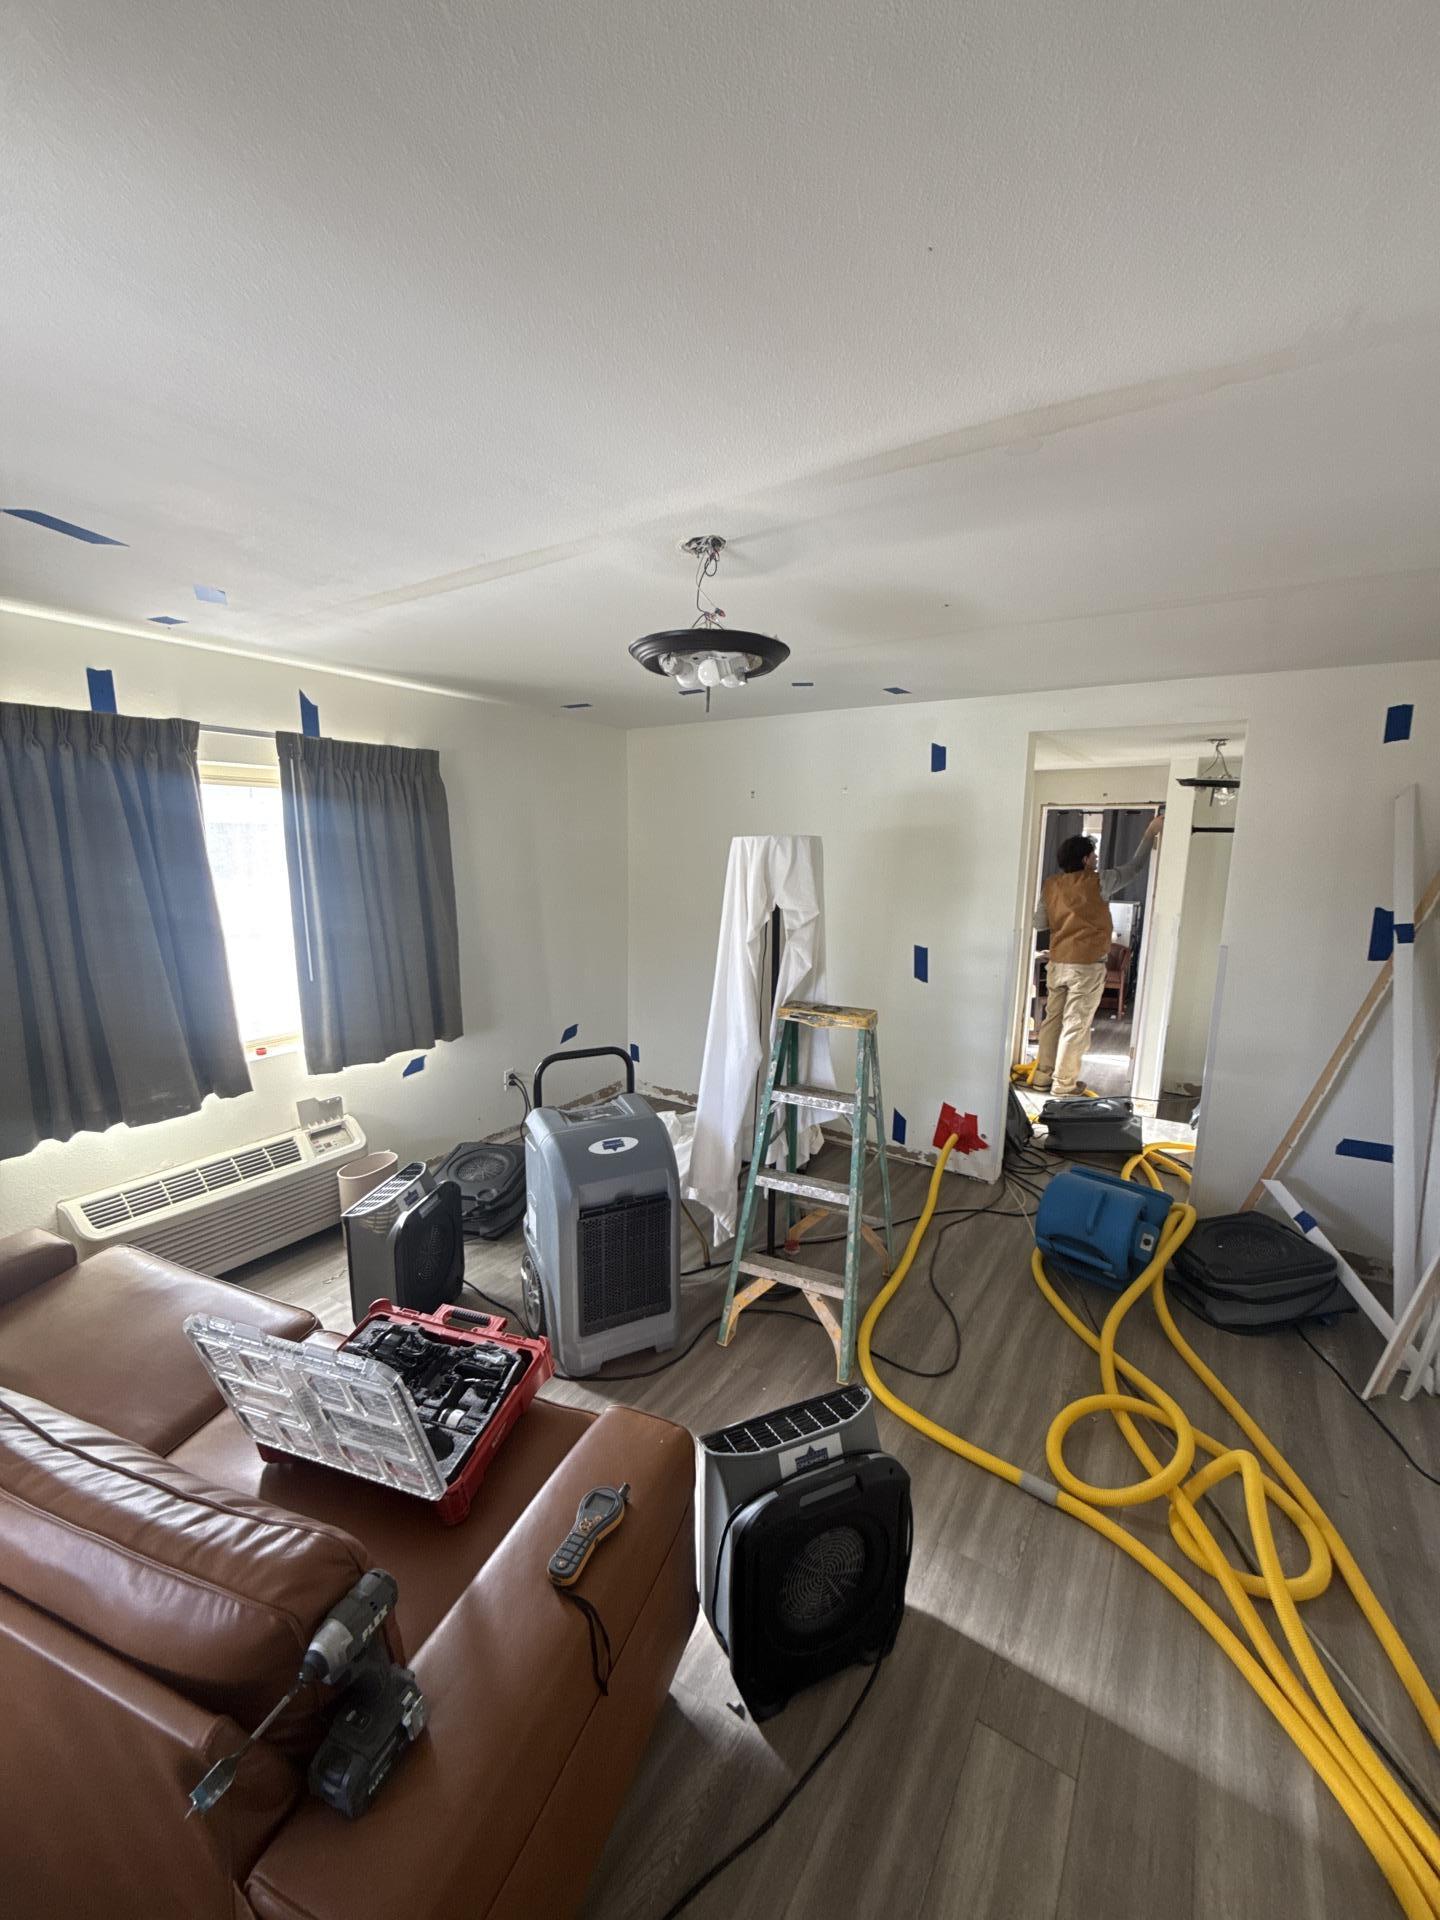
Living Room and Front Bedroom
Seven air movers went into the living room with a dehumidifier running for six days. The front bedroom needed its own equipment set, but one wall section dried slowly due to construction characteristics. We added a wall cavity drying system for four days until readings confirmed we’d hit our targets.
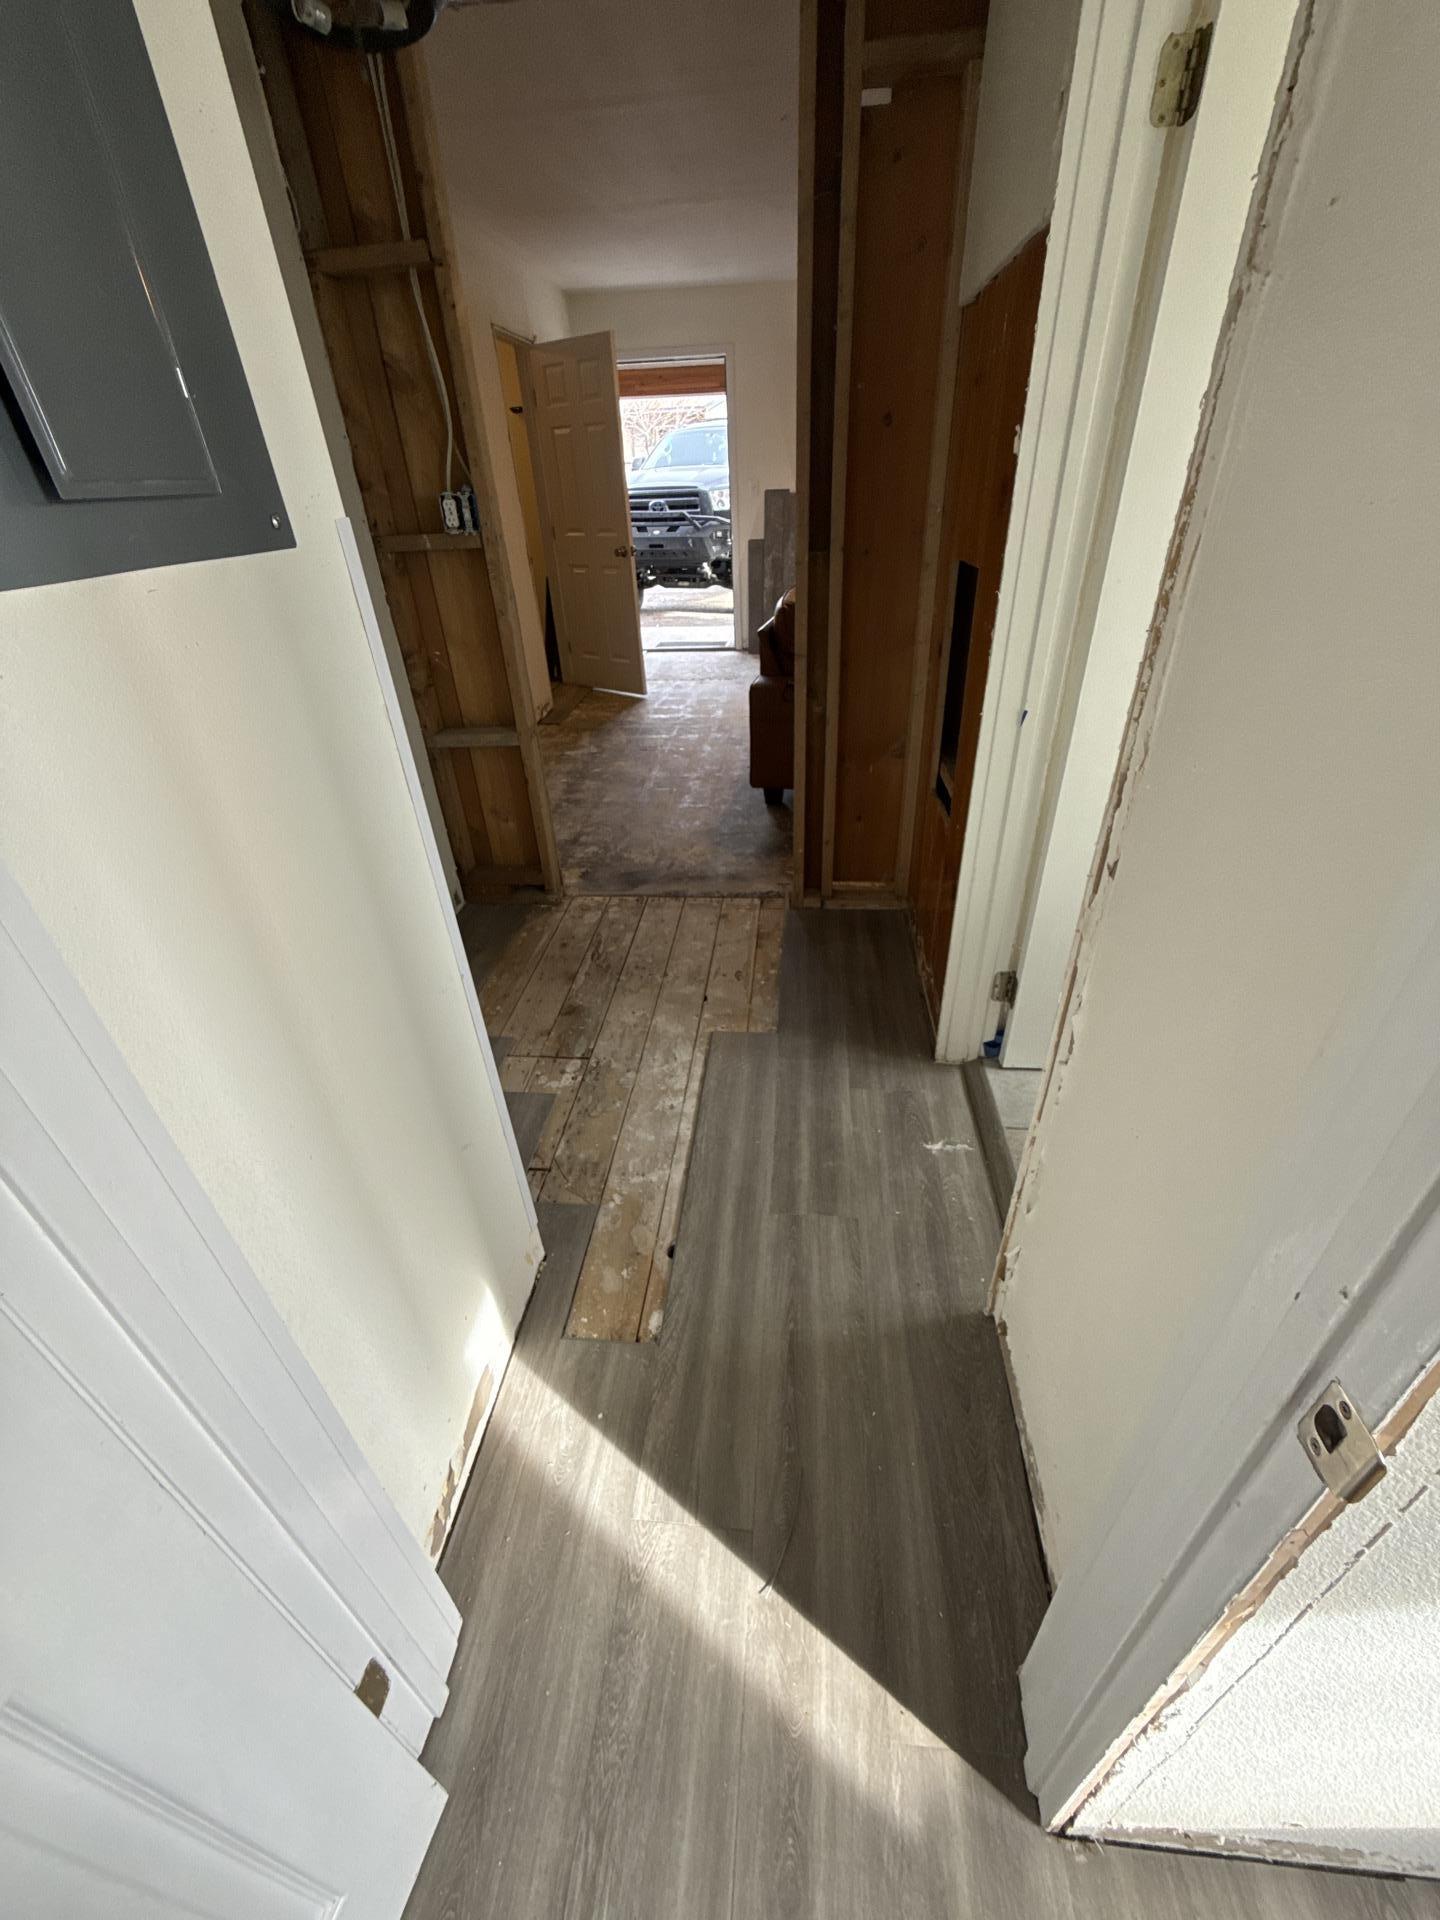
The Hallway
The hallway was the most complex area. Moisture had moved through walls and ceilings throughout, and we adjusted equipment as drying progressed, which is exactly what IICRC S500 principles require: responding to measured conditions rather than following a rigid plan.
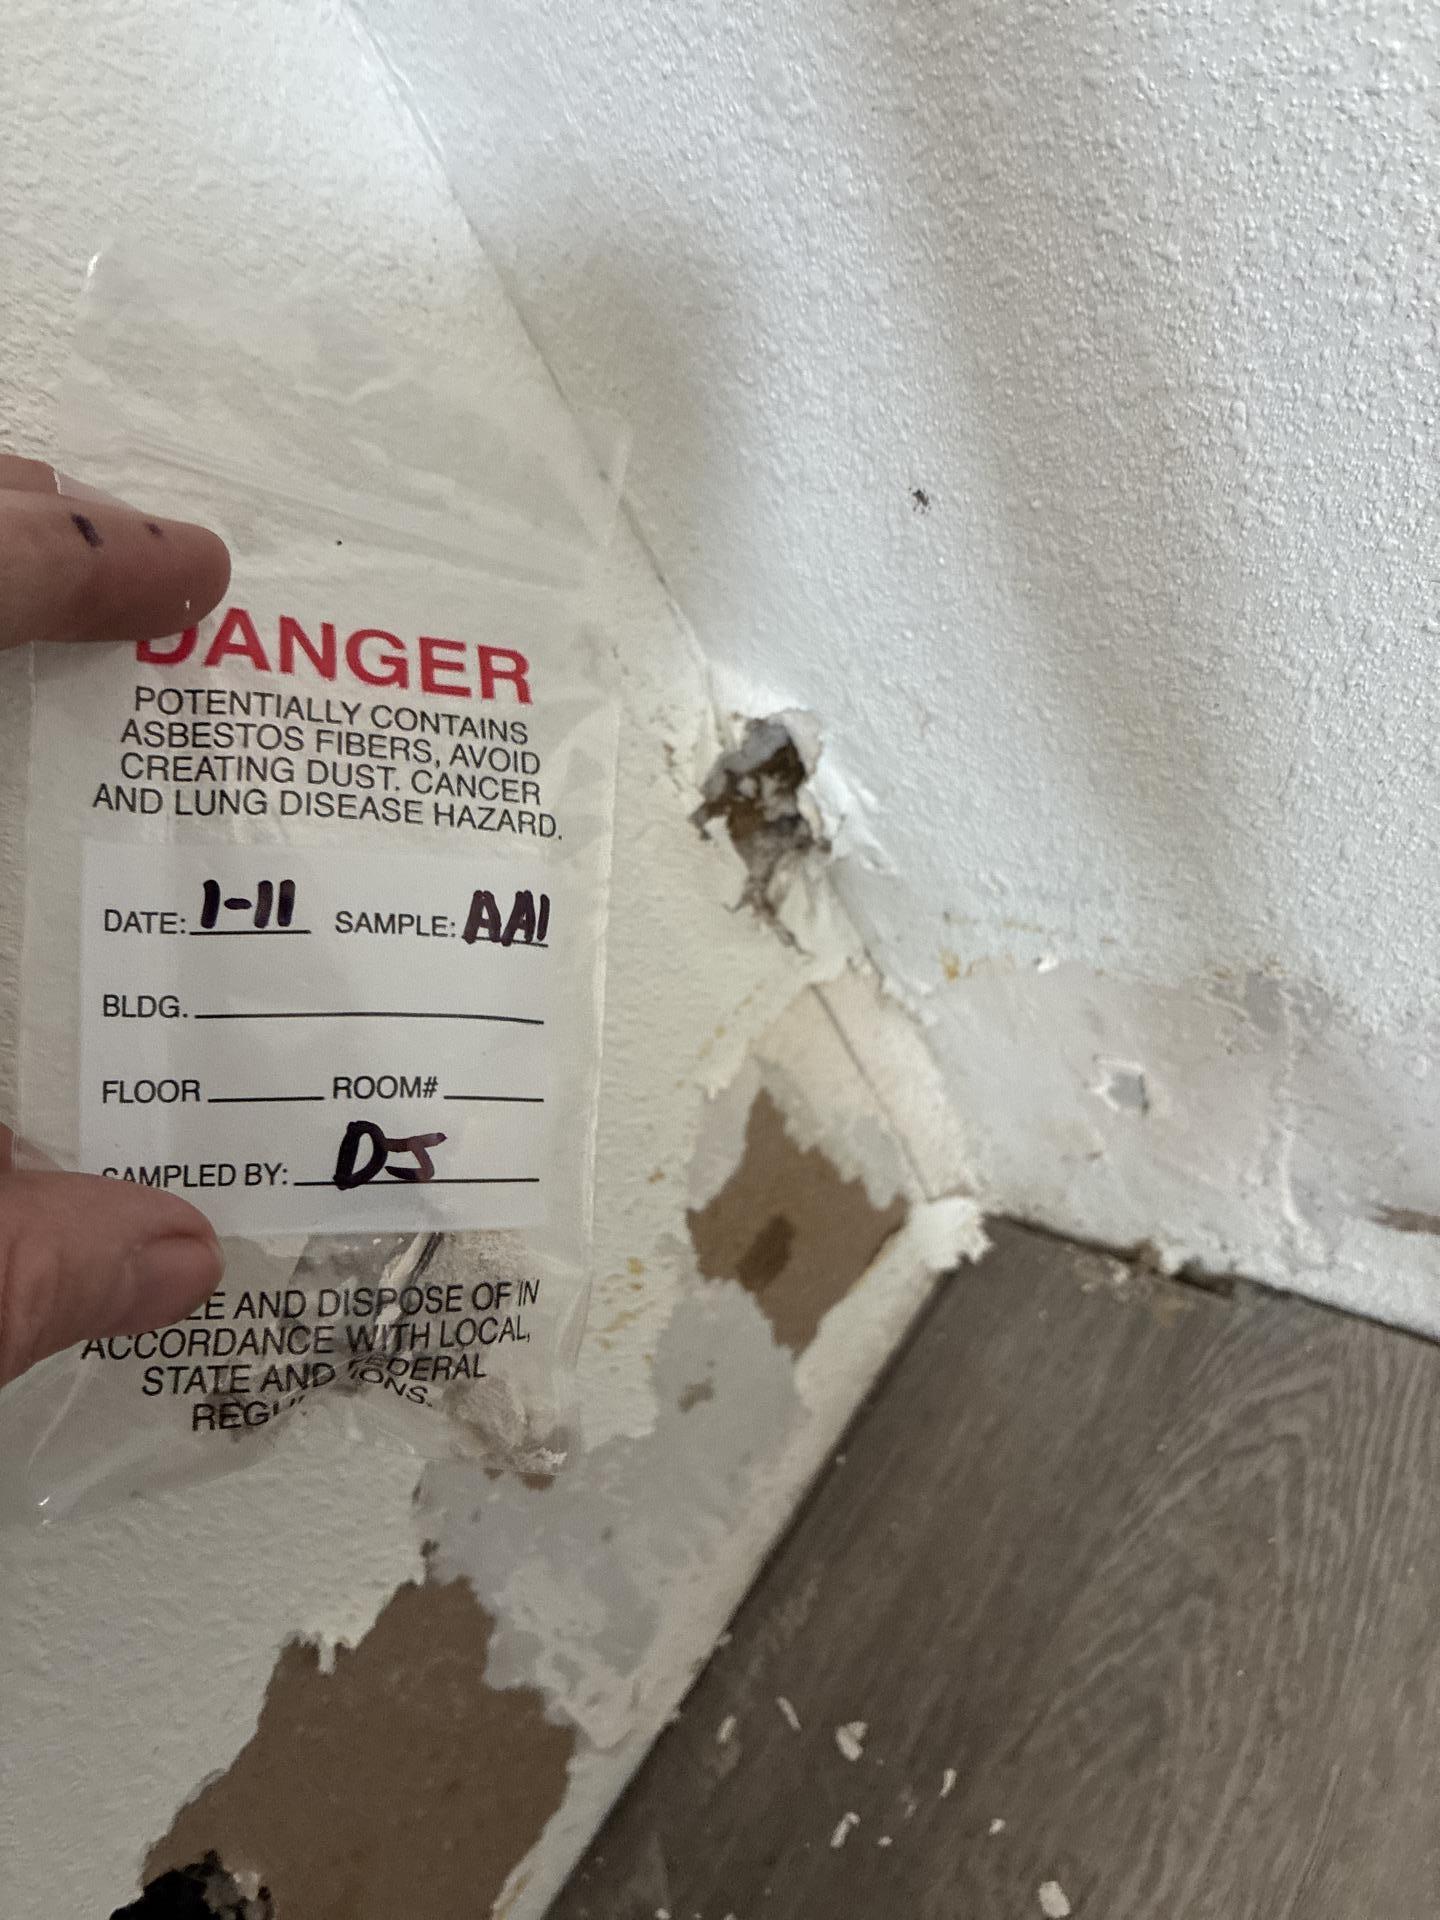
At various points we had three air movers running, then shifted to two for an additional six days. Wall cavity drying ran for three days. One section wasn’t responding at all. We waited for asbestos clearance results before touching it. Non-detect came back, and on January 16 we removed the affected materials and dried the exposed structure. The hallway took patience.
Bathroom, Rear Bedroom, and Unit 101
In the bathroom, moisture had tracked down wall assemblies to the tile floor. We ran a dehumidifier alongside the building’s heater for ten days to attempt in-place drying. The rear bedroom was lightly affected and resolved quickly with one air mover for a single day.
Unit 101 had water migrating under the sill plate from the adjacent storage room. We extracted from the carpet, removed the pad, floated the carpet for drying, pulled baseboard, and set two air movers and a dehumidifier. Five days later, goals were met.
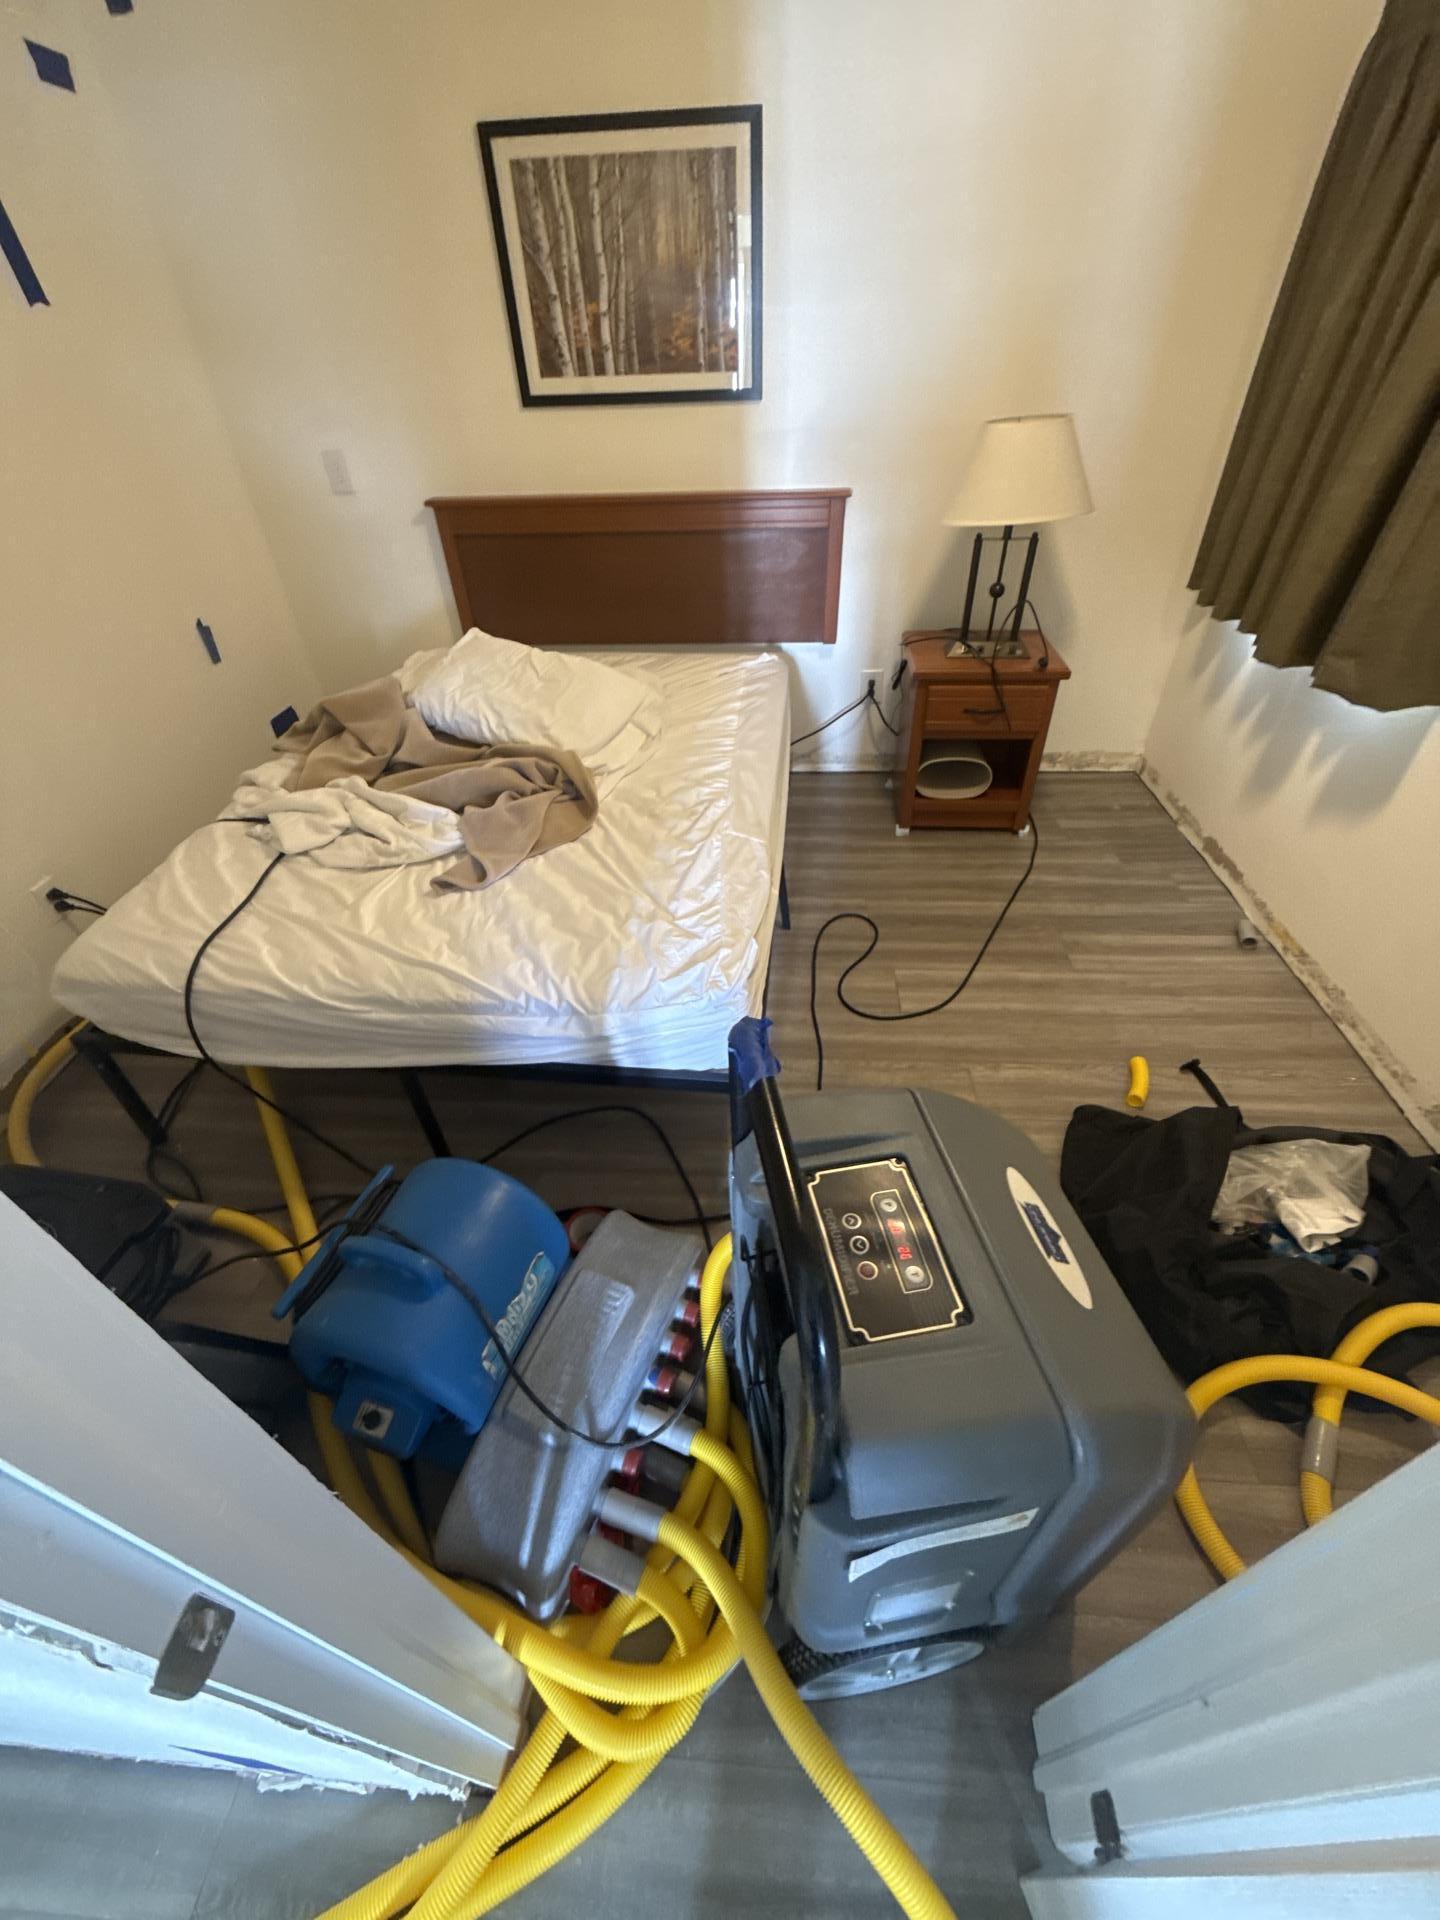
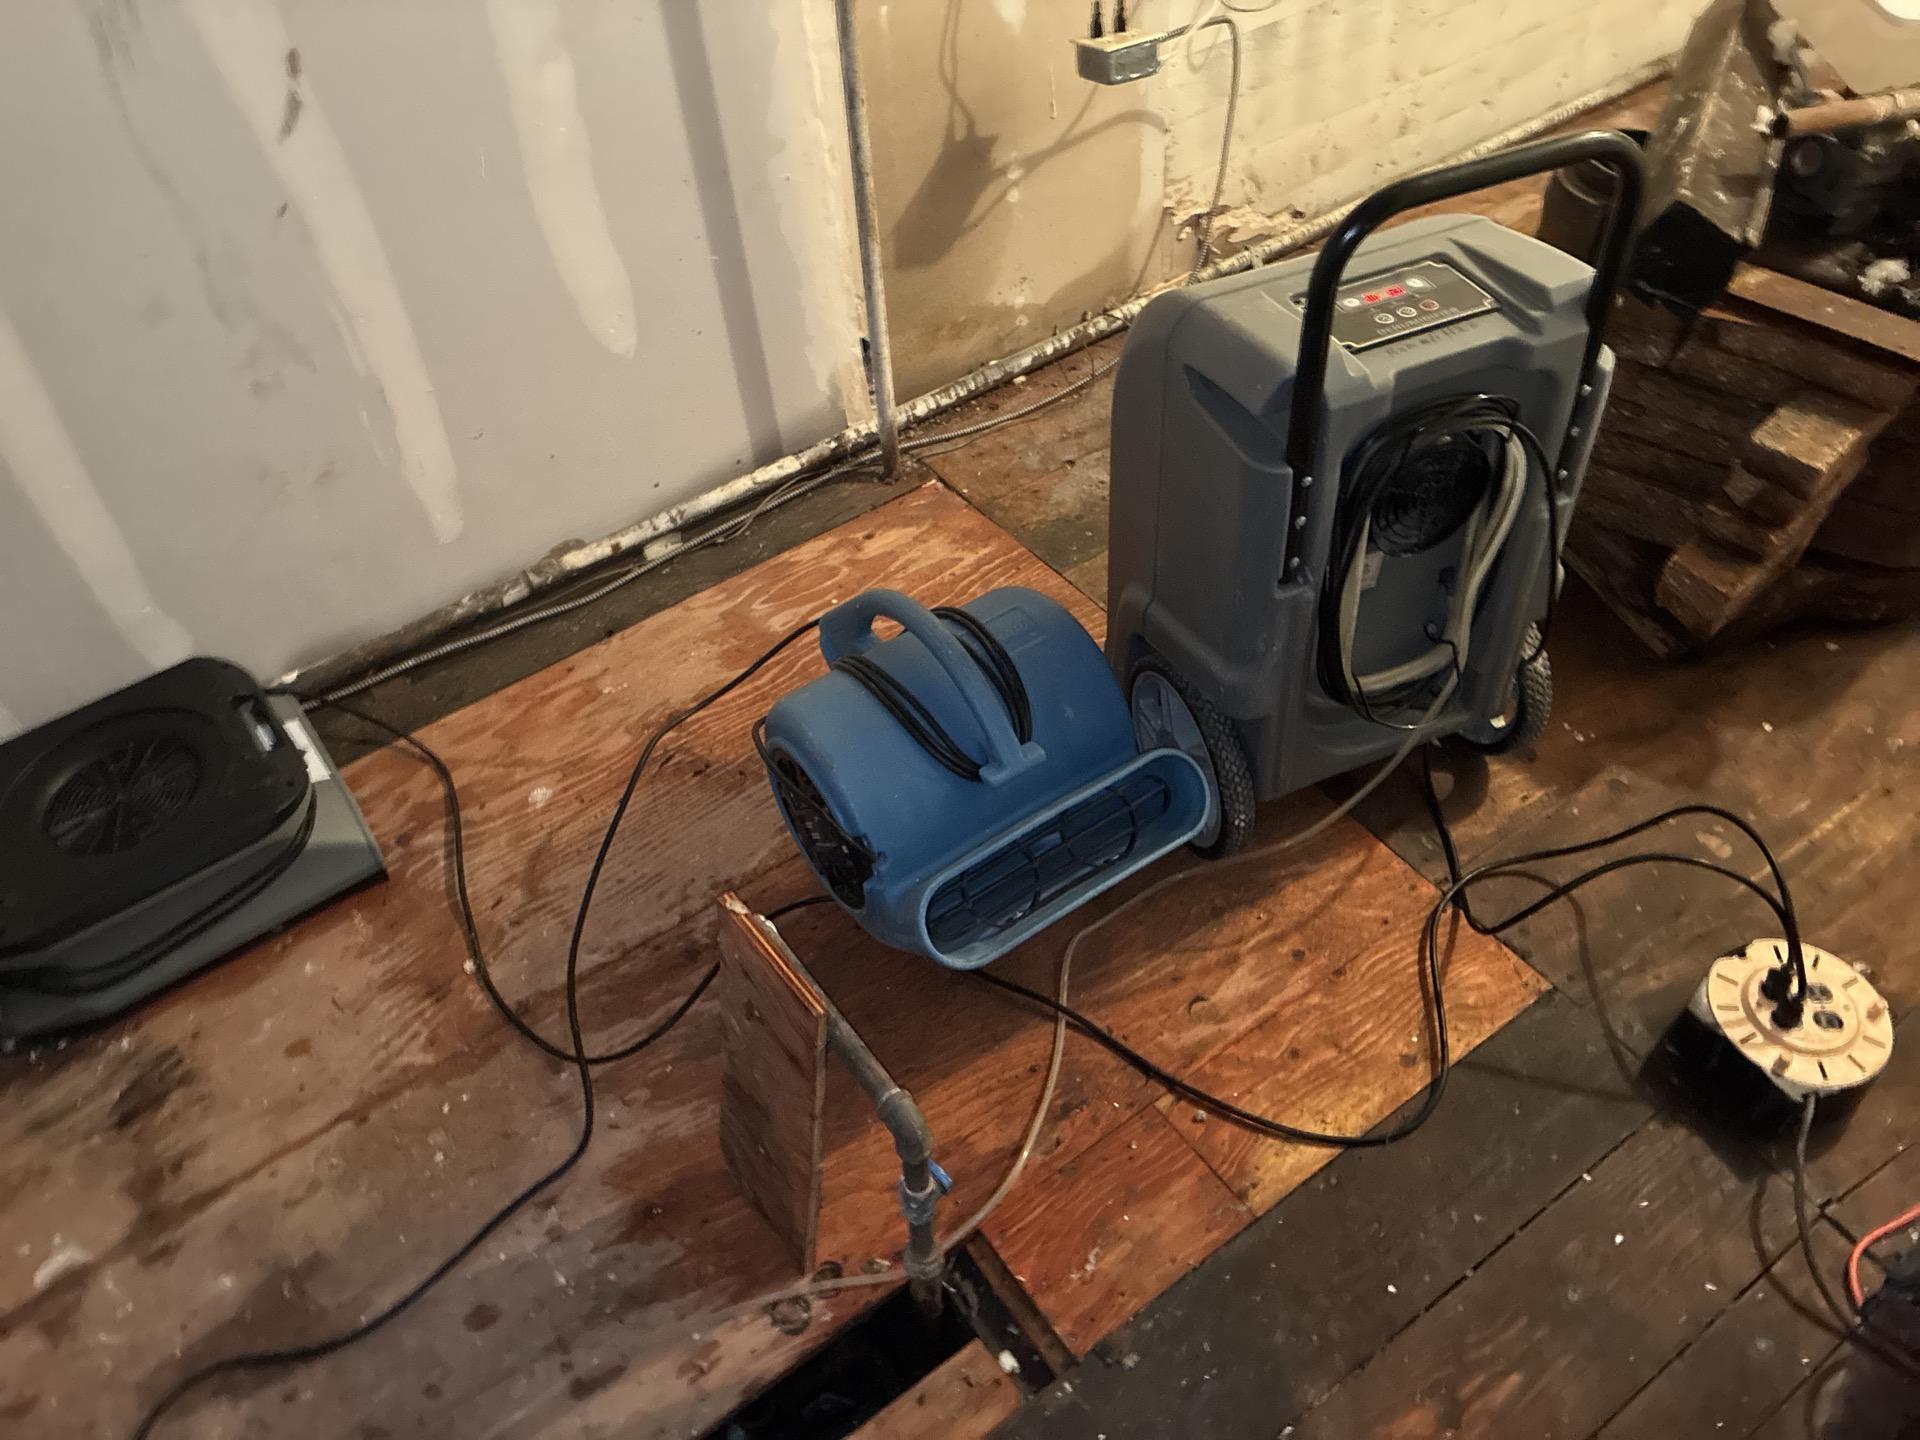
Mitigation in progress: water extraction, carpet drying, flood cuts, and room-by-room equipment placement.
 |
 |
 |
 |
 |
 |
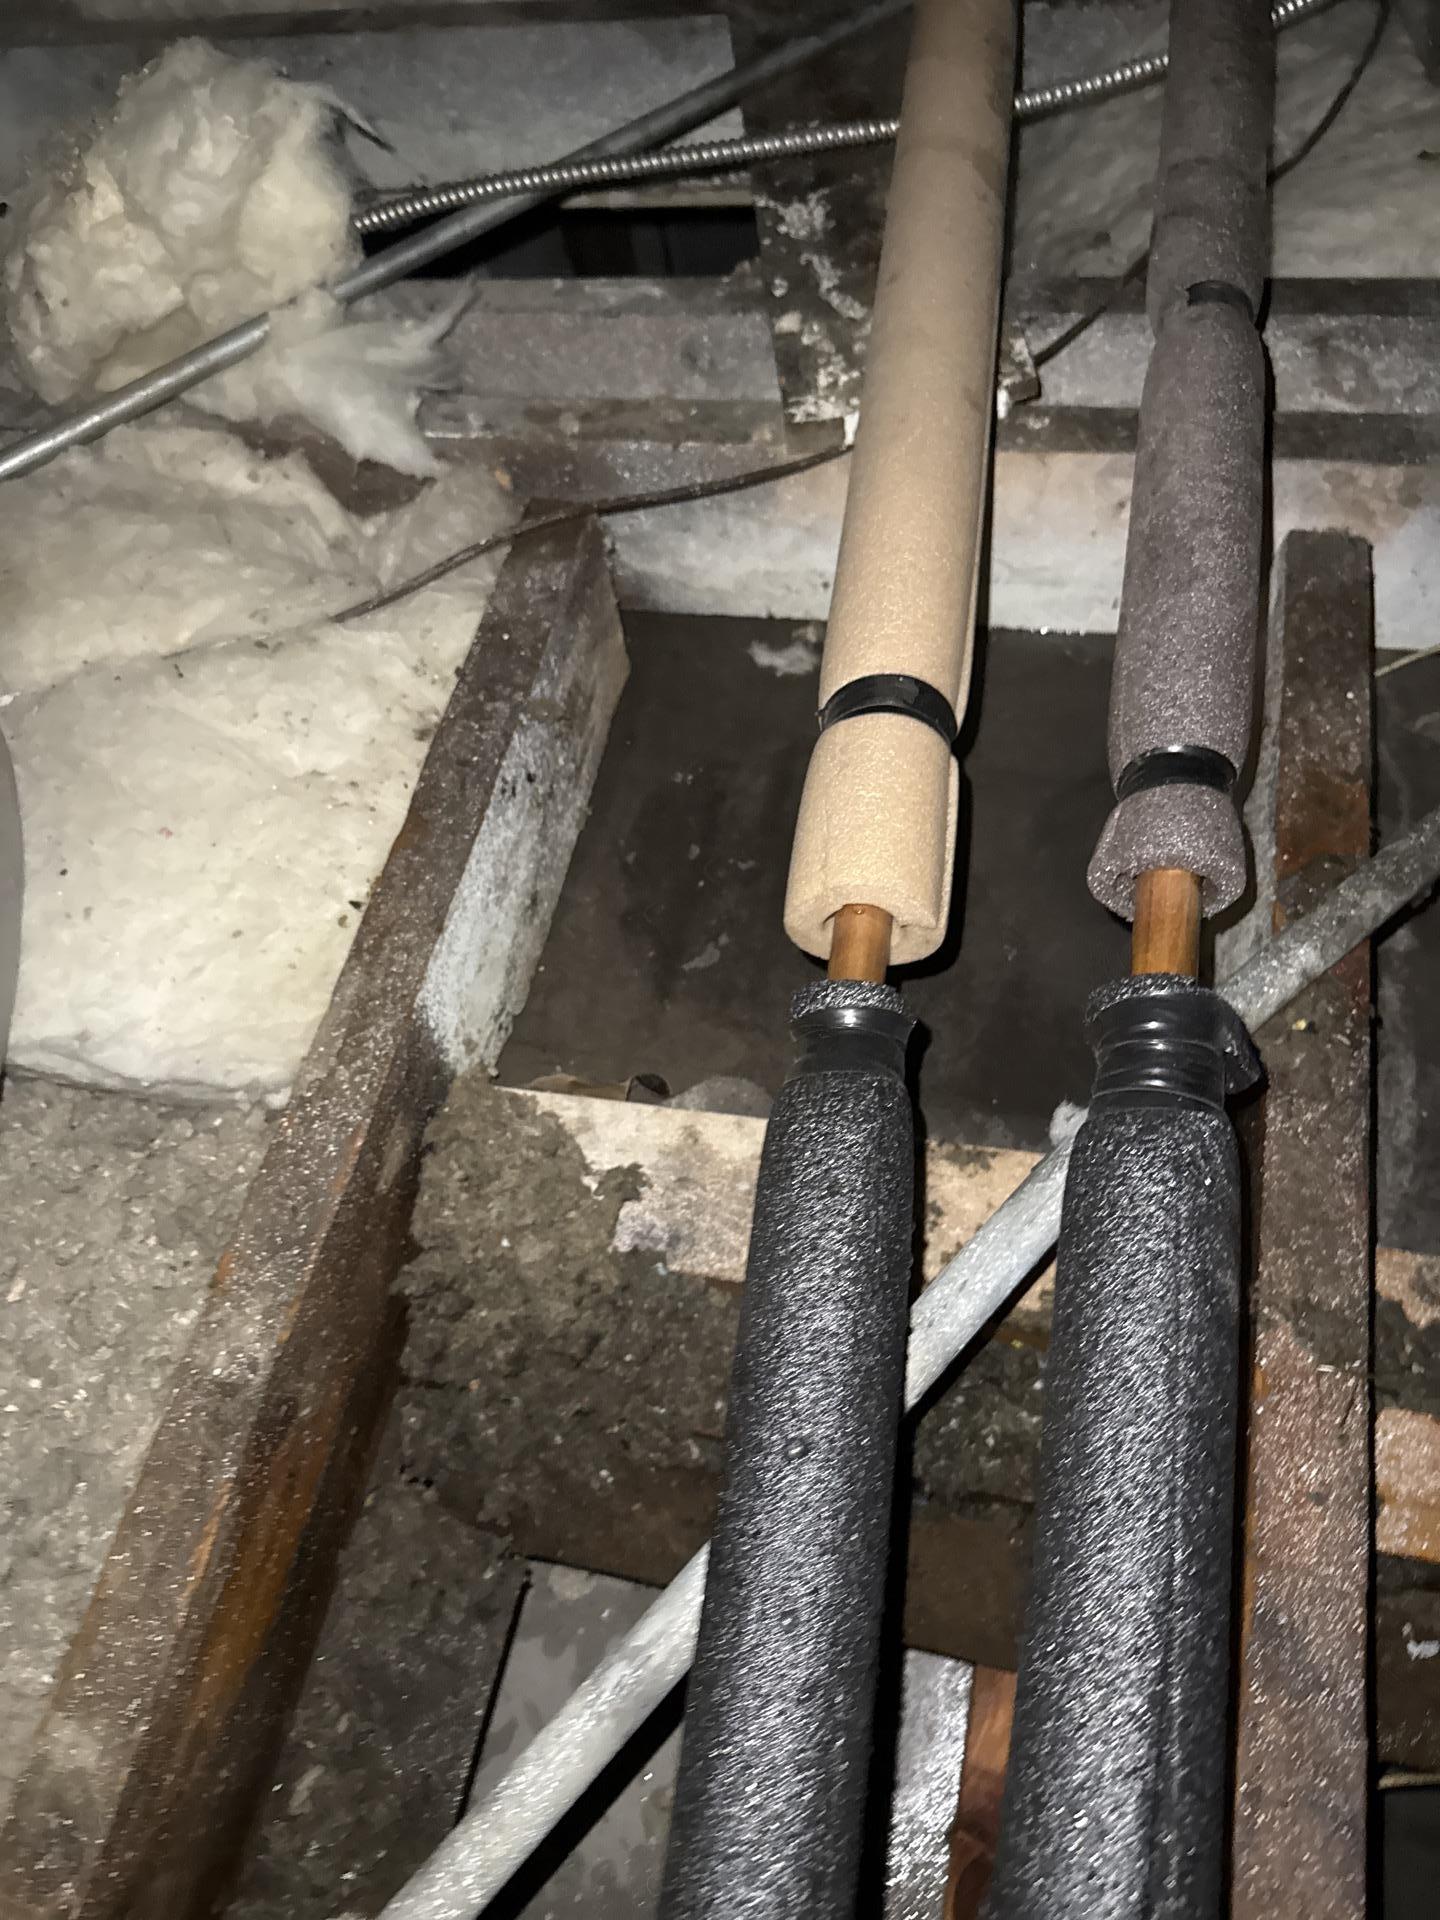
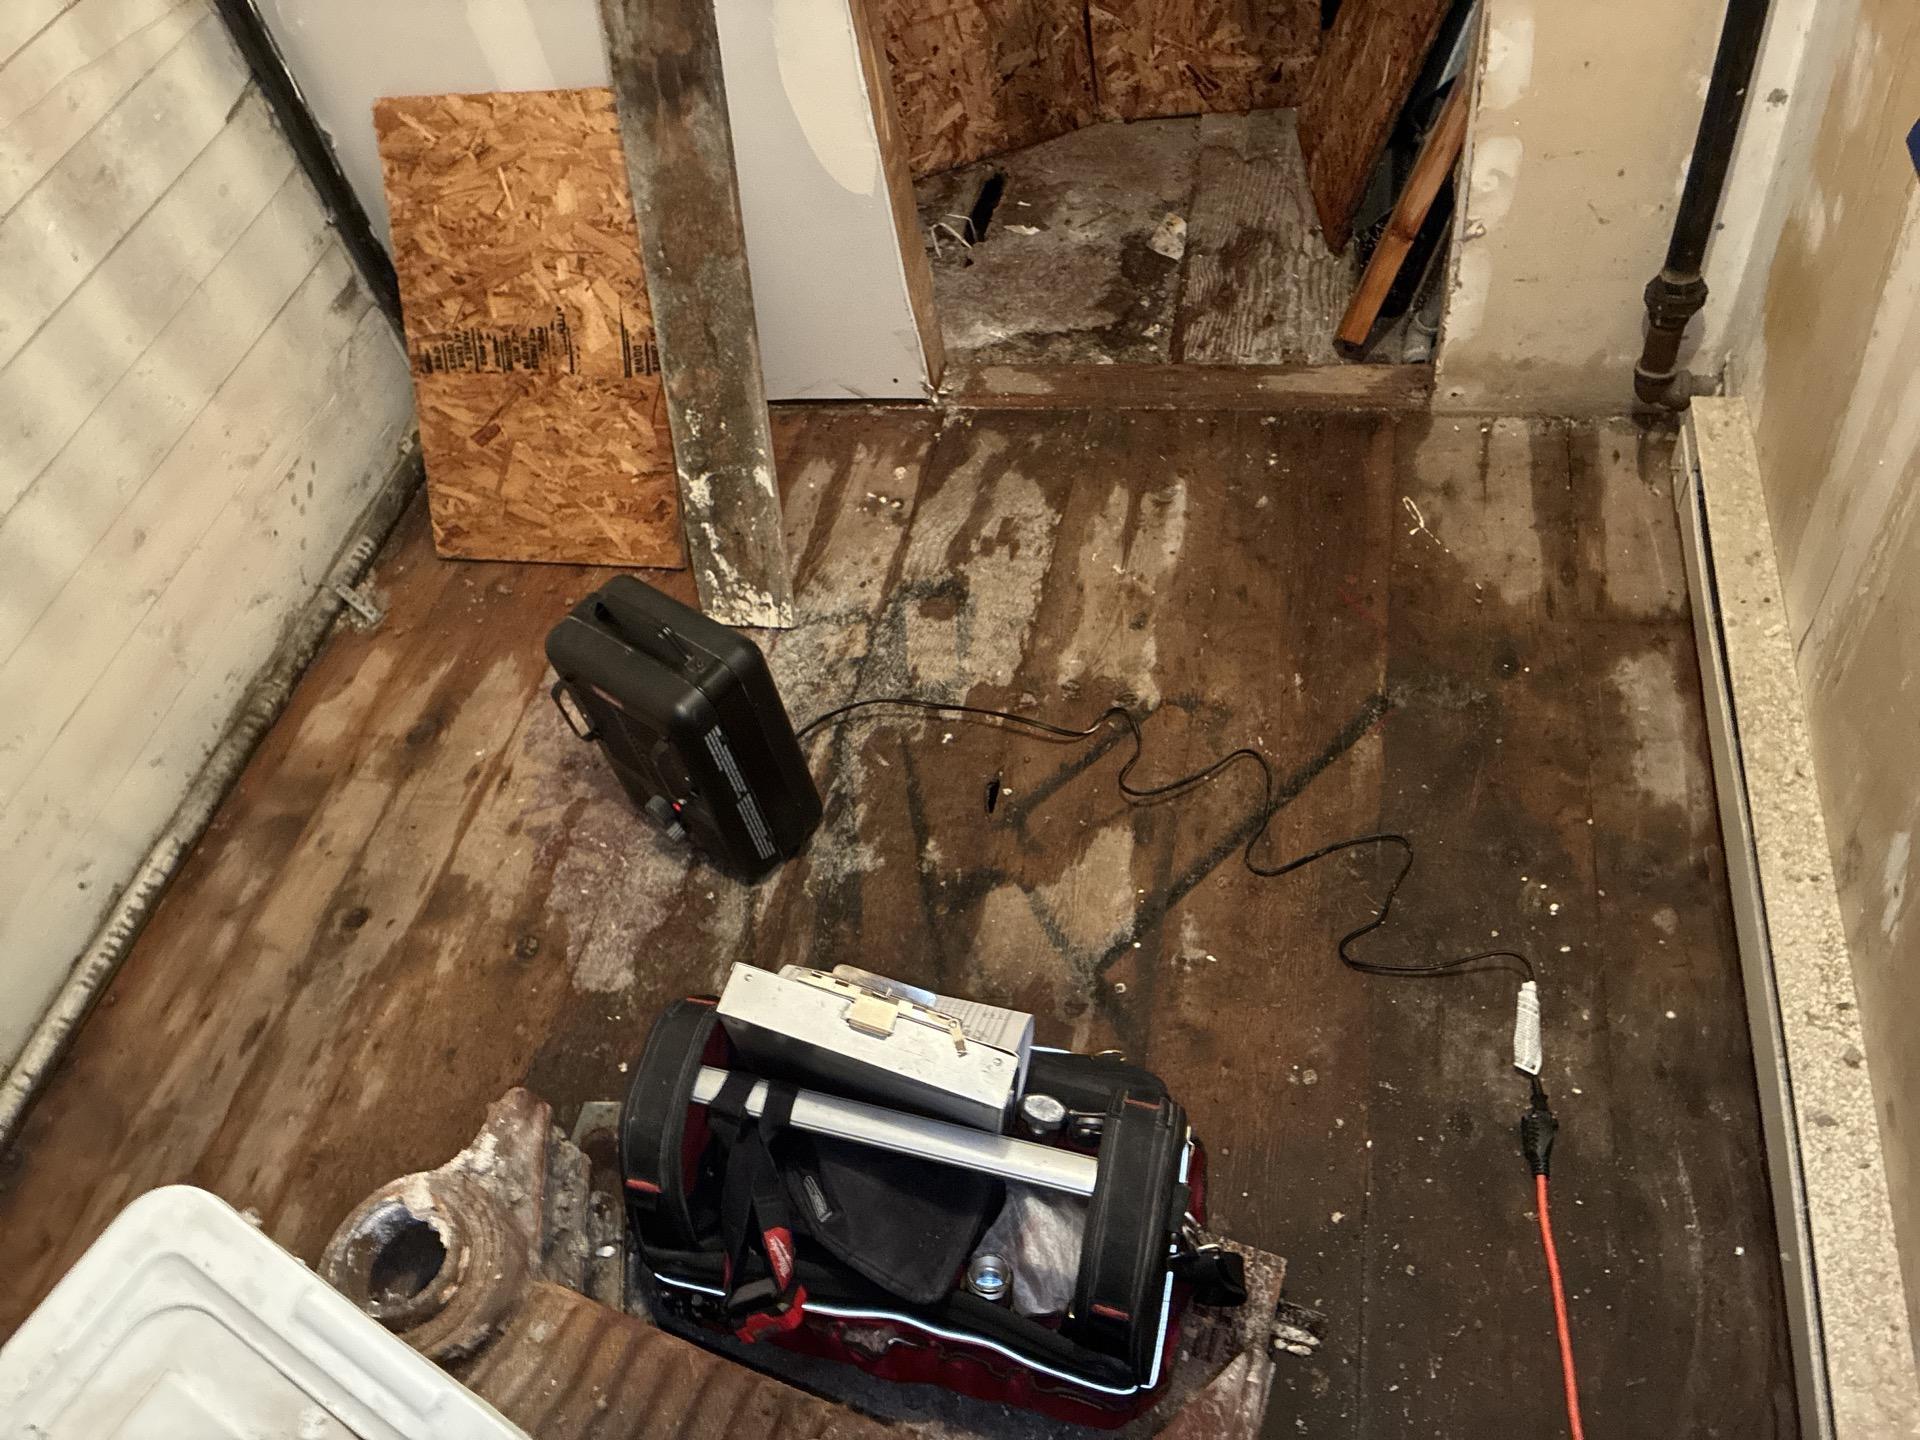
The Rear Storage Room and Crawlspace
This area was heavily saturated. On the night of our initial response, we installed a temporary heater and removed soaked attic insulation that was actively releasing moisture into the units below. We couldn’t leave that source in place overnight.
The next day, we pumped standing water from the crawlspace, cleared contents, and set drying equipment. The drywall situation required timing. A secondary freeze event was in the forecast, so we held off on removal until it passed. Once conditions cleared, we pulled the affected drywall and set up for final drying. Two dehumidifiers ran throughout, with one staying on site for nine days.
What This Job Taught Us (Again)
A few things made this one stand out from a typical water call:
- Asbestos clearance first. We waited for non-detect results before removing any suspect materials. That’s non-negotiable.
- Adapting to a freeze event. Holding off on drywall removal was the right call. Rushing creates problems later.
- Moisture above and below. Saturated attic insulation and a flooded crawlspace at the same time required addressing both sources simultaneously.
- Documented decisions matter. The client chose to leave affected flooring in place. We documented elevated readings and obtained a signed release of liability before closing the job.
If you want to understand what happens when moisture hides where you can’t see it, our post on signs of water damage behind walls in winter walks through it well. And for a similar multi-room water recovery, see how we handled a Glenwood Springs home’s recovery.
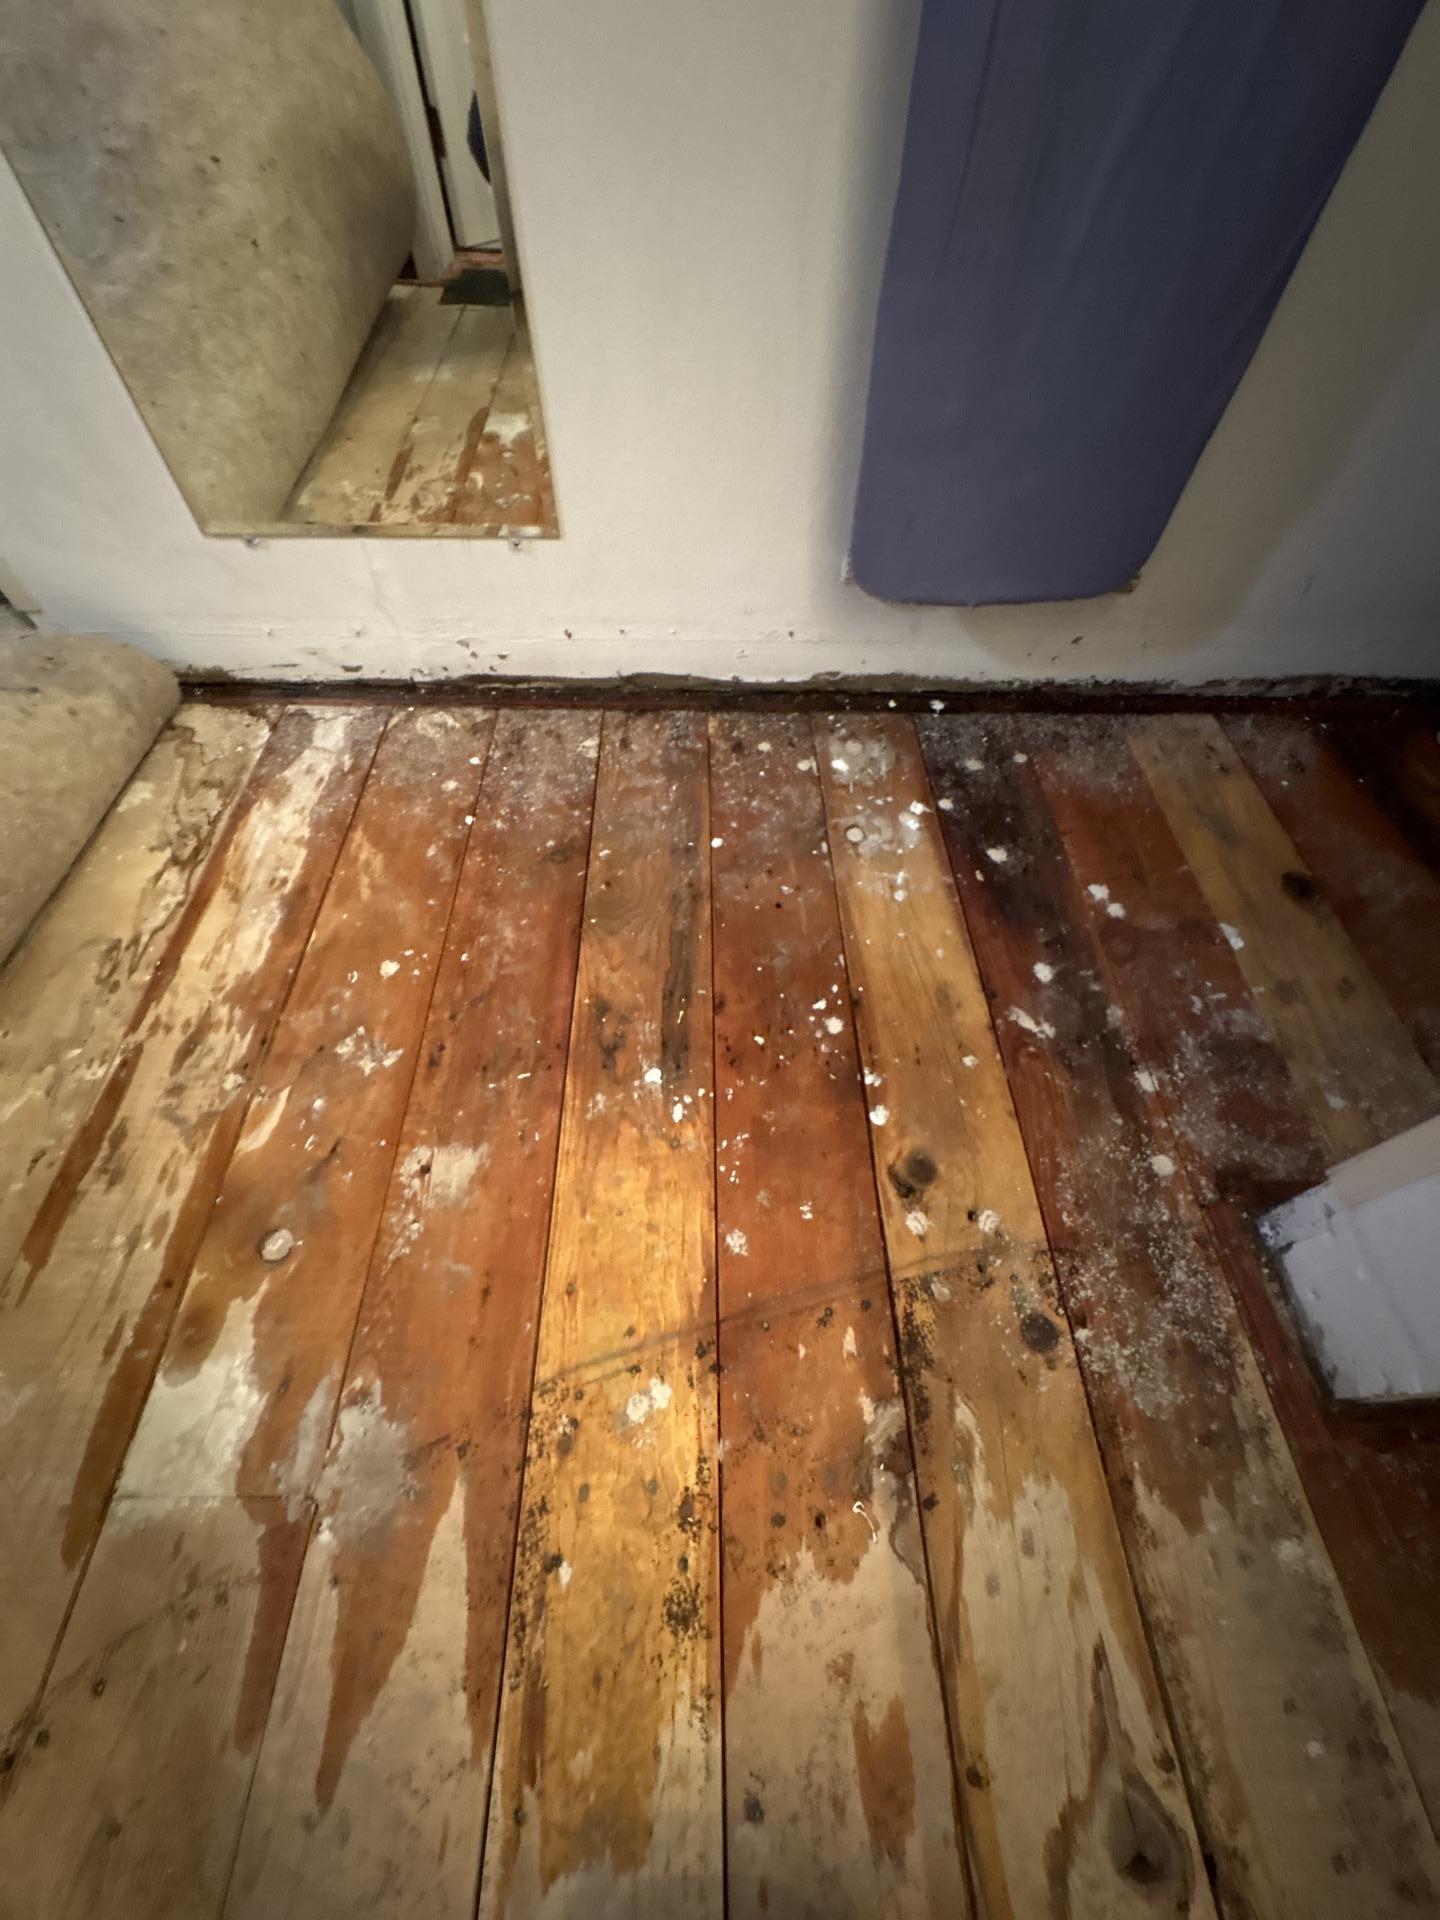
Structural drying, storage cleanup, and final conditions before equipment removal.
 |
 |
 |
 |
 |
 |
Frequently Asked Questions
How long does water damage drying take?
Most jobs dry in 3 to 5 days. Complex projects with multiple rooms, restricted wall cavities, or construction challenges can run 7 to 14 days. This Meeker job fell into that range in several areas.
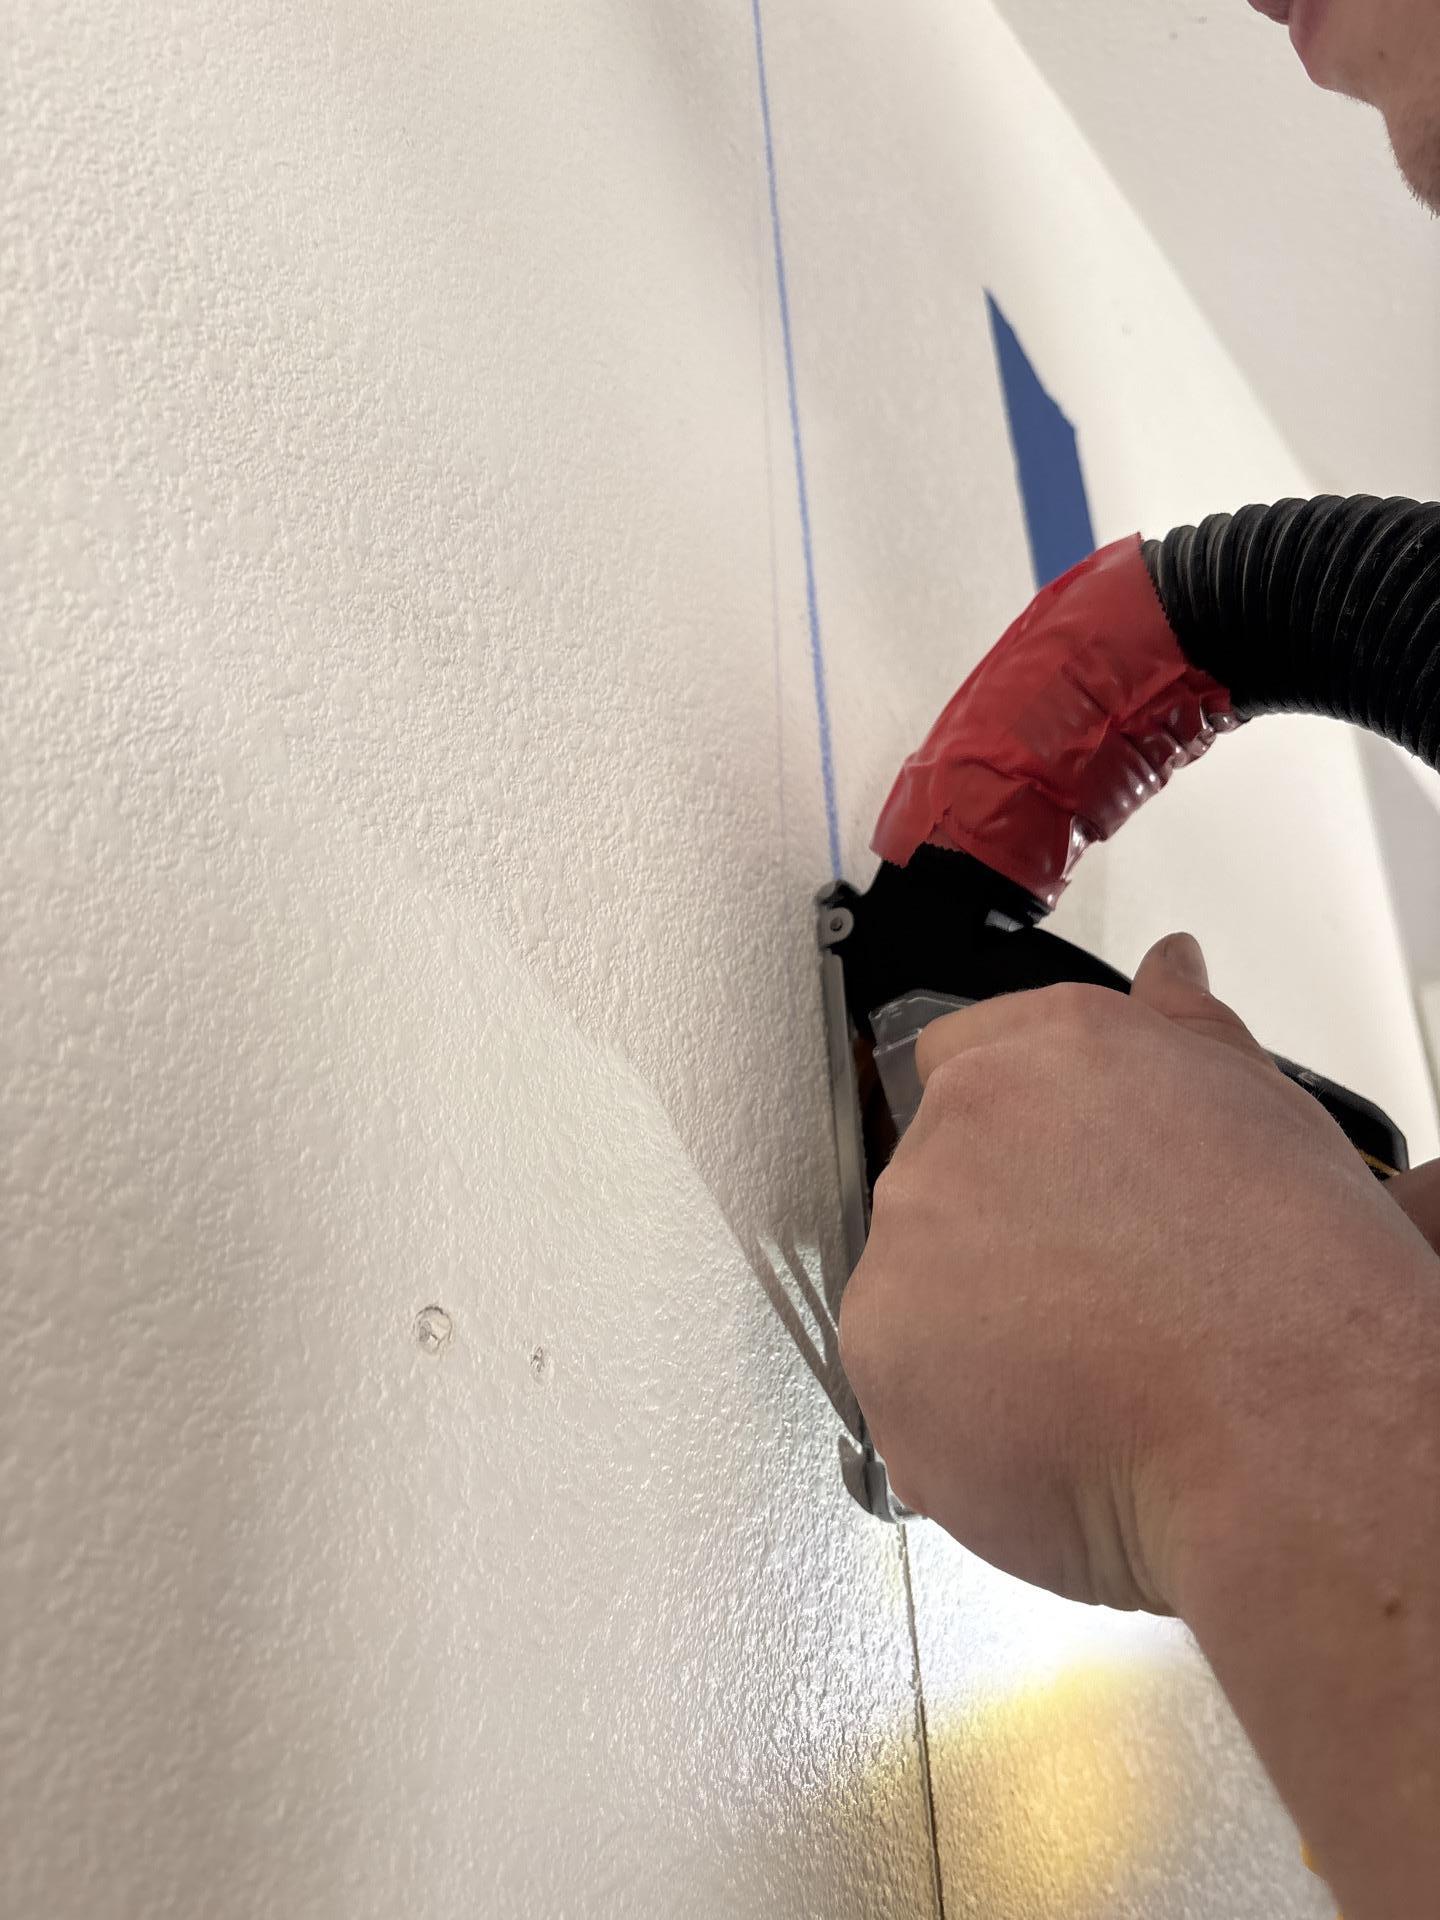
What is a wall cavity drying system?
It’s a piece of equipment that drives airflow directly into wall cavities through small access holes. When construction prevents standard air movers from reaching trapped moisture, cavity drying lets us dry the assembly from the inside without full demolition.
Why wait for asbestos testing before removing drywall?
Older buildings may contain asbestos in drywall compounds, insulation, or flooring. Removing materials without testing can release hazardous fibers. The EPA recommends testing before any renovation or removal work in structures where asbestos may be present. We always wait for results.
What if a property owner doesn’t want affected materials removed?
That’s the owner’s call. We document elevated moisture readings, explain the risks clearly, and get a signed release of liability before closing the job. No one is forced to remediate, but everyone should make an informed choice.
Dealing with Water Damage in Meeker or Nearby?
Our team responds 24/7 across Colorado’s Western Slope with the equipment and experience to handle jobs of any size. We work directly with insurance companies and we don’t pull equipment early just to close a job faster.