How a Hidden Crawlspace Problem Turned Into a Full Mold Remediation in Marble, CO
When a homeowner in Marble, CO called about a musty smell they couldn’t shake, our team knew it was time for professional mold remediation services. A faint odor near the kitchen turned out to be active growth hiding in the crawlspace and loft. The damage you can smell is rarely the whole picture.
RemediH2O is IICRC certified in water, mold, and fire restoration, and we serve Colorado’s Western Slope and Roaring Fork Valley. Here’s how we found the problem, contained it, and left the home dry and clean.
The First Clue Was a Smell, Not a Stain
Most mold jobs don’t start with a leak. They start with a smell. In this Marble home, there were no puddles and no water stains in the living areas. Upstairs looked normal.
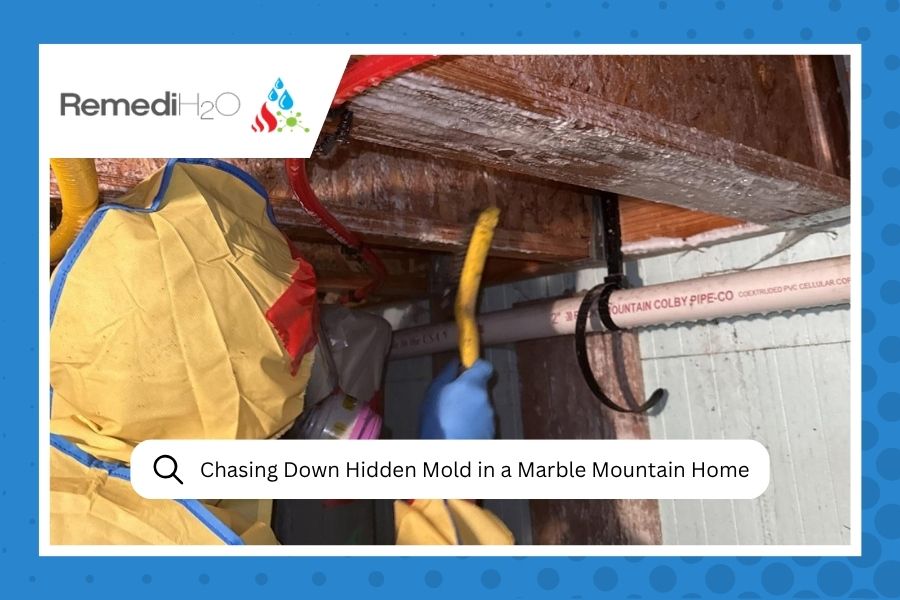
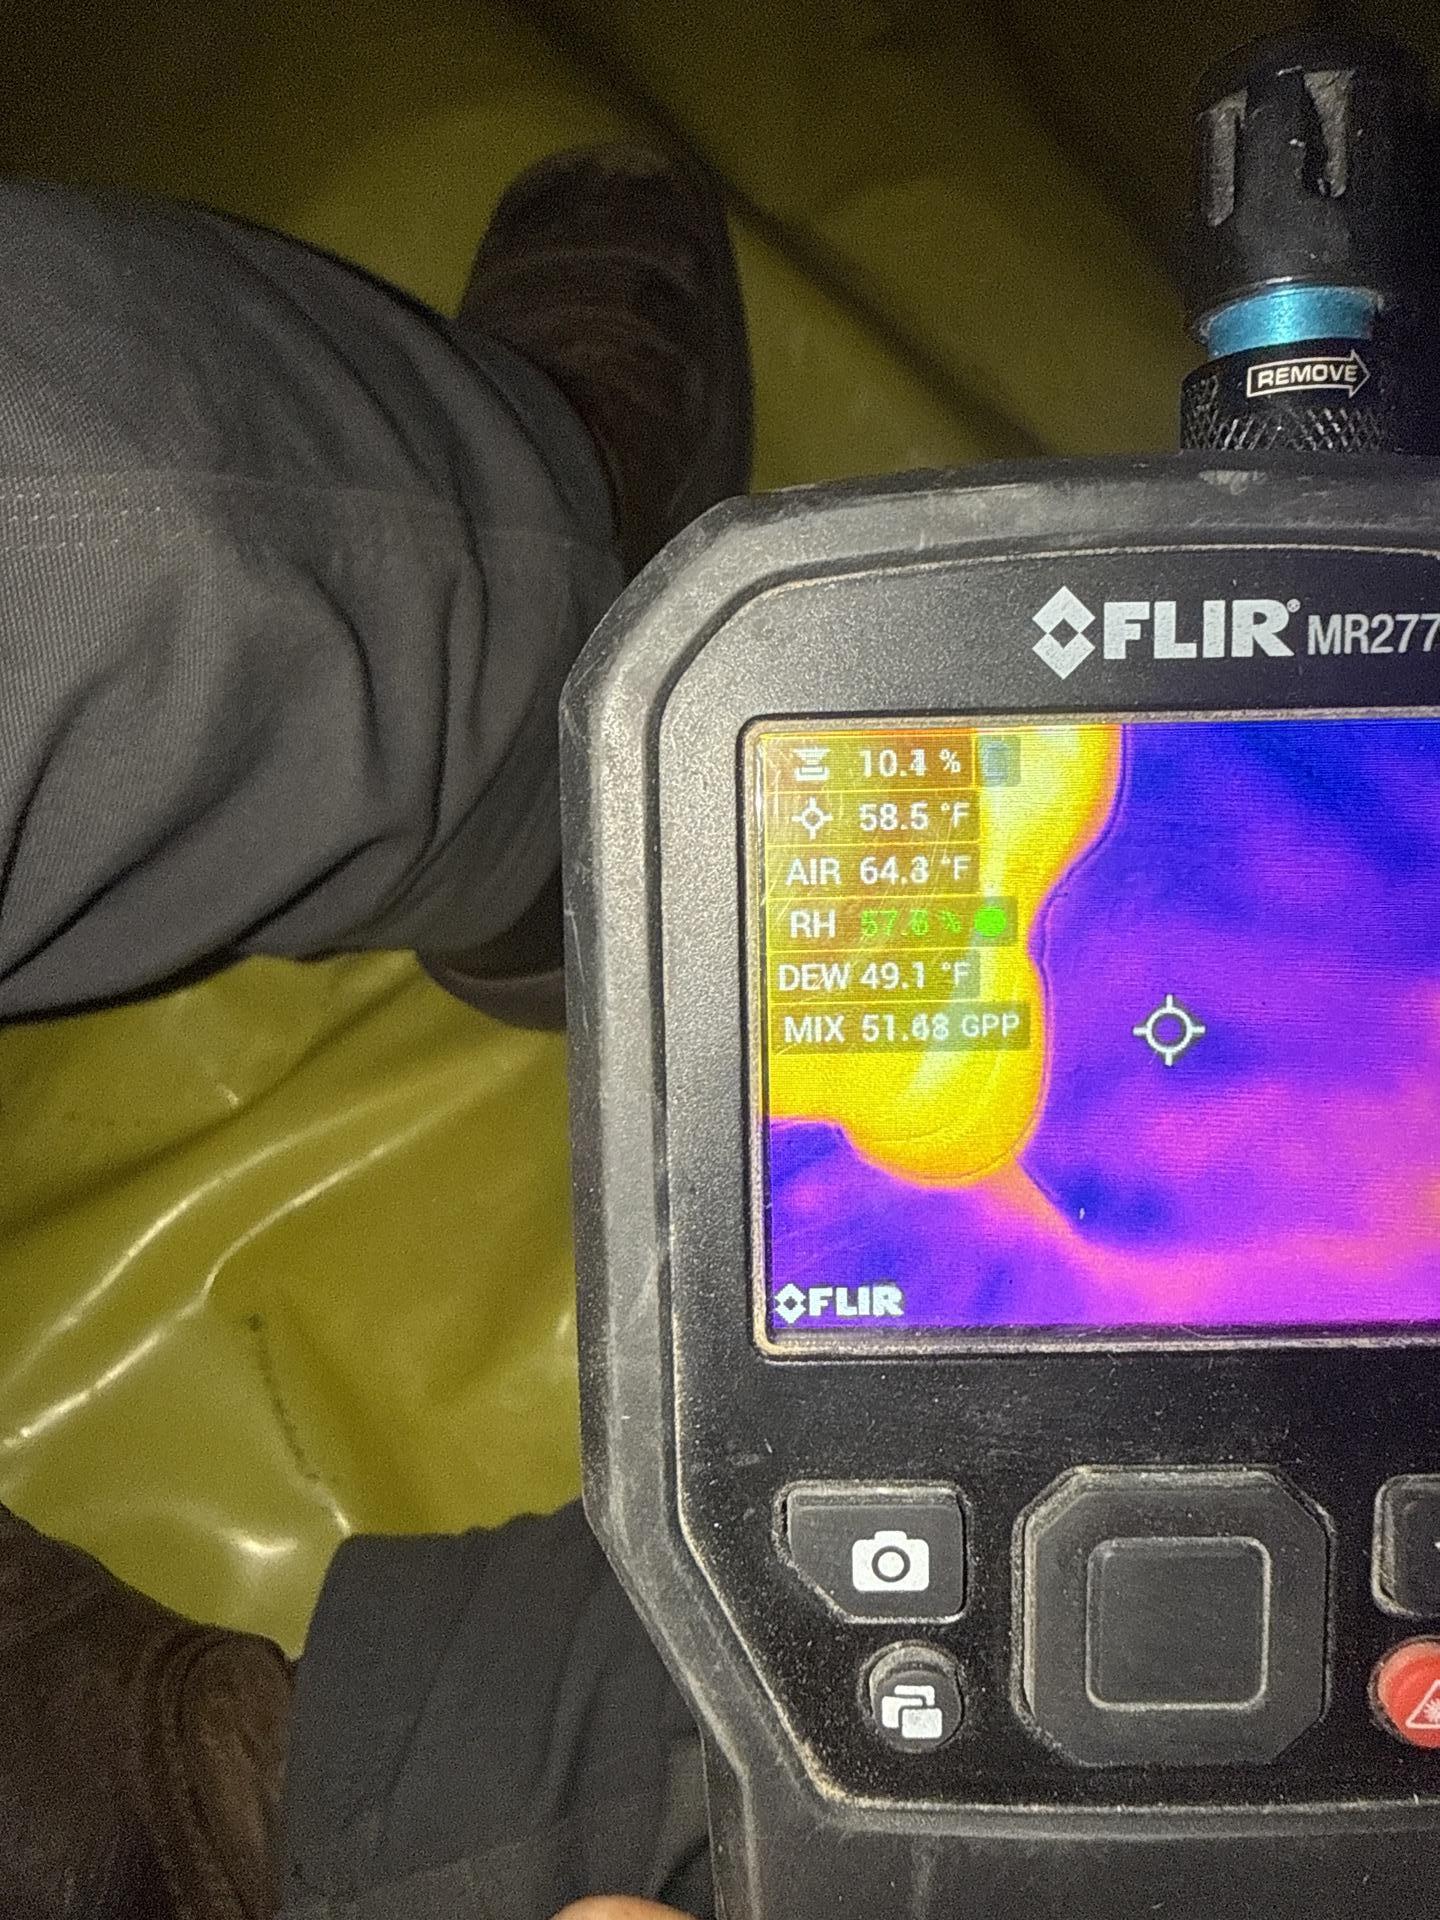
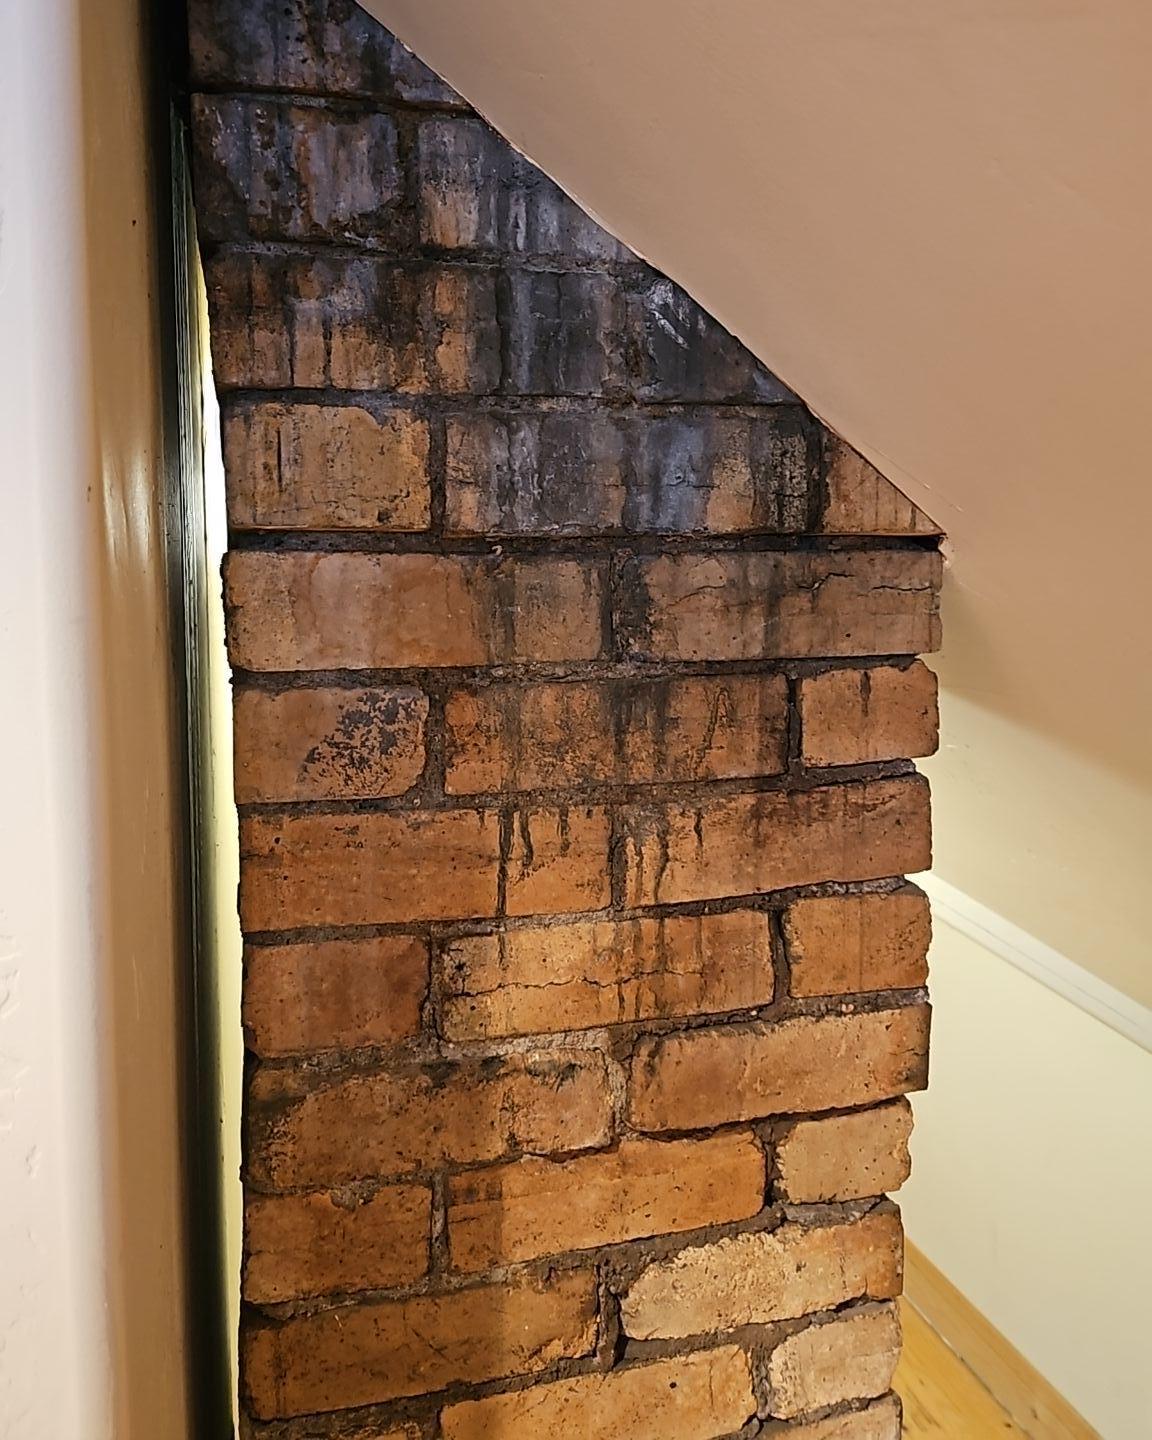
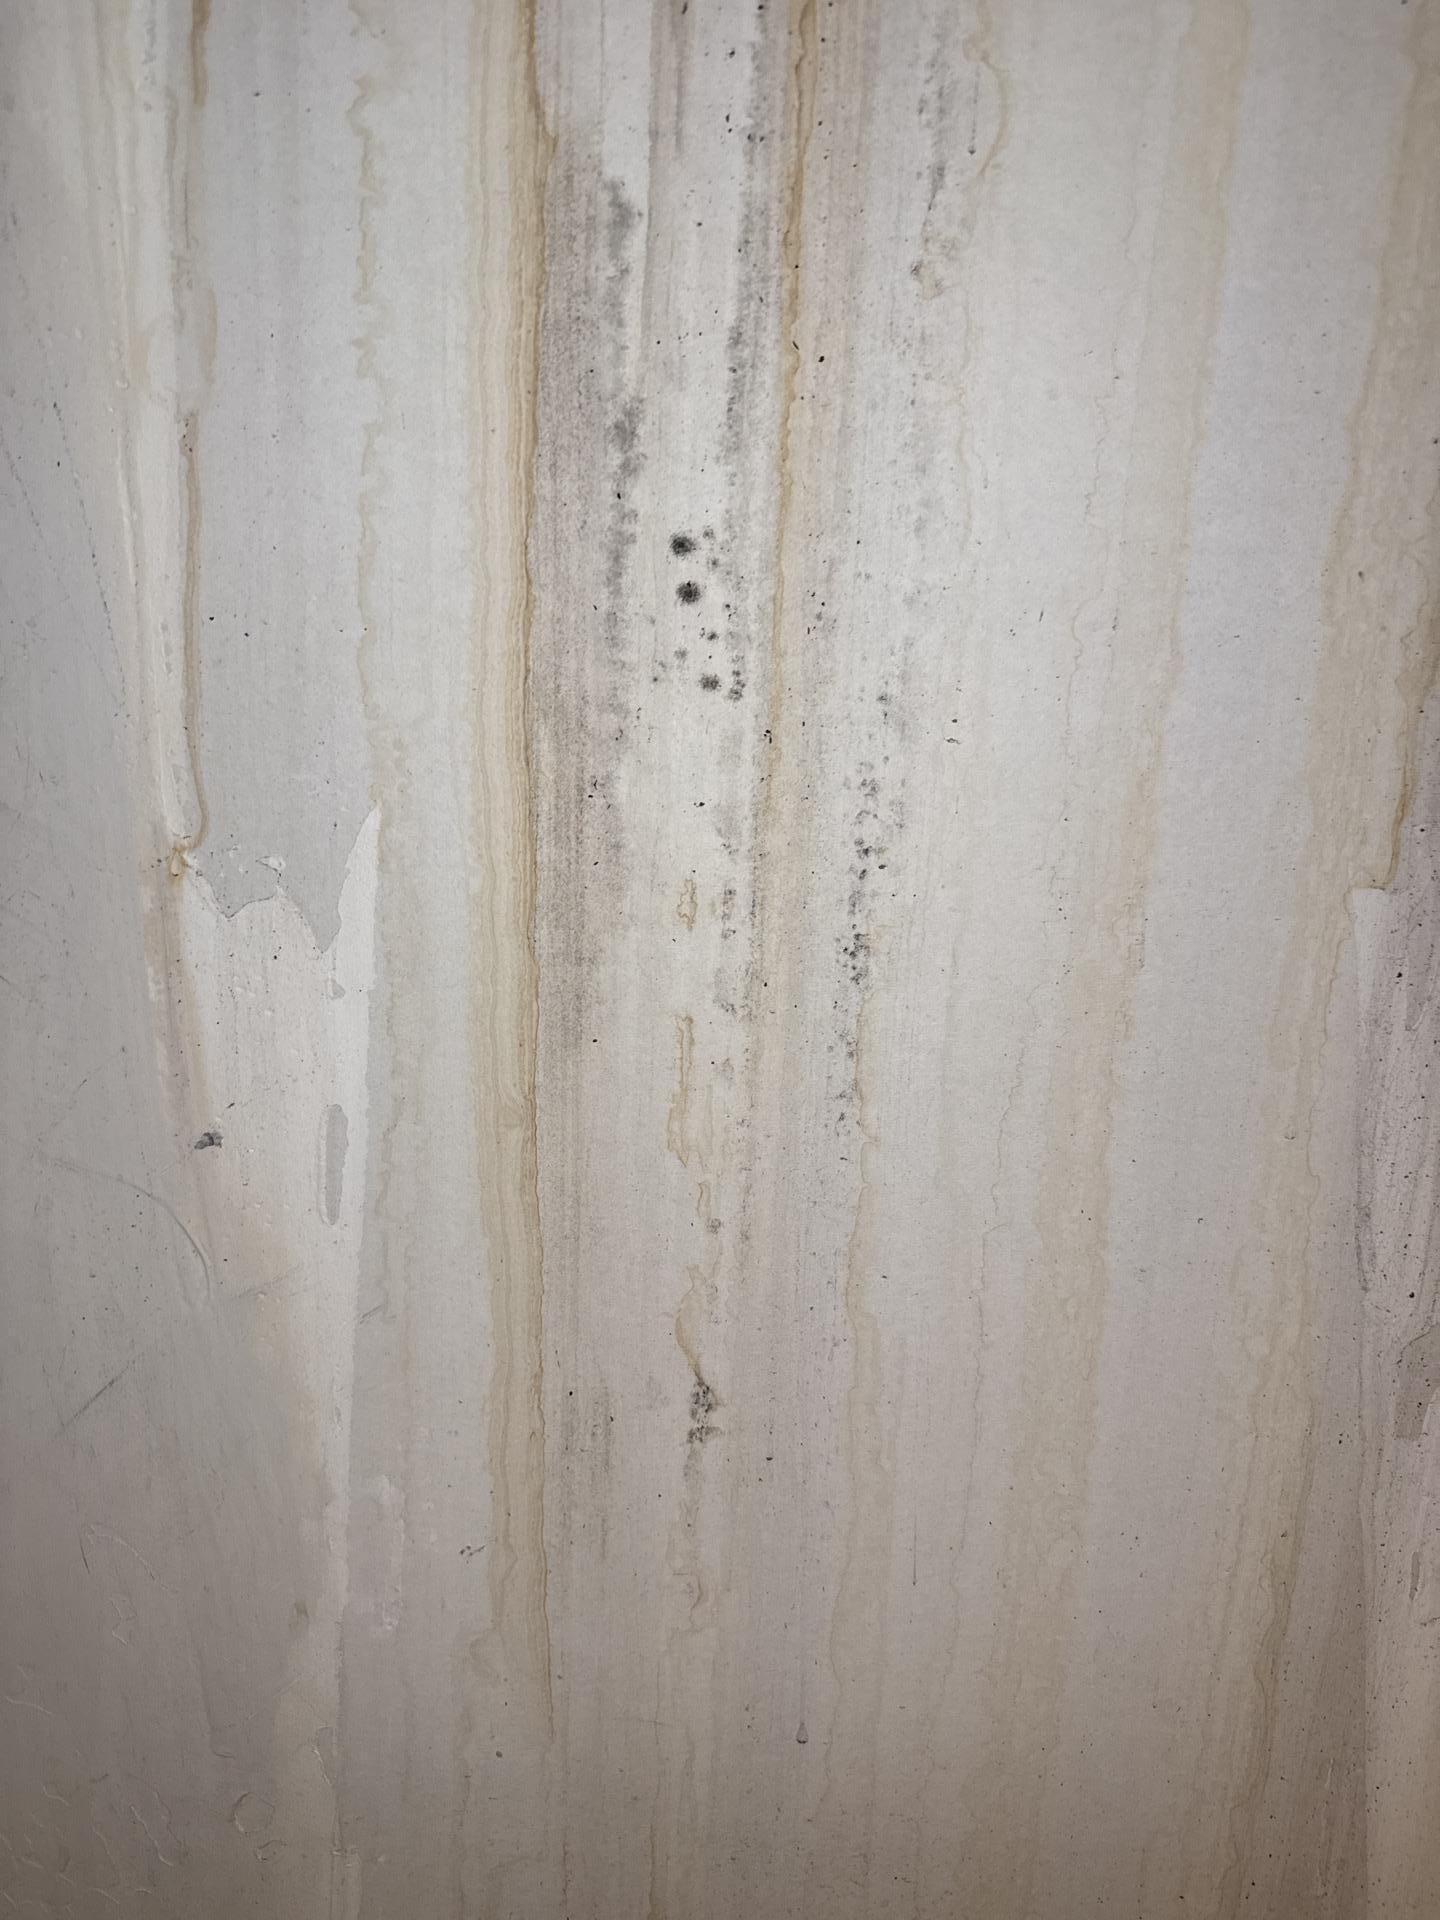
Our techs did a full walkthrough with moisture meters. The main living spaces came back clean, good news for the homeowner. The trouble was above and below: the wall around the loft chimney and the crawlspace under the house.
The crawlspace was the real culprit, with high humidity and damp surfaces. According to the EPA’s mold cleanup guidance, controlling moisture is the most important step in stopping mold for good. So that’s where we focused.
 |
 |
 |
 |
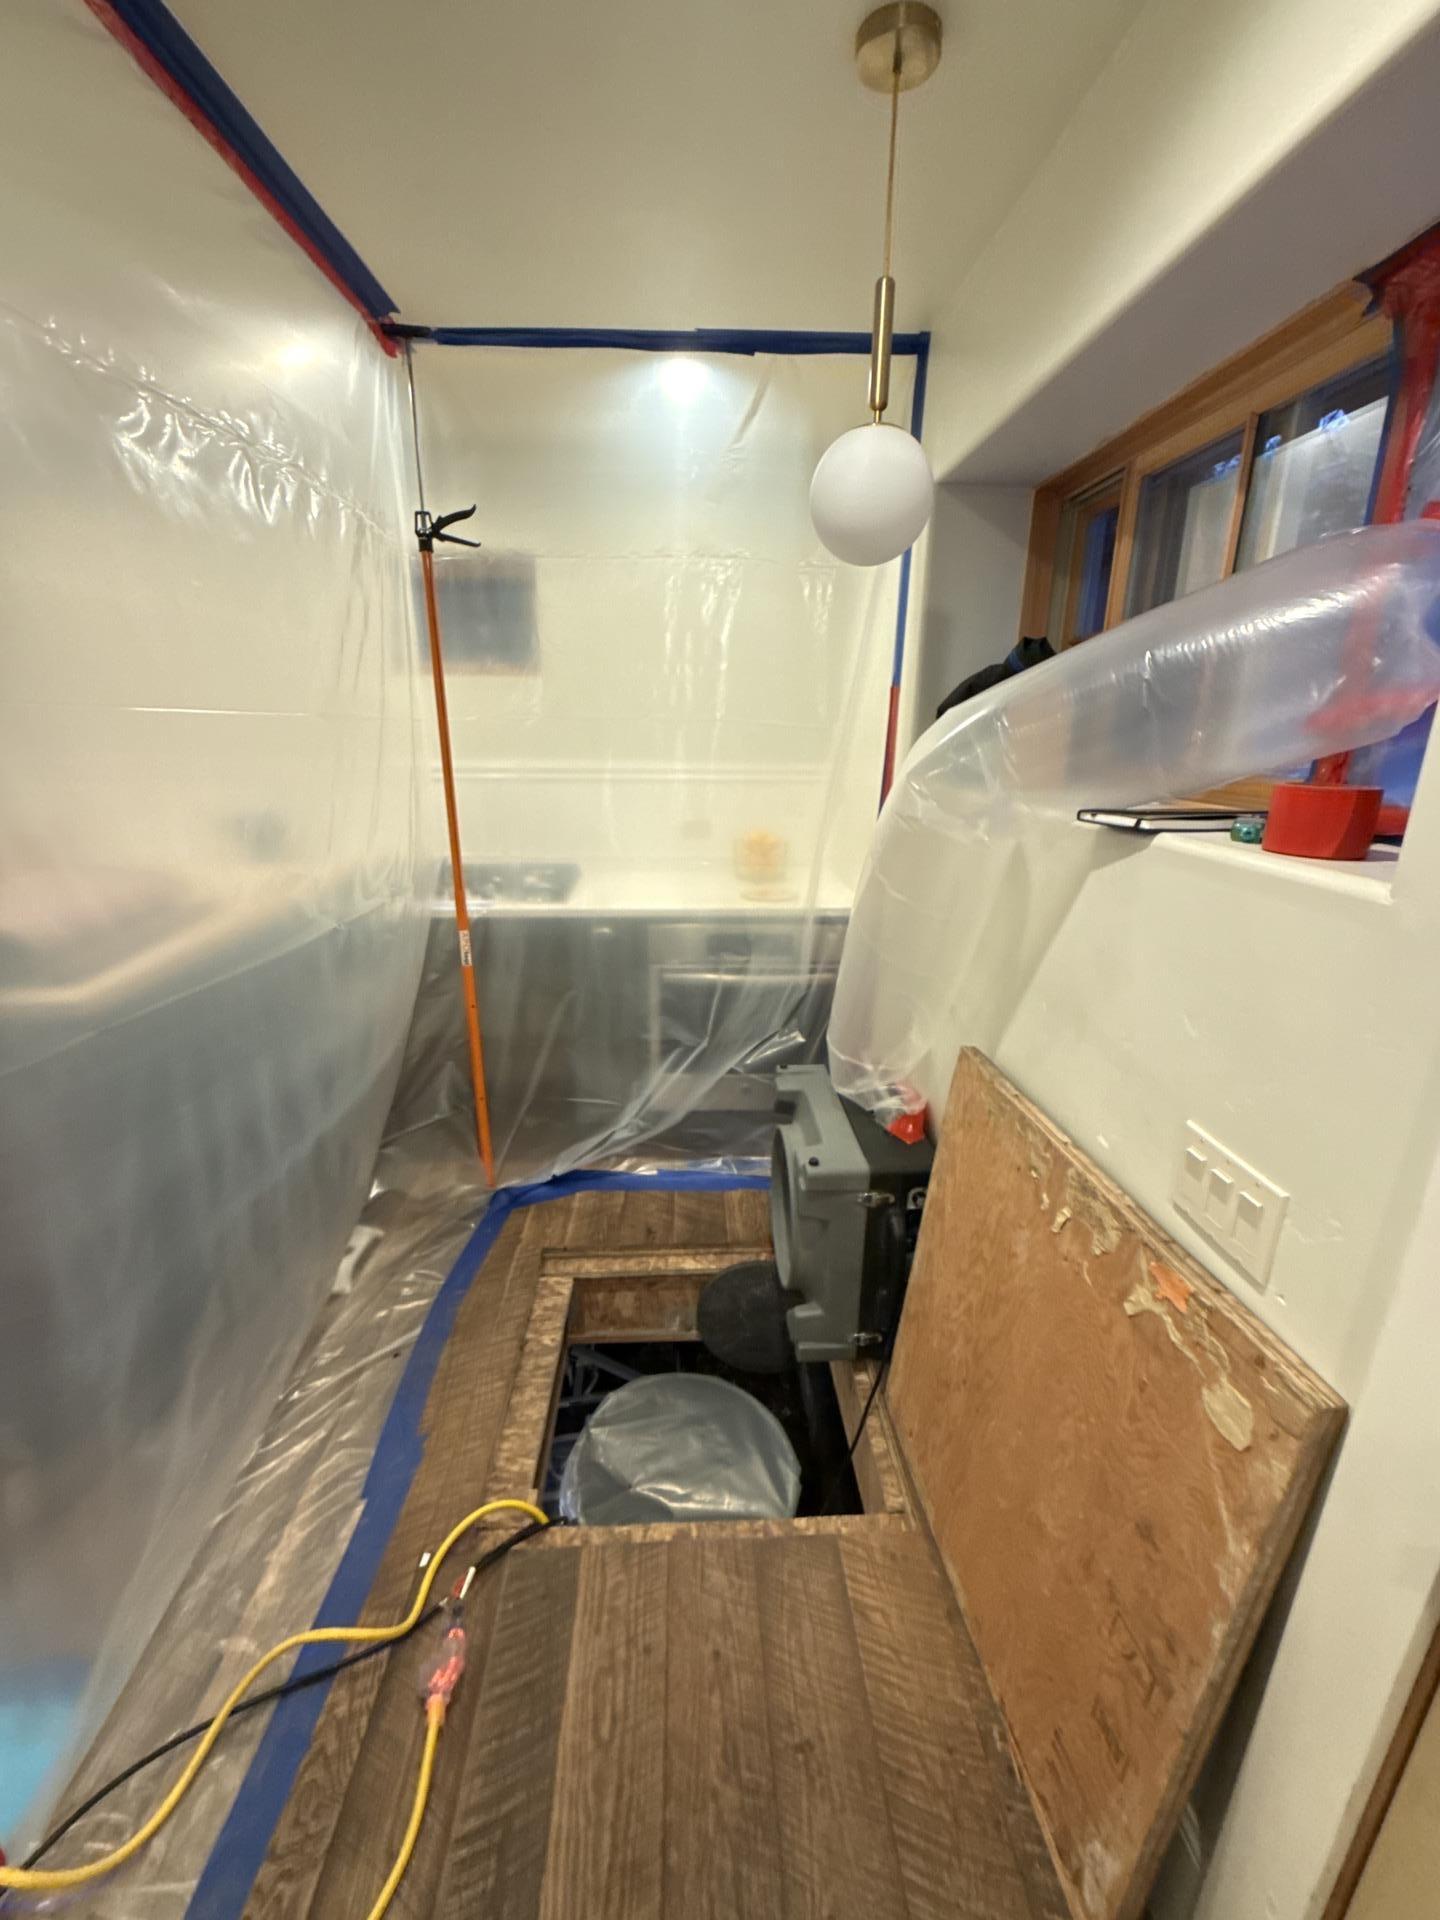 |
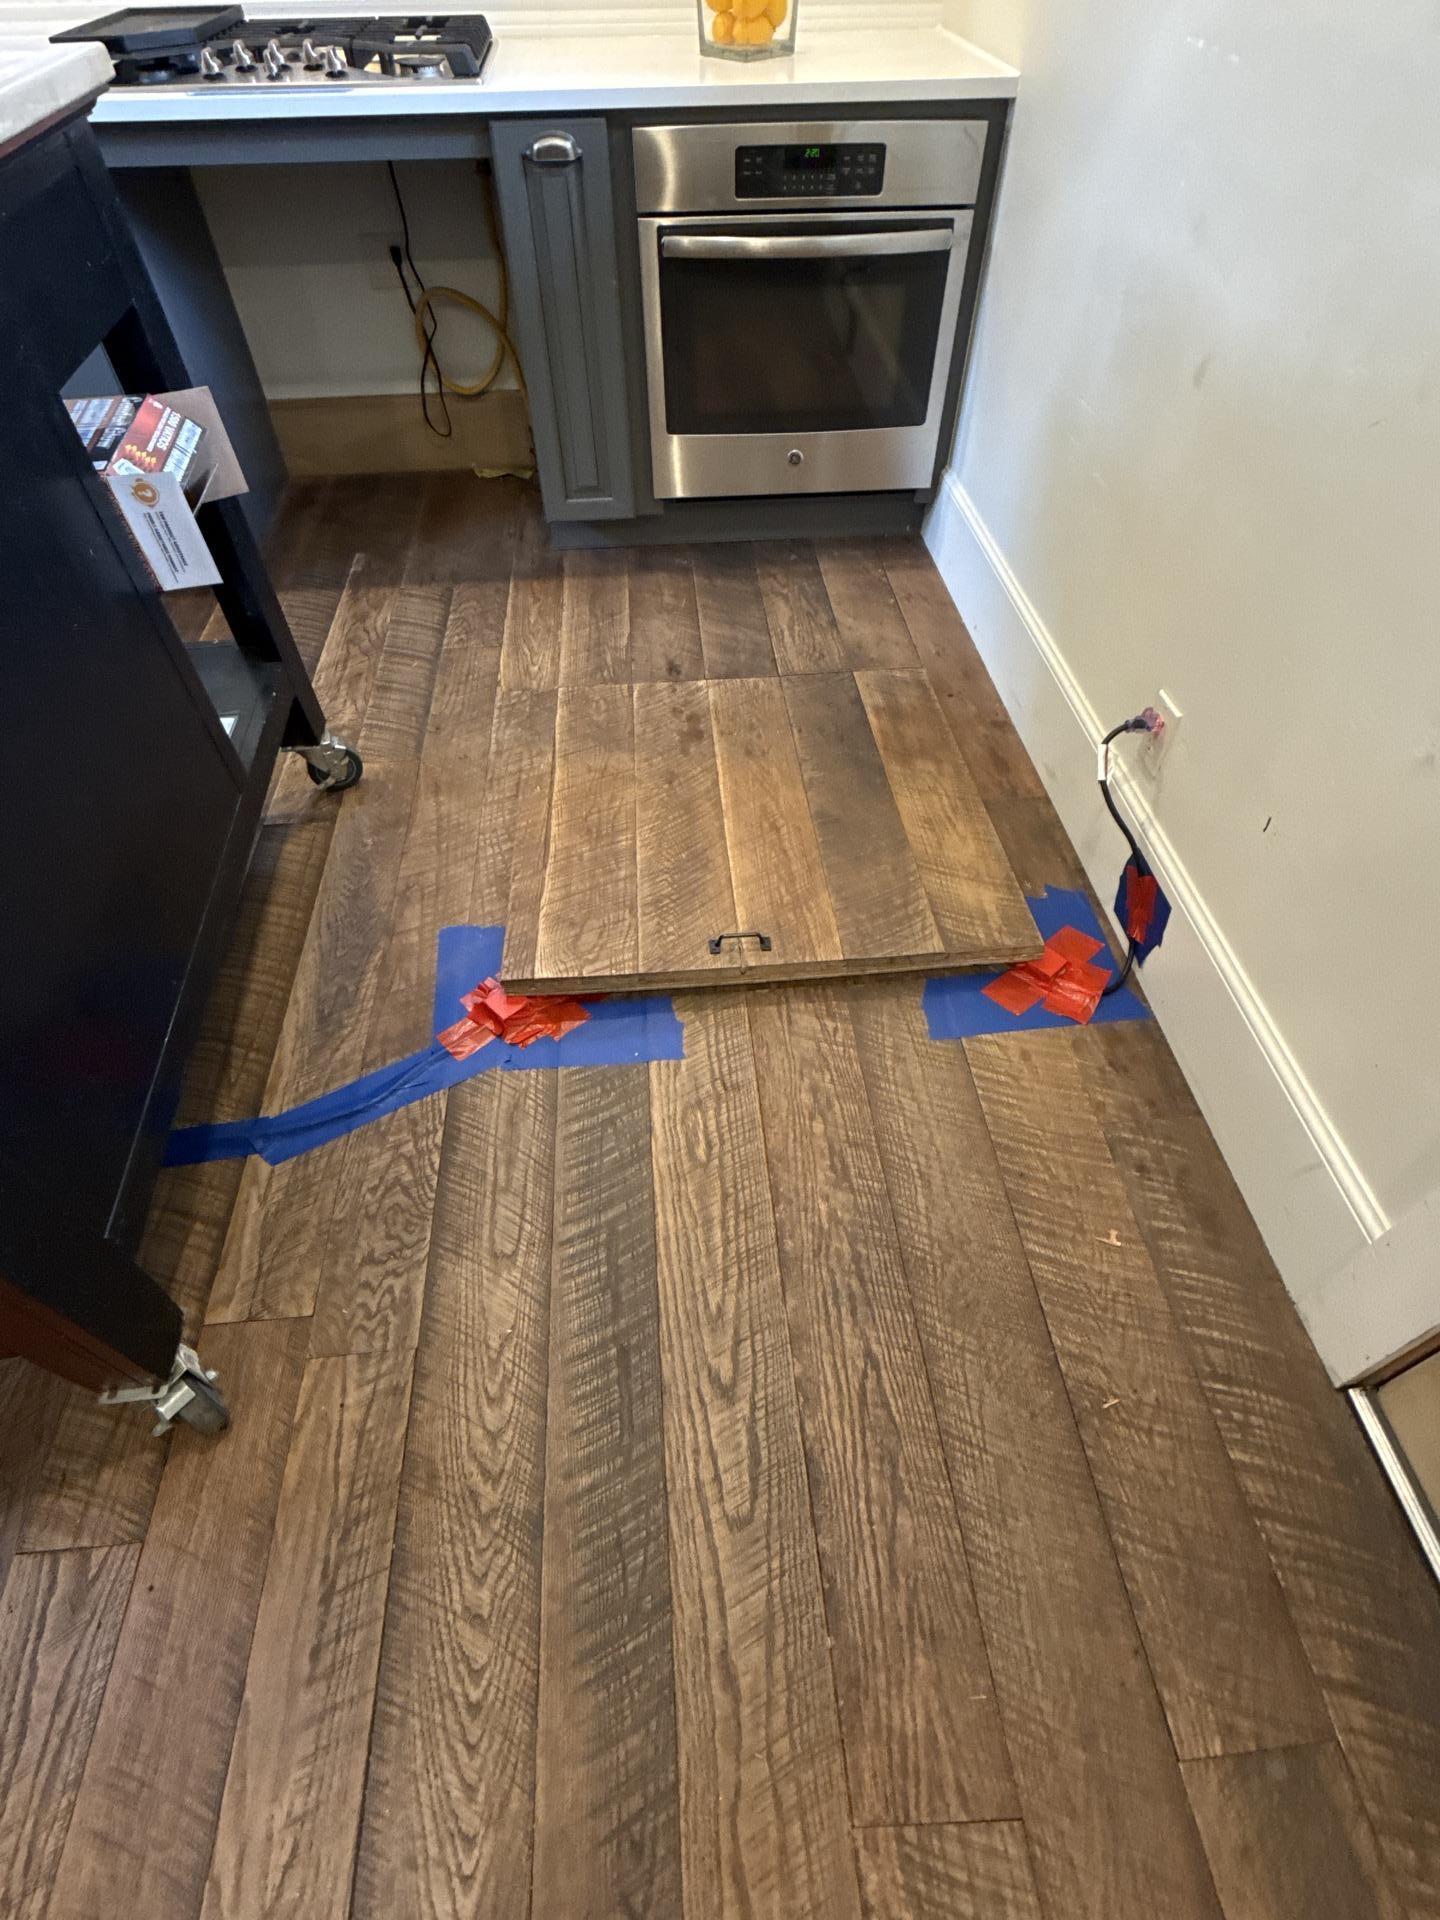
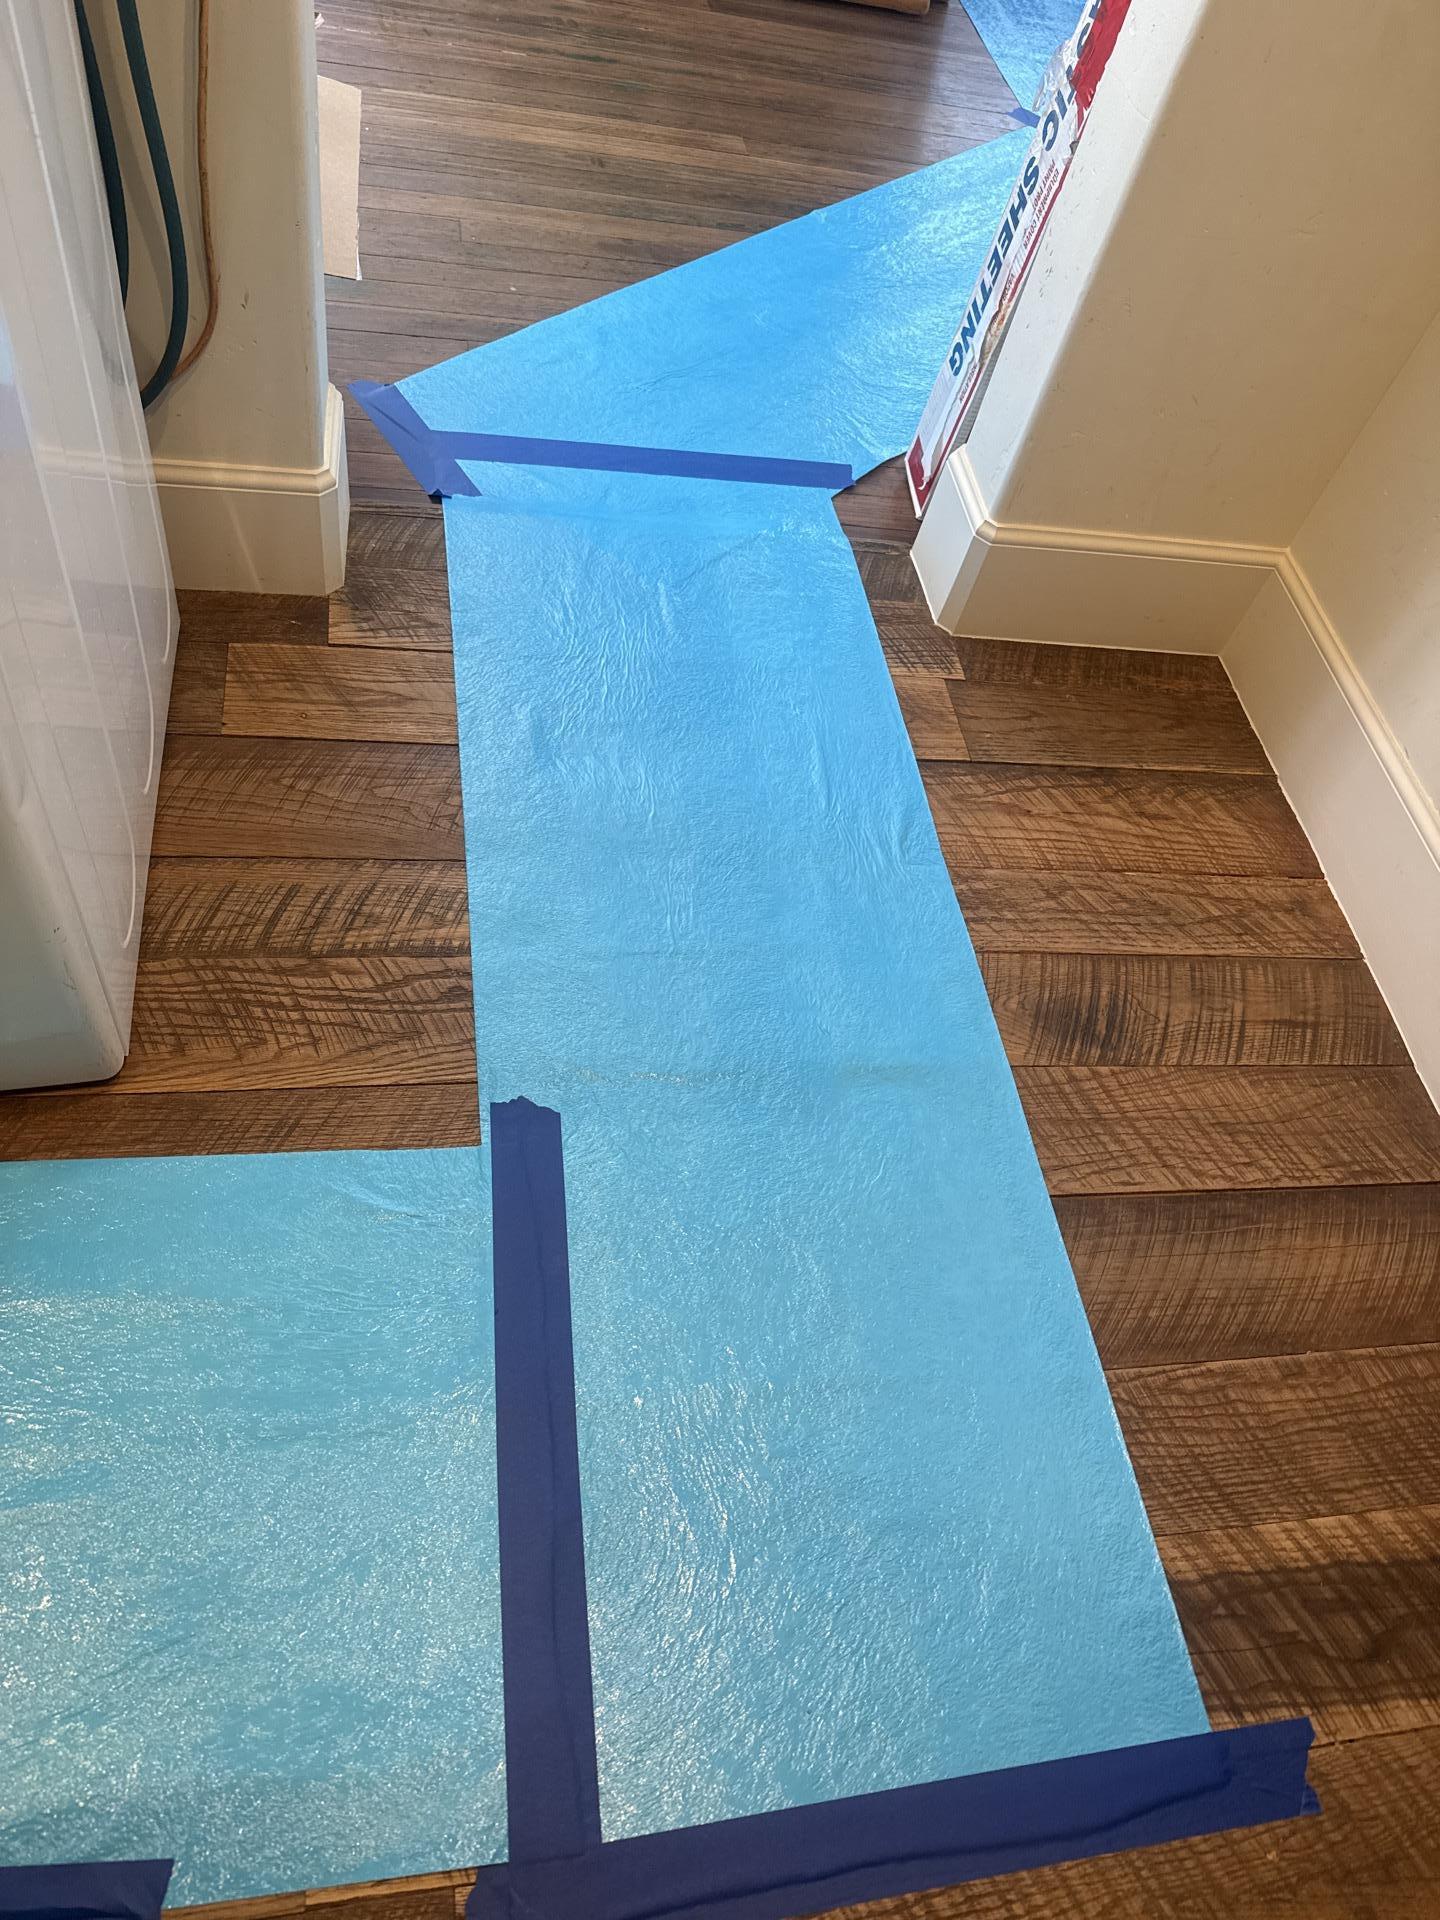
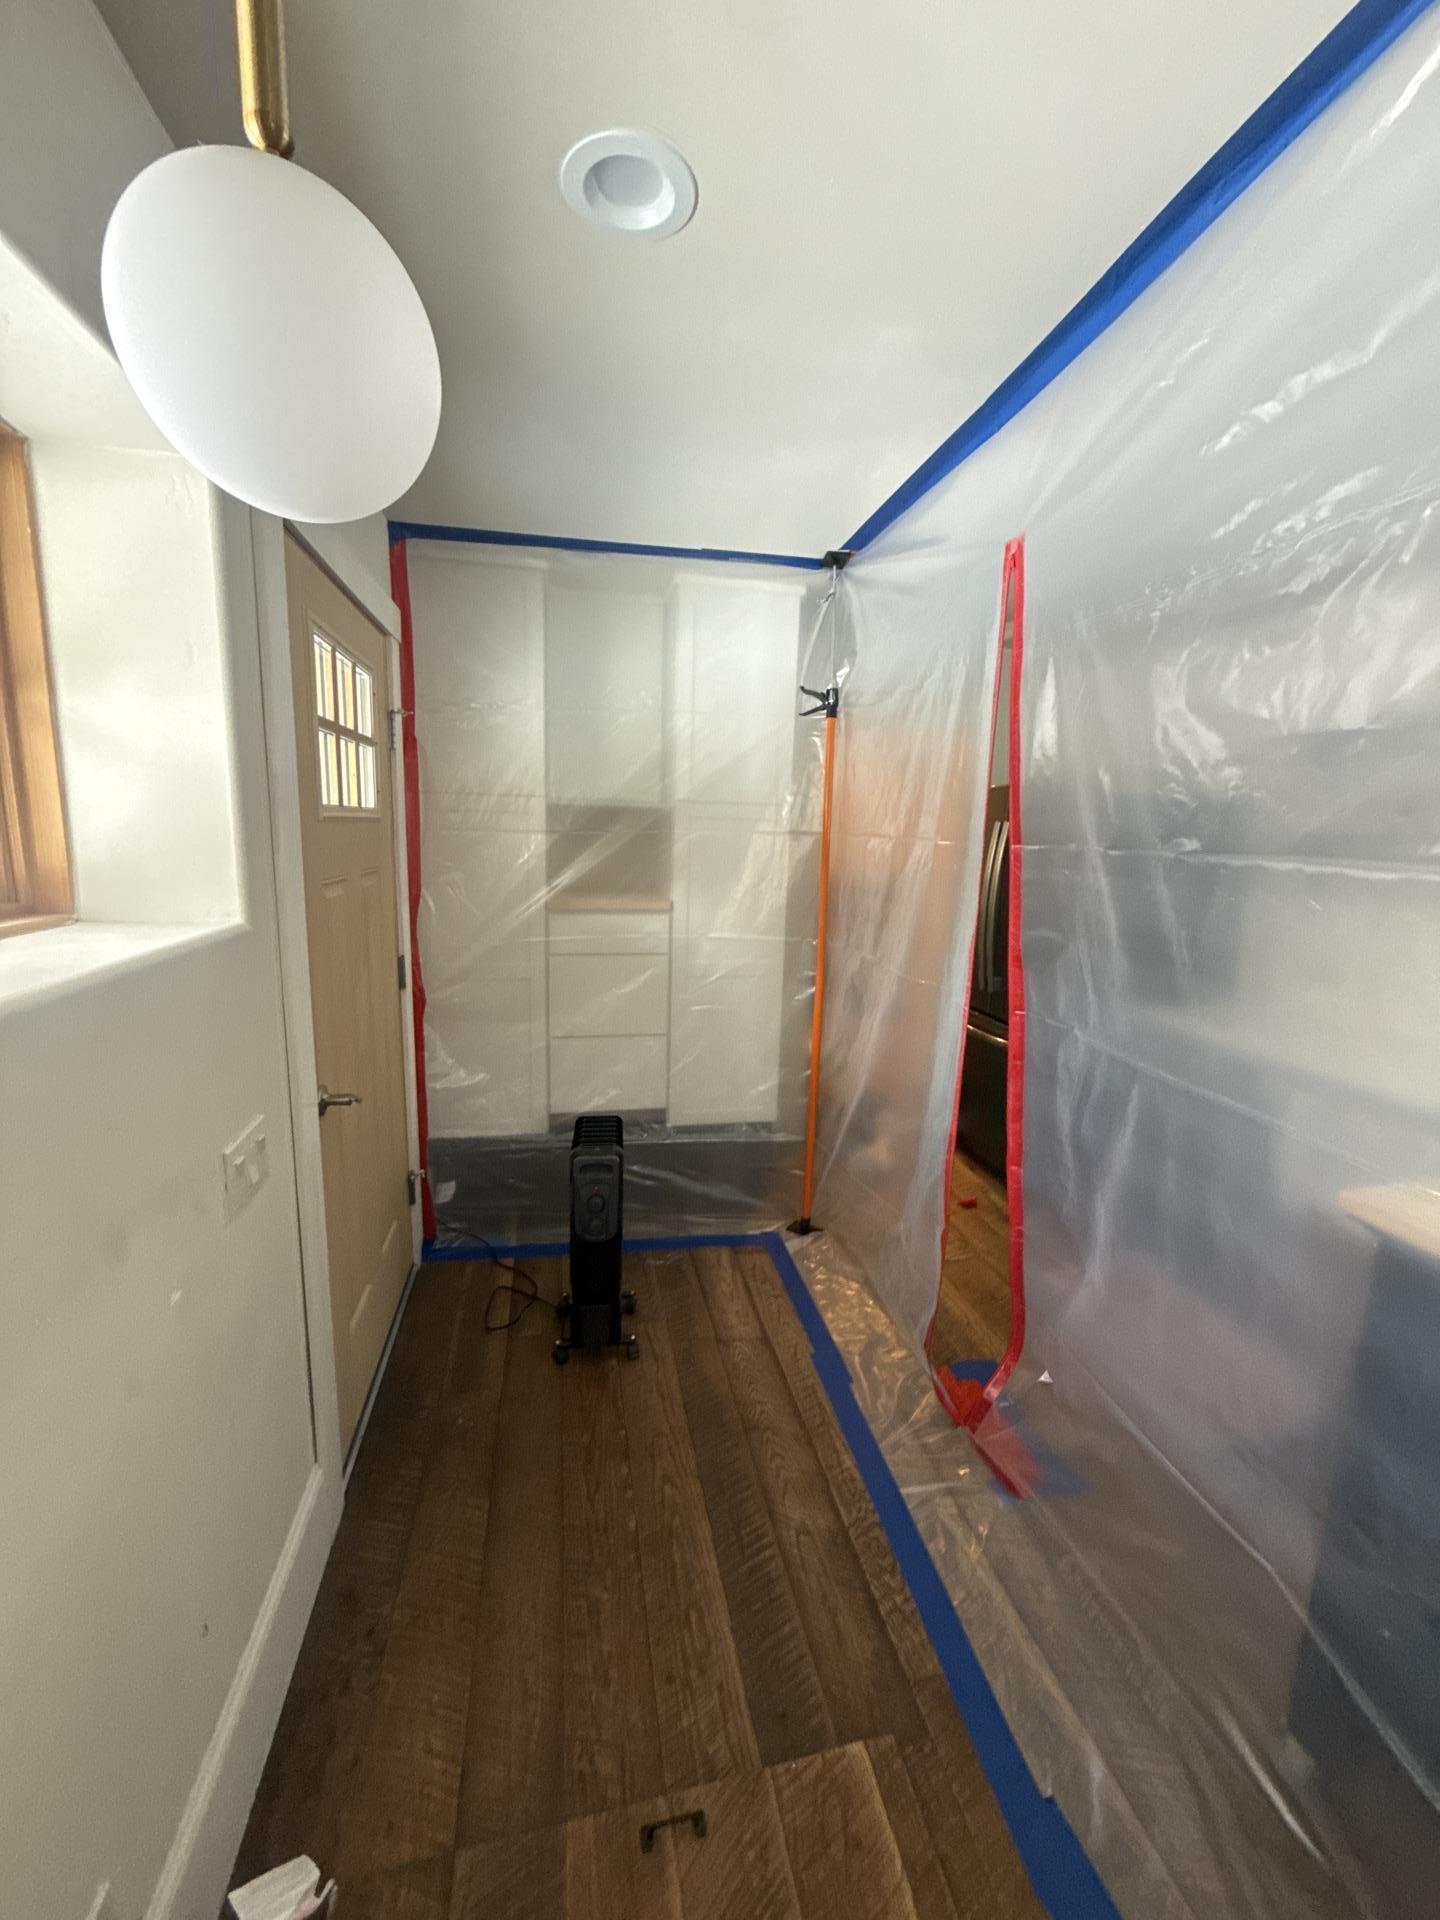
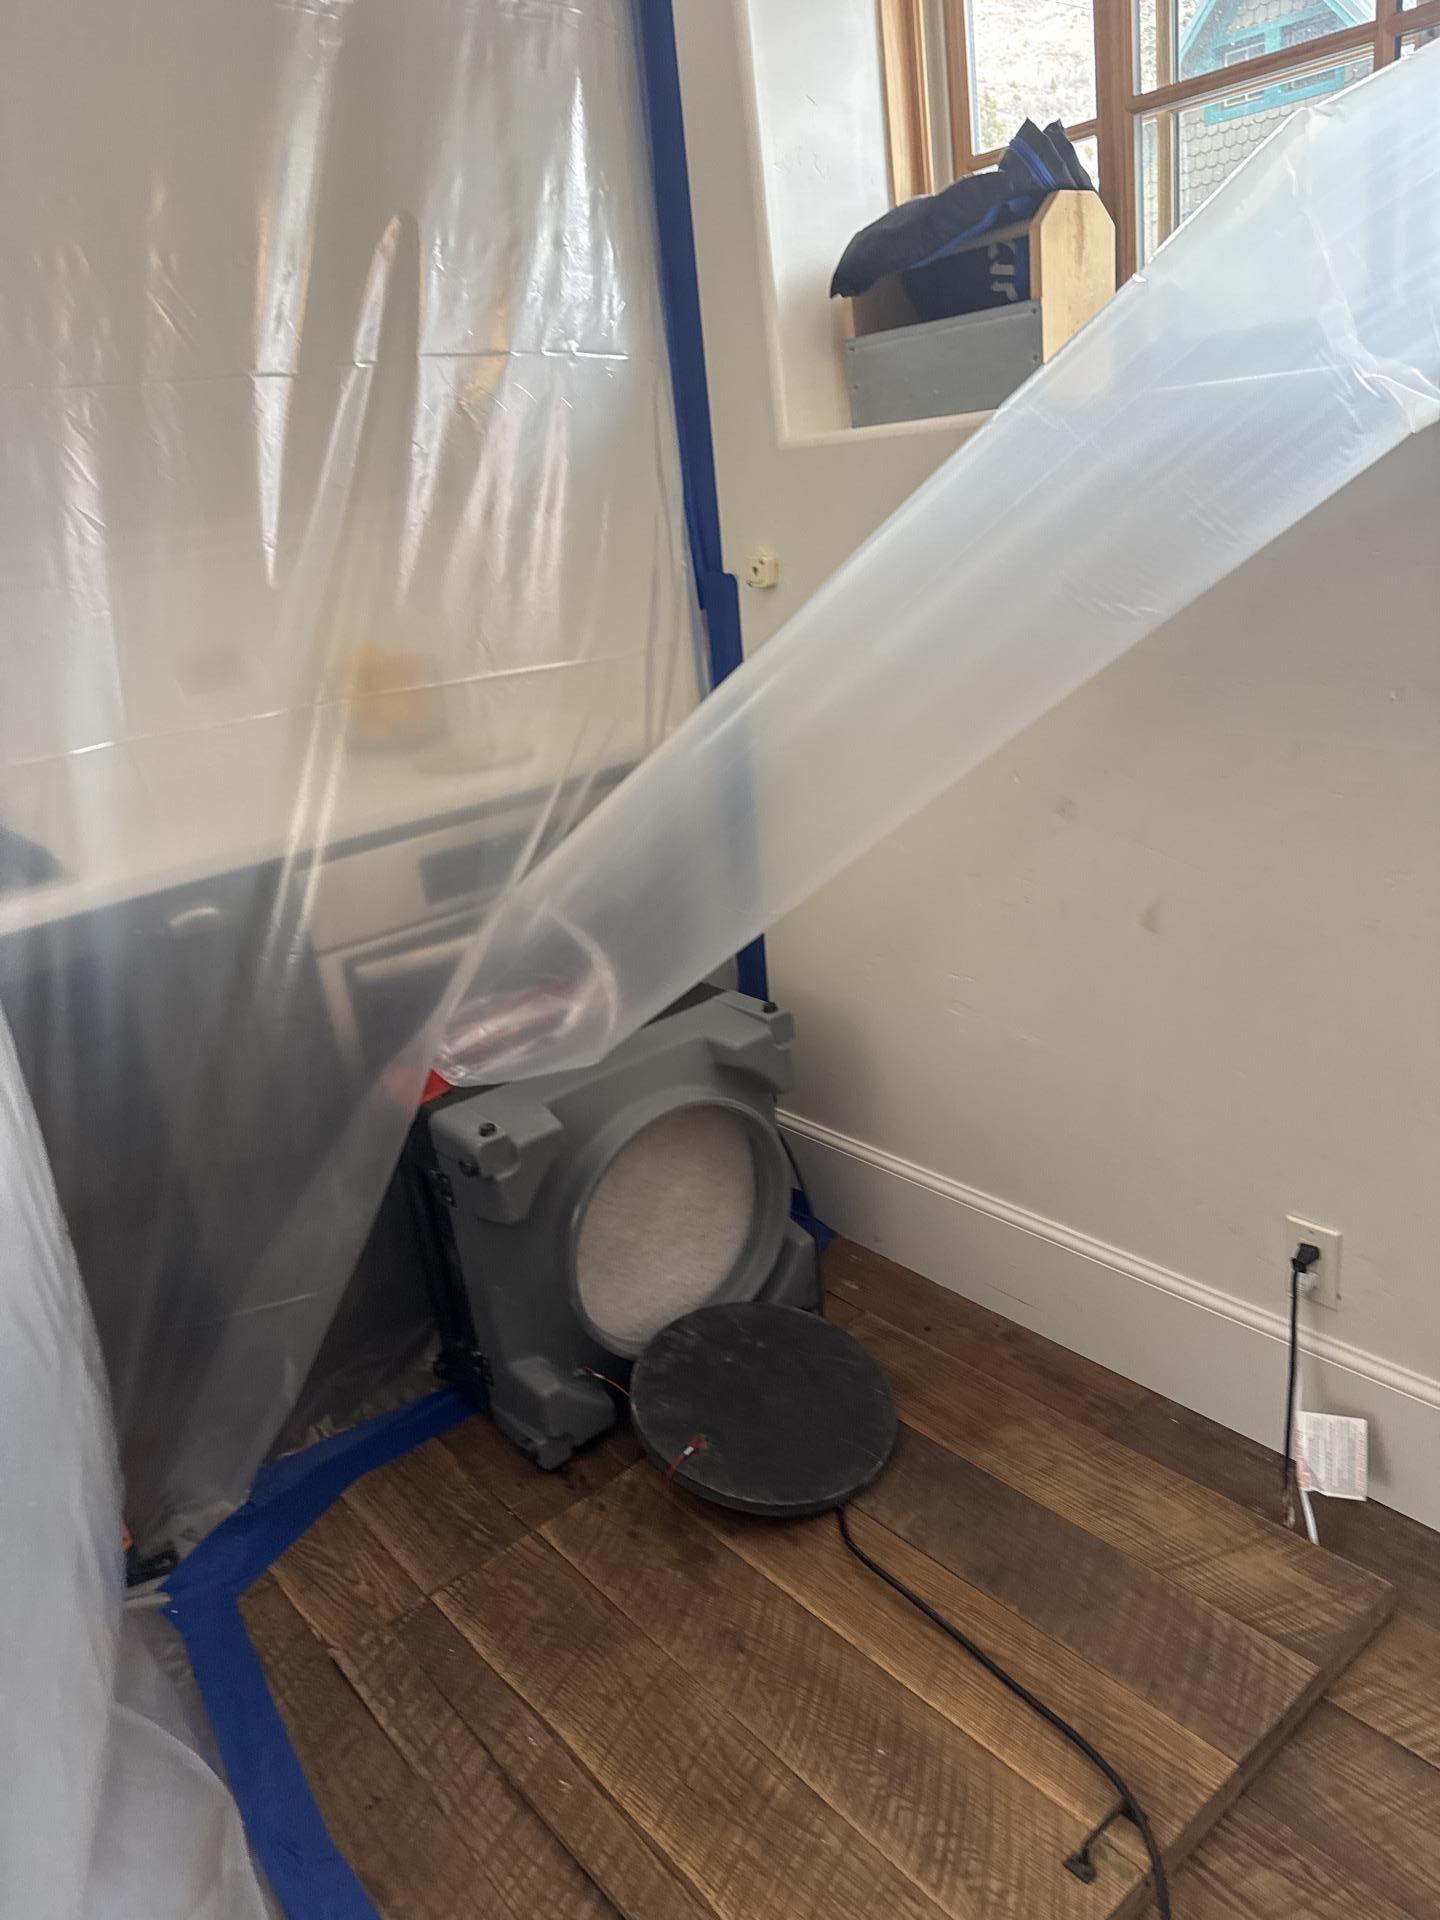
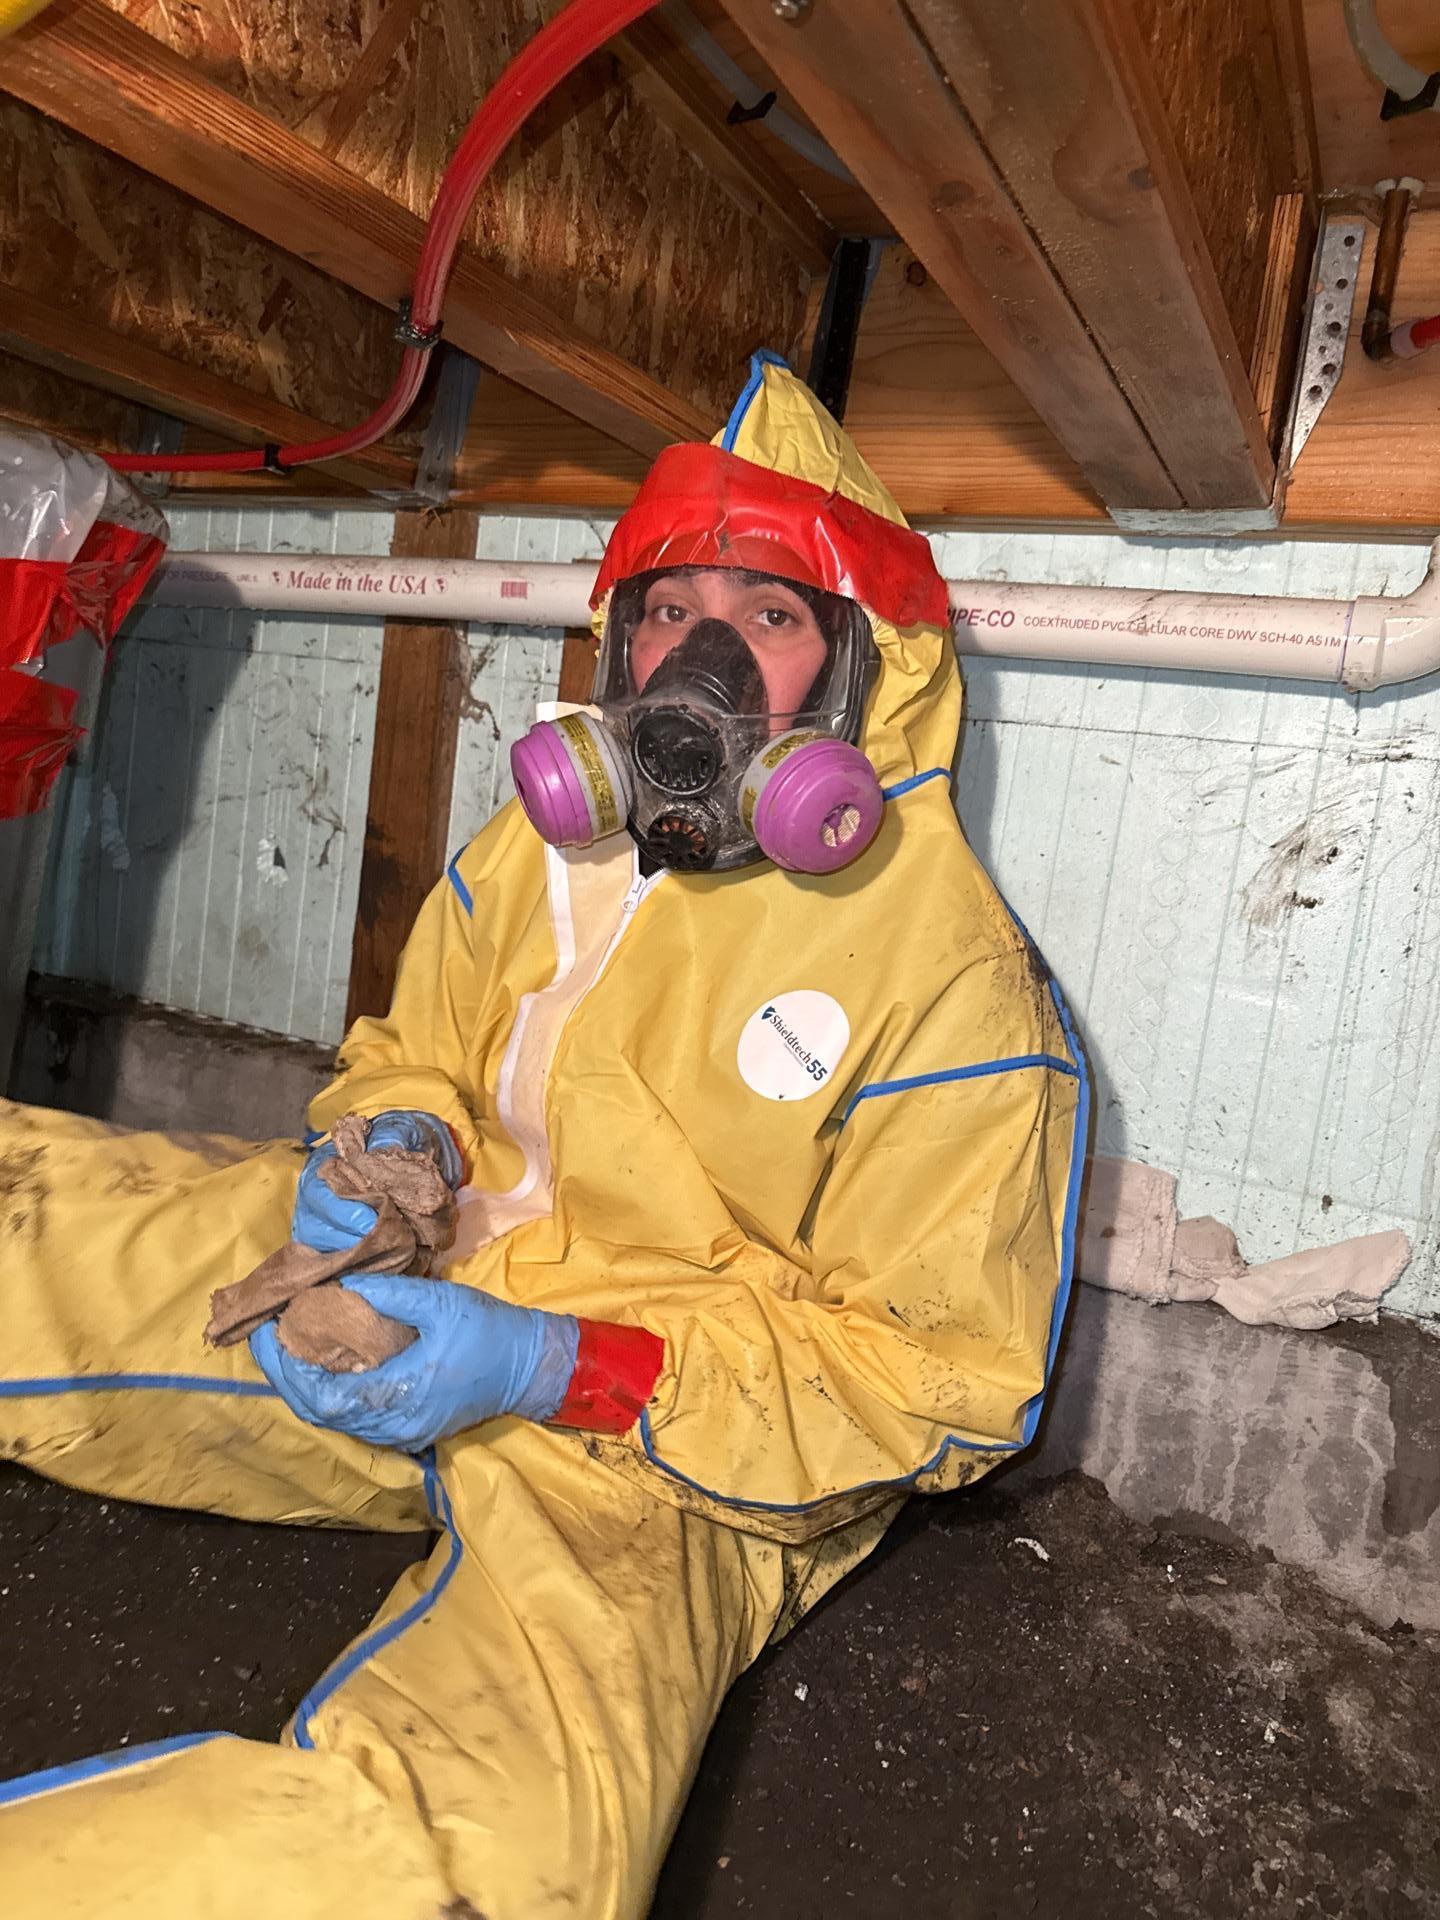
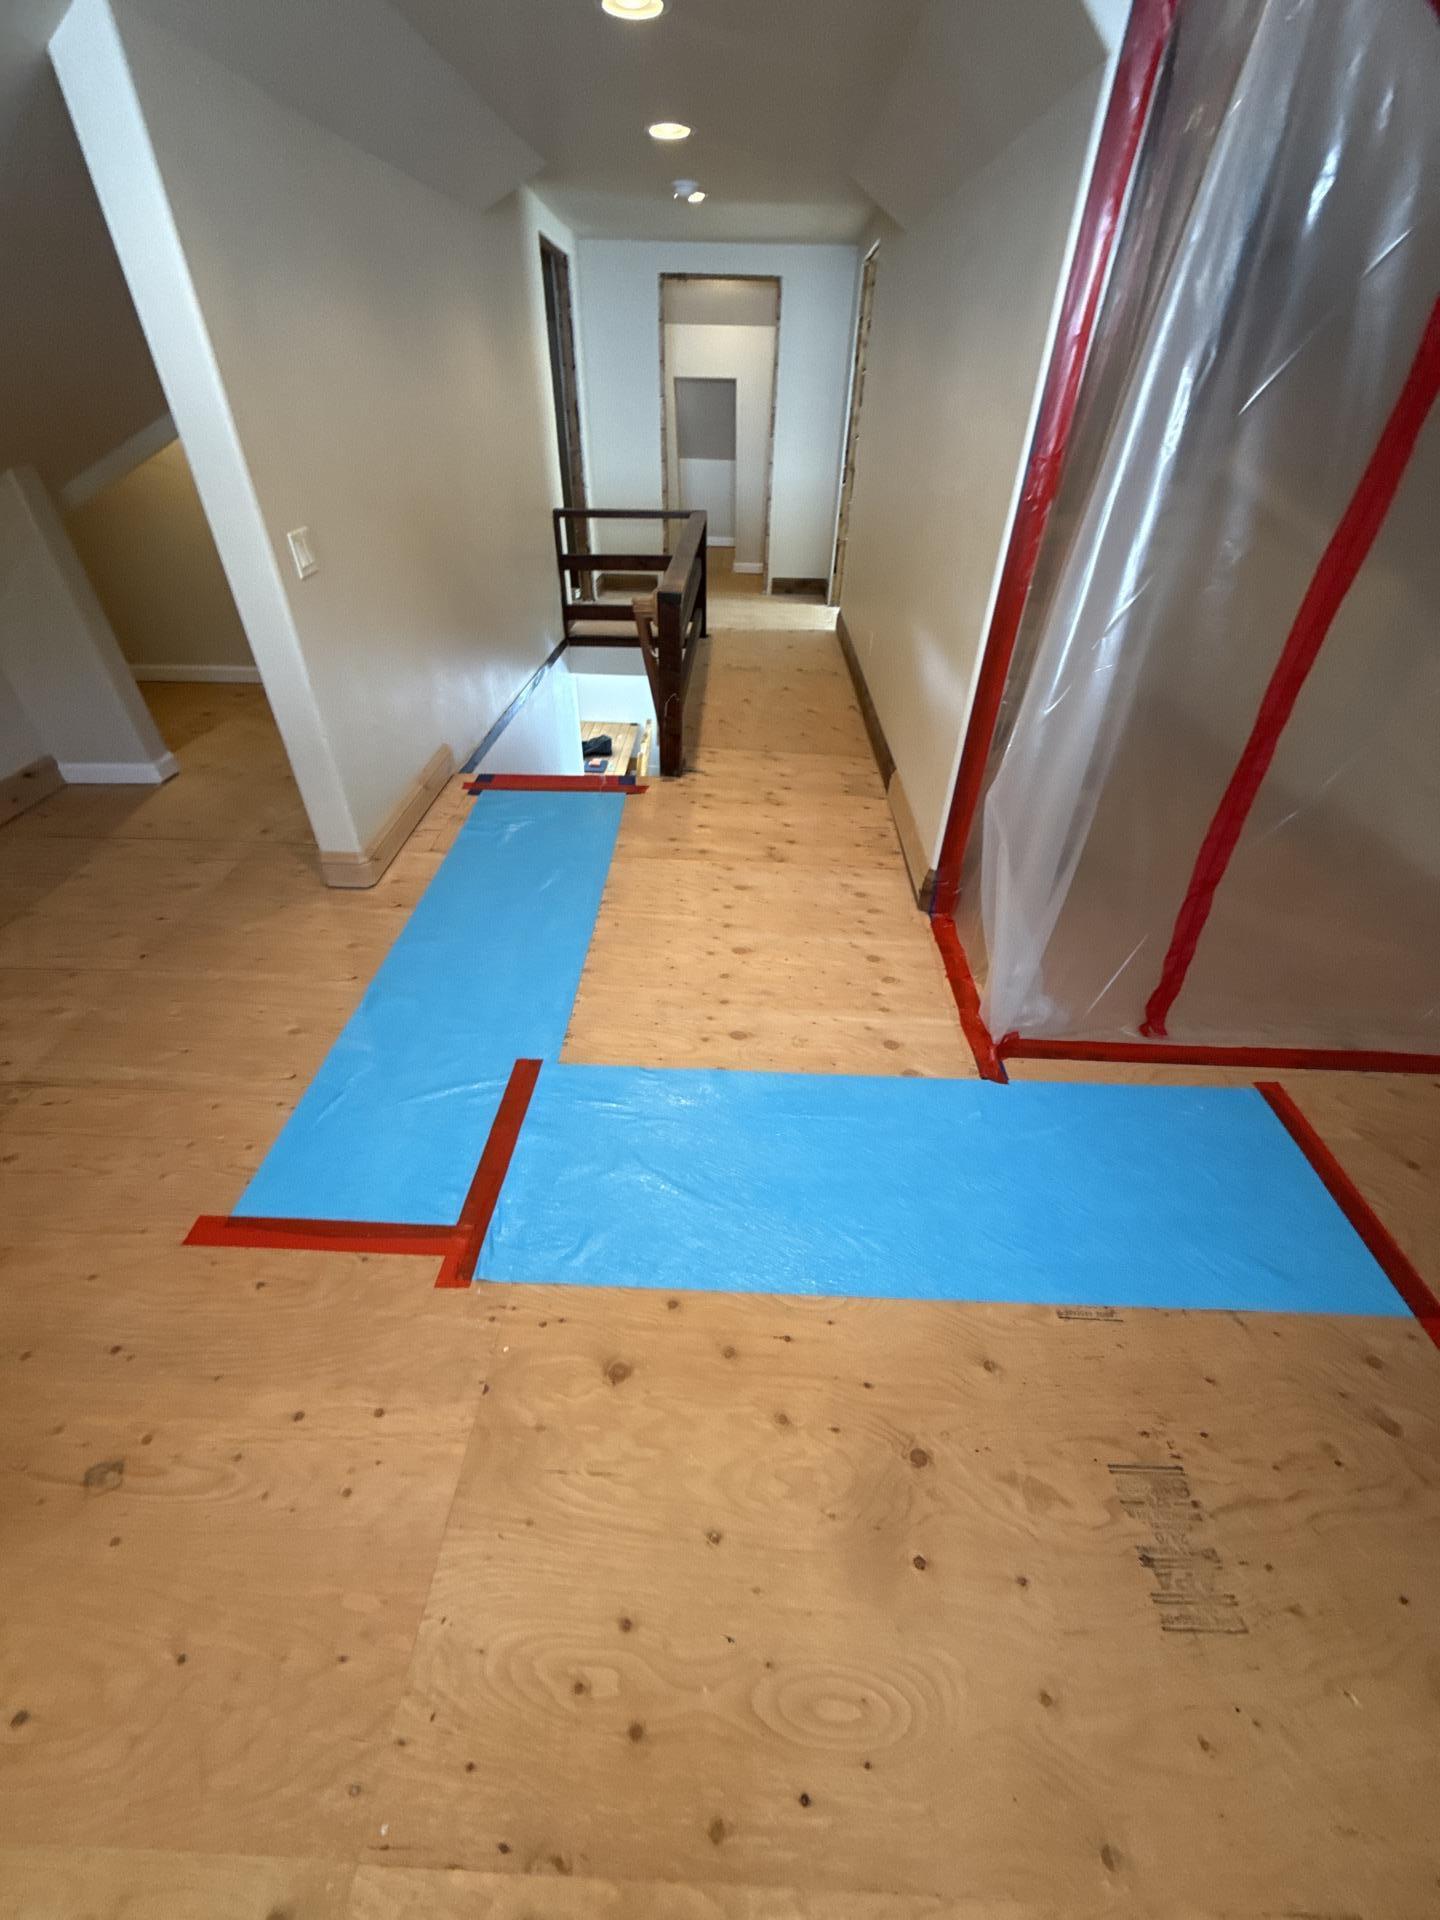
Our team set up containment at the kitchen crawlspace access before any work began.
Why We Seal Everything Off First
Before we touch mold, we build a wall around it. Containment keeps spores from drifting into clean parts of the home. Skip this step and you can spread the problem to rooms that were fine.
We set up two work zones. A barrier went around the chimney and wall assembly in the loft. A contamination chamber went in at the kitchen crawlspace entry, so we could get in and out without disturbing the living space.
Inside each zone we ran negative air machines with HEPA filtration. That pulls dirty air through a filter and keeps pressure lower inside than outside. Extra scrubbers ran in the common area to protect the whole home’s air.
Here’s the short version of our containment approach:
- Sealed barriers around both the loft and crawlspace zones
- Negative air pressure with HEPA filtration inside each containment
- Air scrubbers running in shared spaces for extra protection
- Full personal protective equipment for every tech on site
Removing the Growth and Treating What Was Left
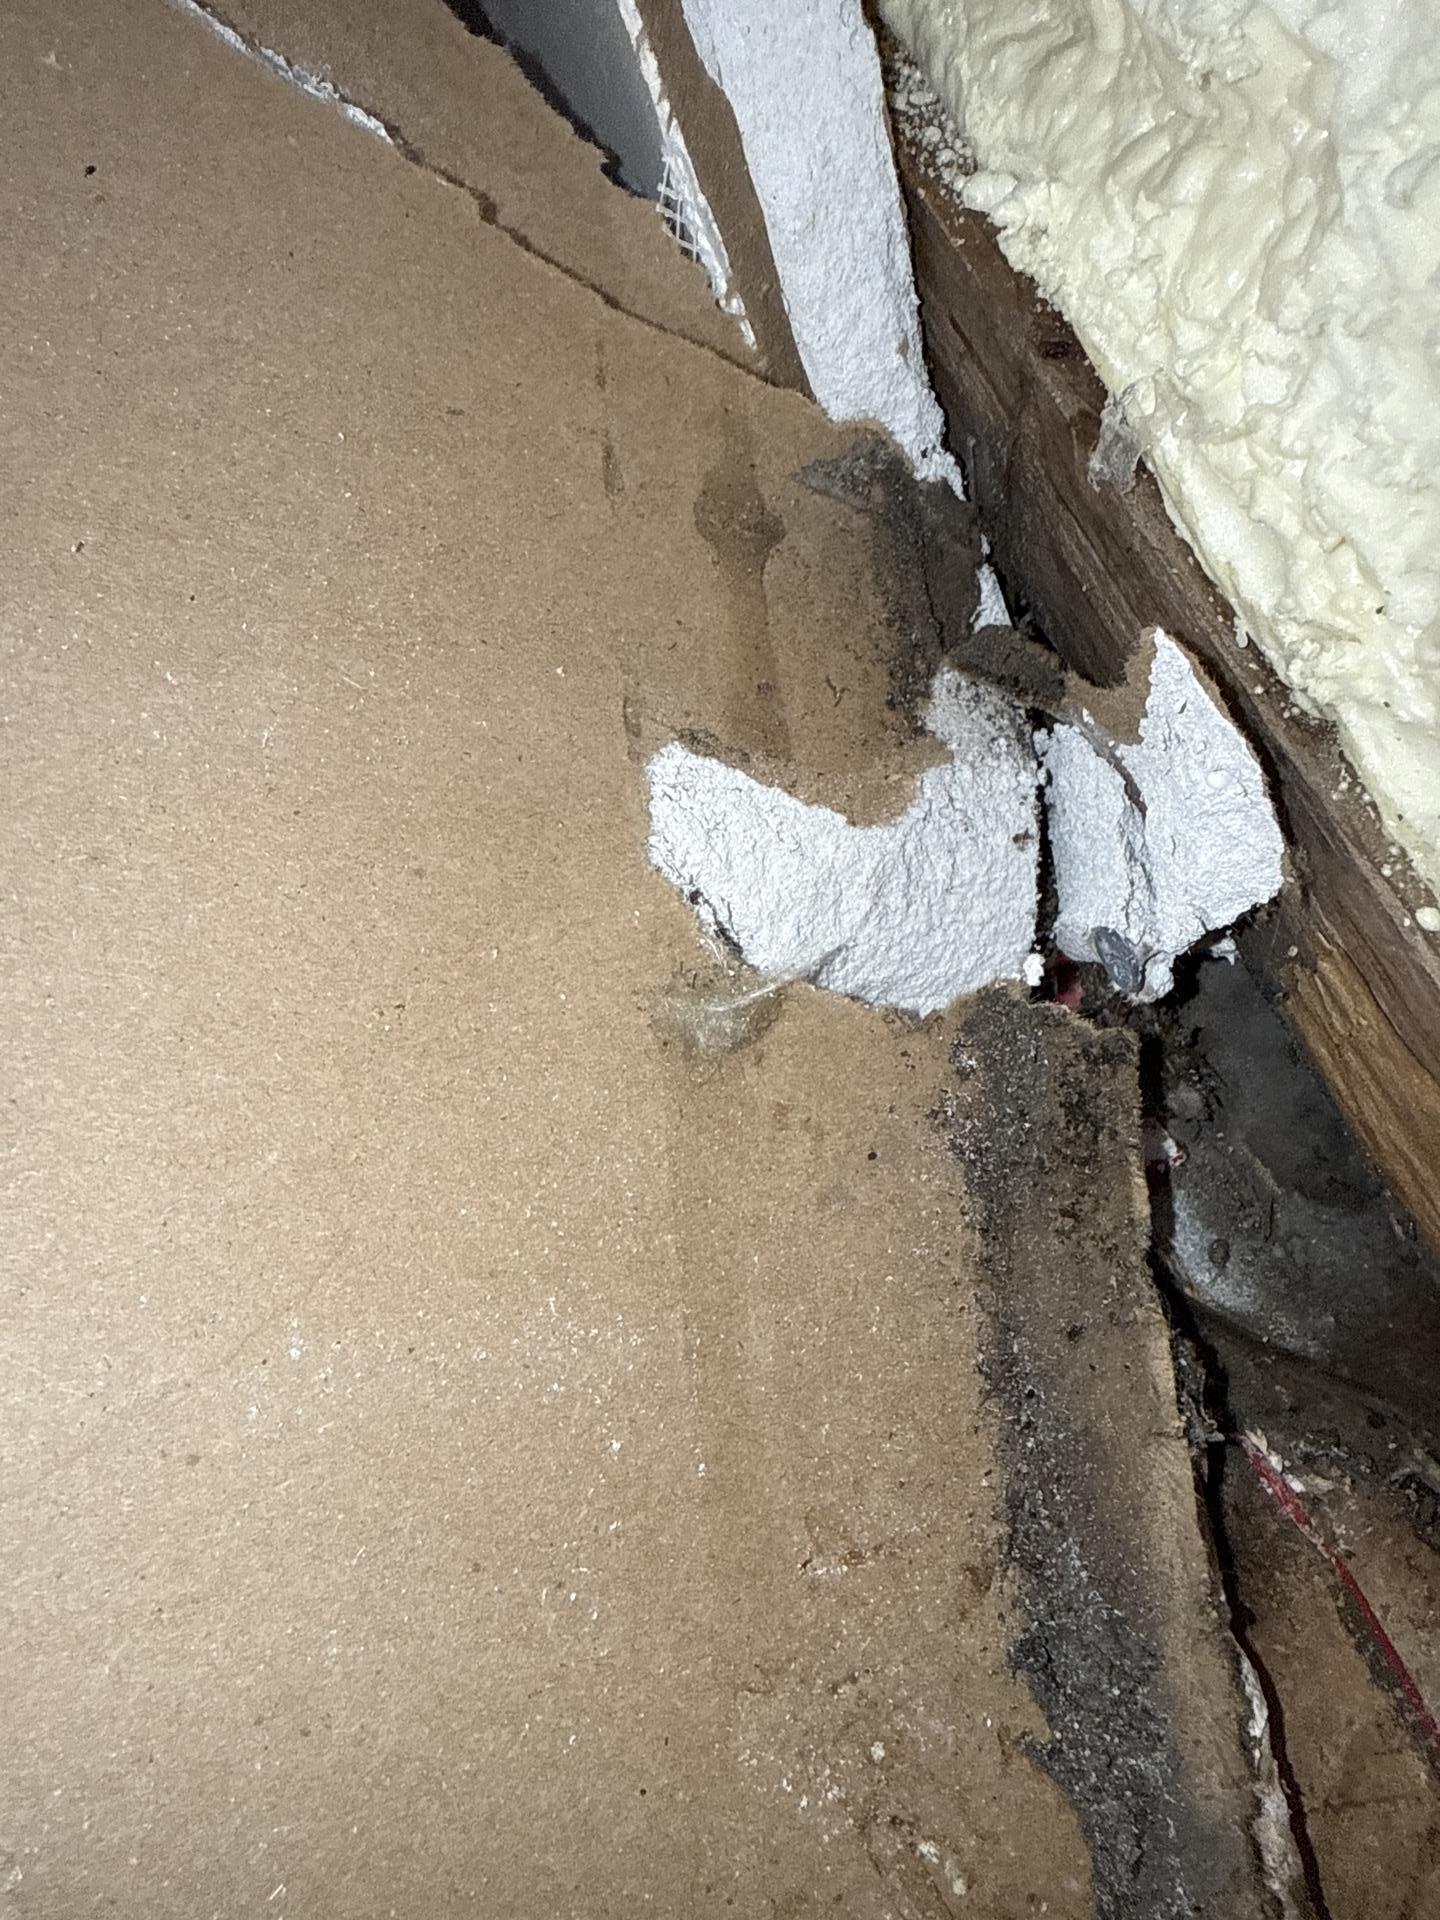
Once the zones were sealed, the hands-on work started. In the loft, we removed drywall only where growth was present. No sense tearing out good material. Compromised porous pieces got bagged and hauled off, following IICRC S520 mold remediation standards.
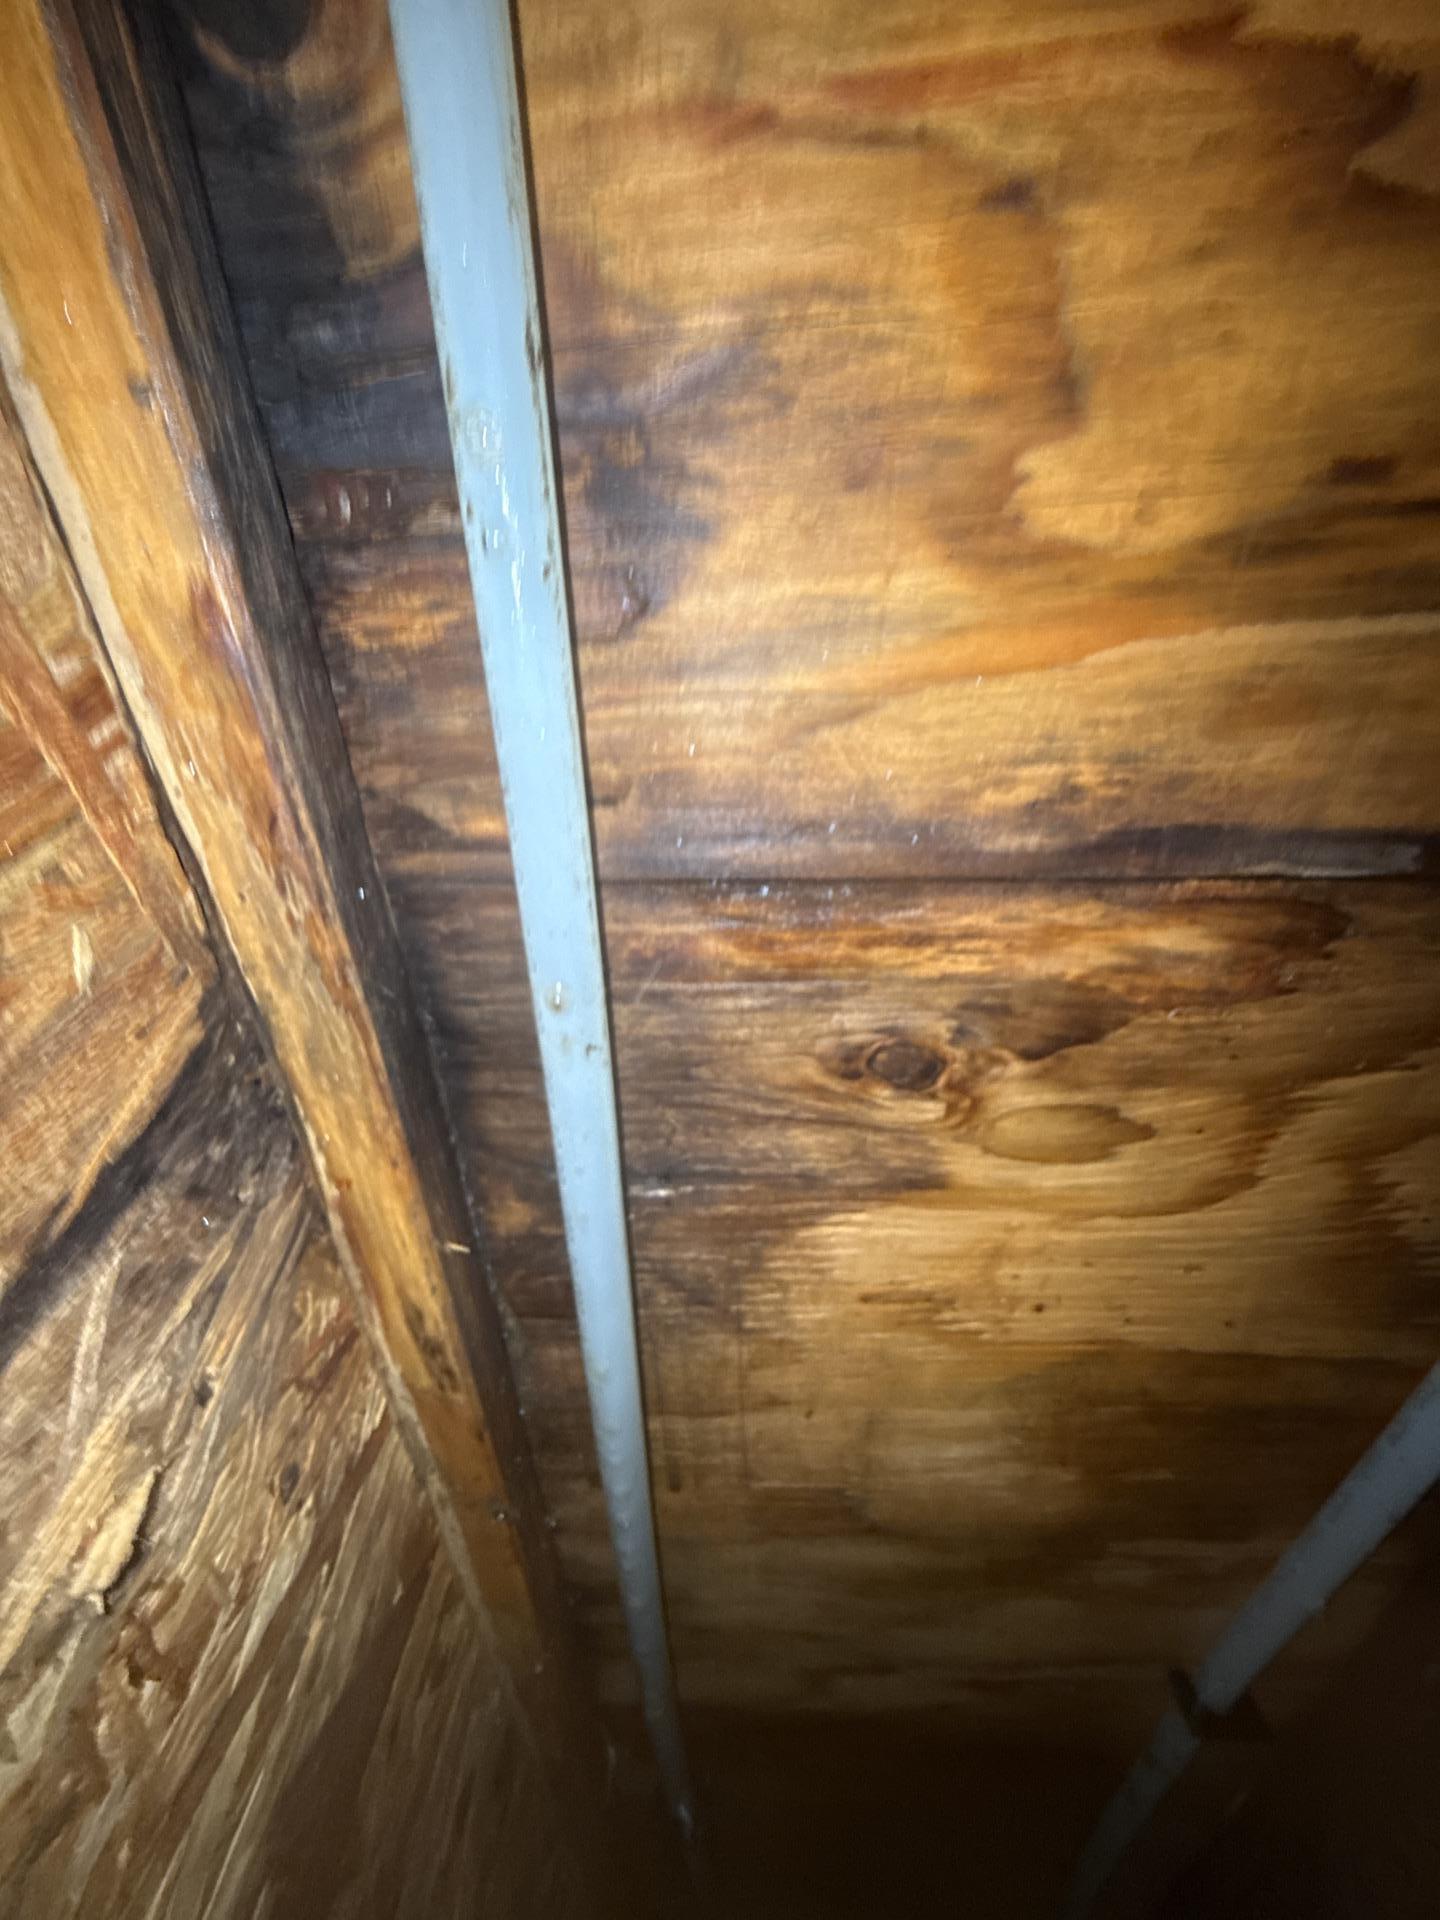
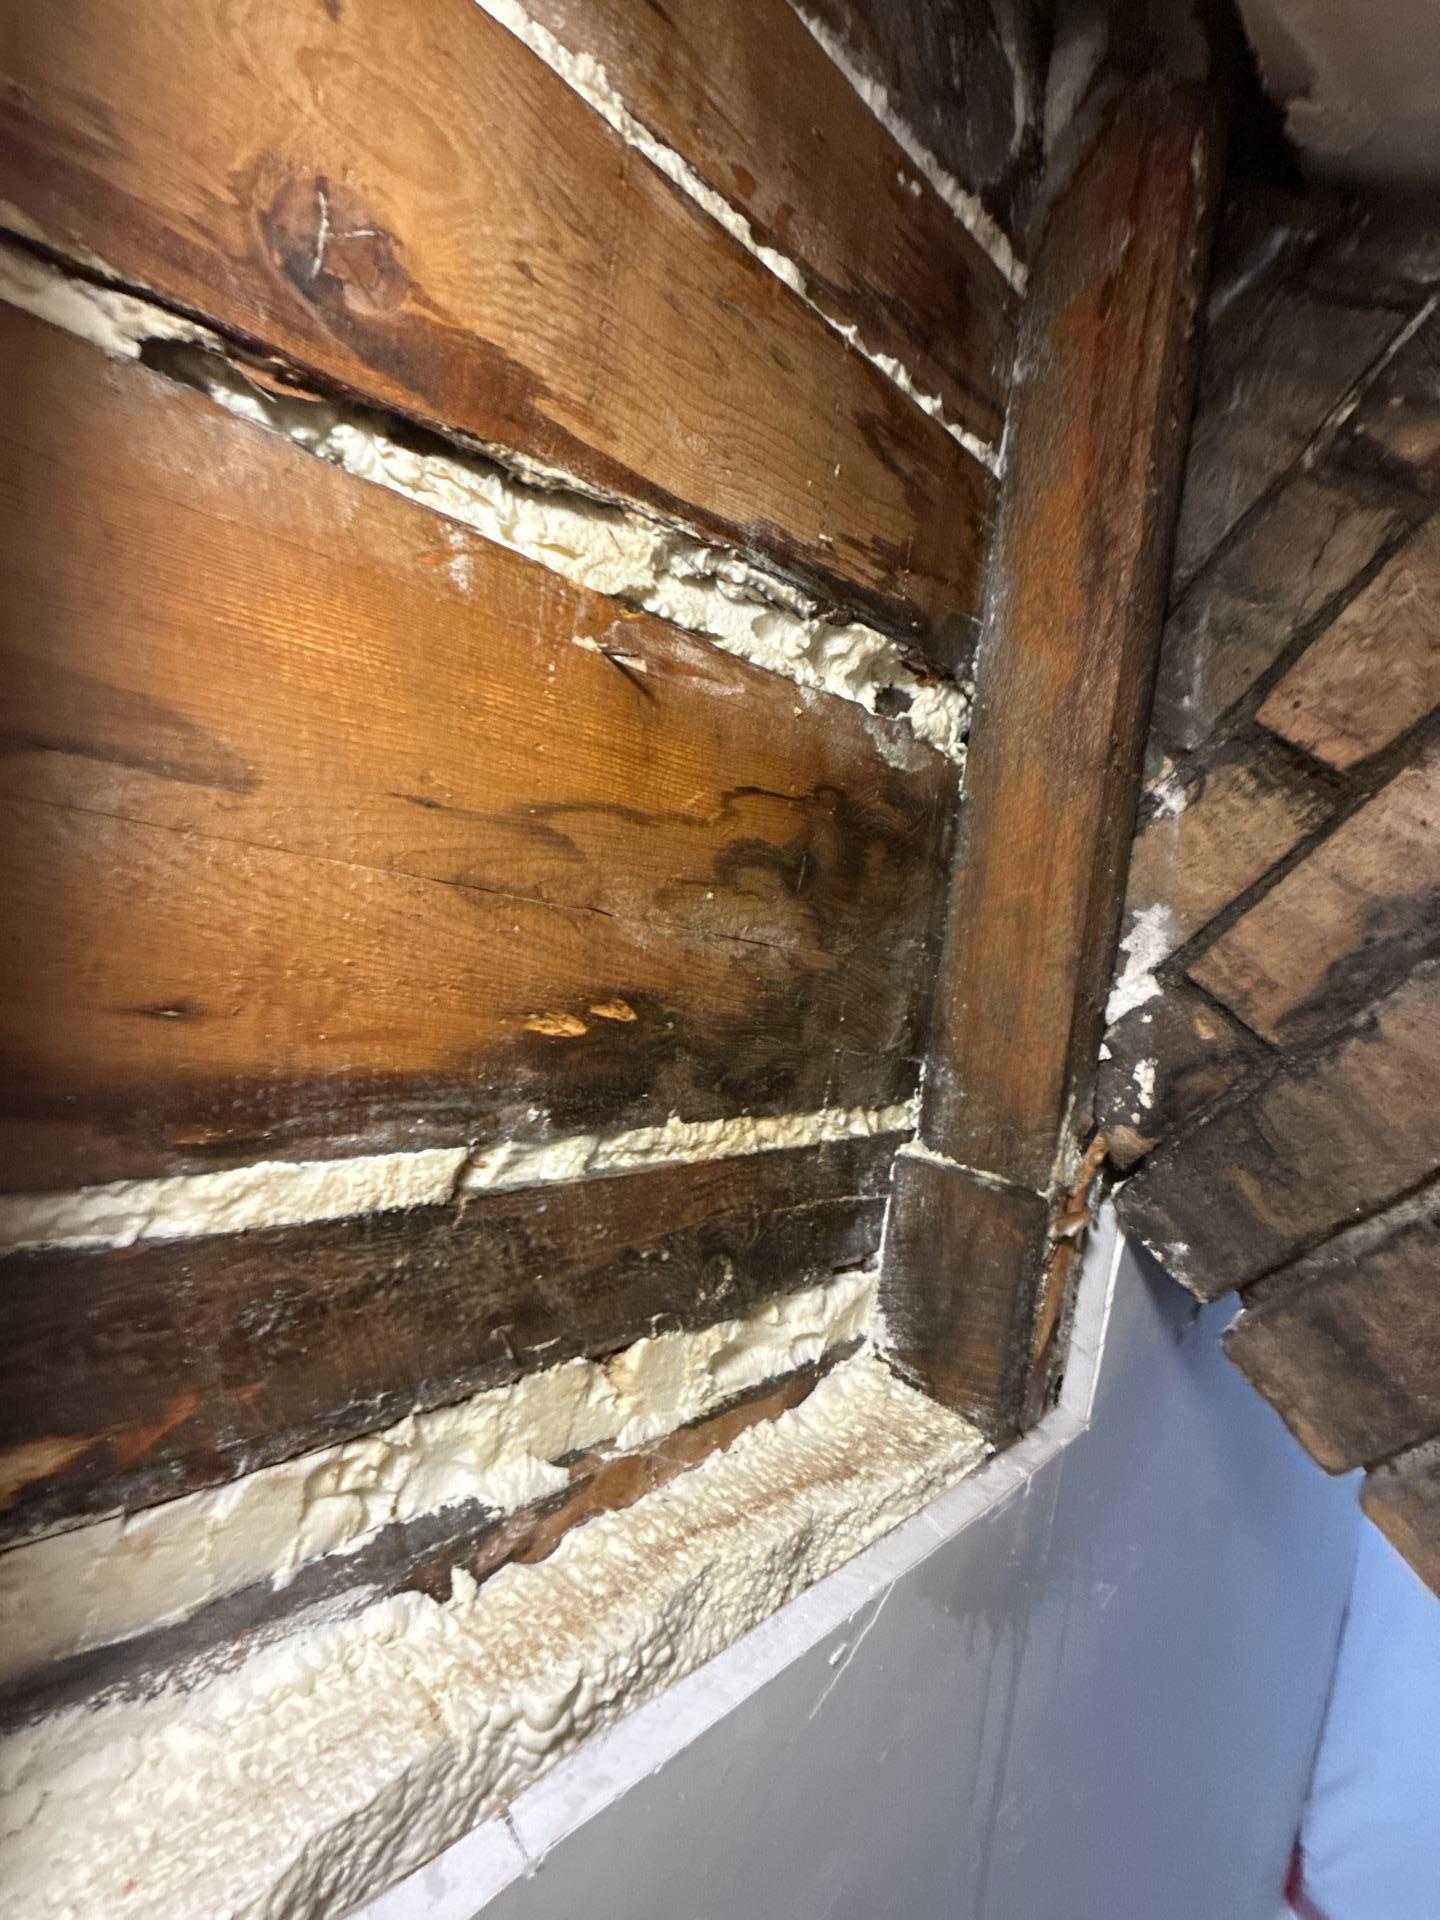
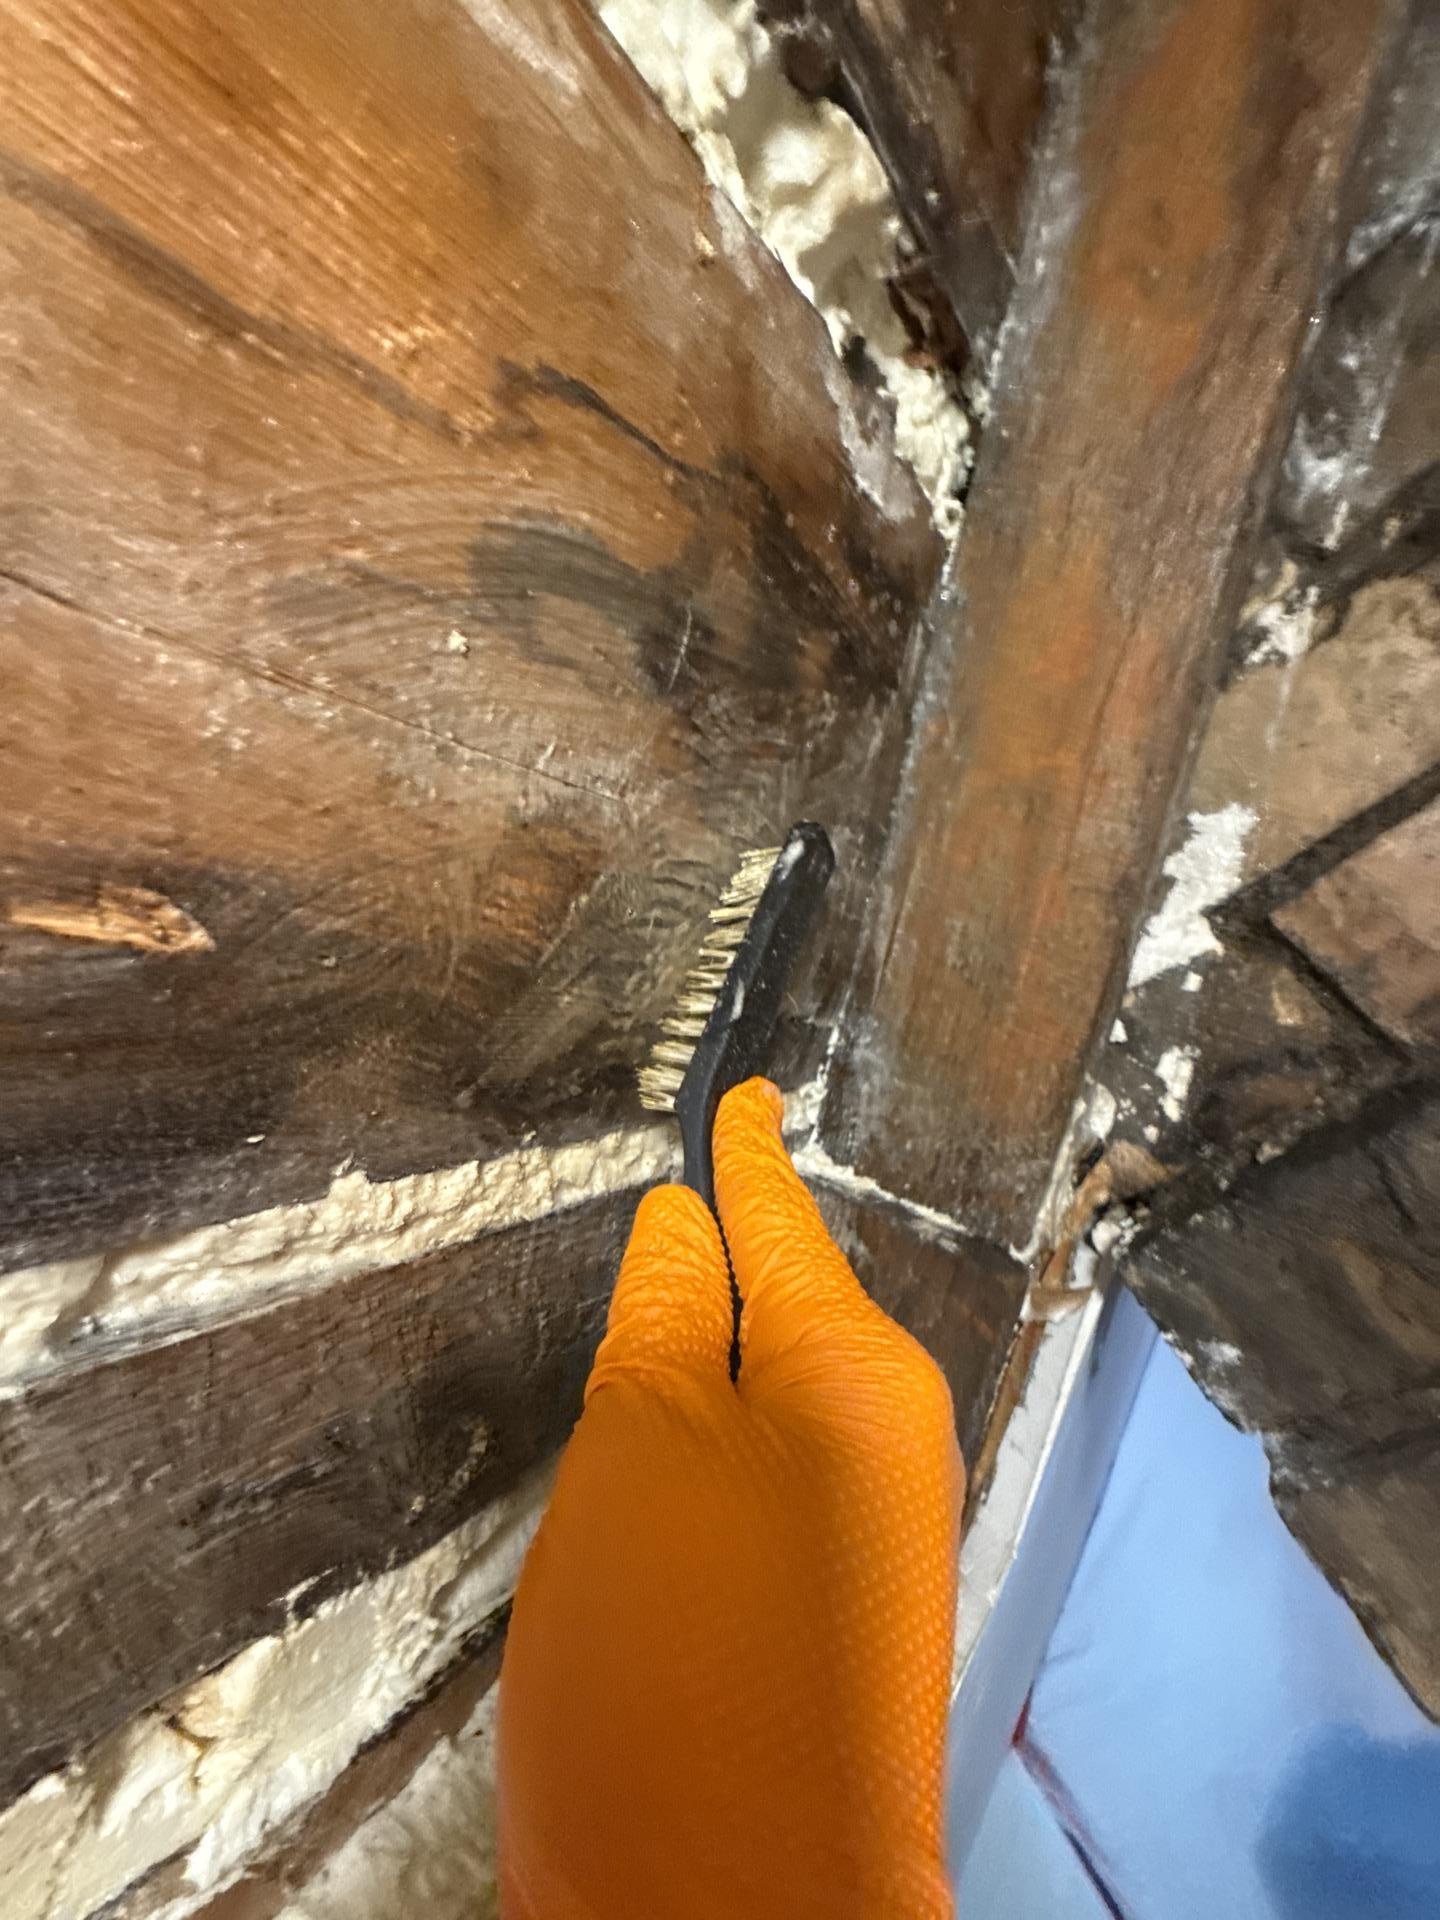
Next came cleaning. We HEPA vacuumed the framing, wall cavities, and structural wood to pull out settled dust. Then we applied a manufacturer-approved antimicrobial to affected and at-risk surfaces. The chimney brick got wiped down and treated by hand.
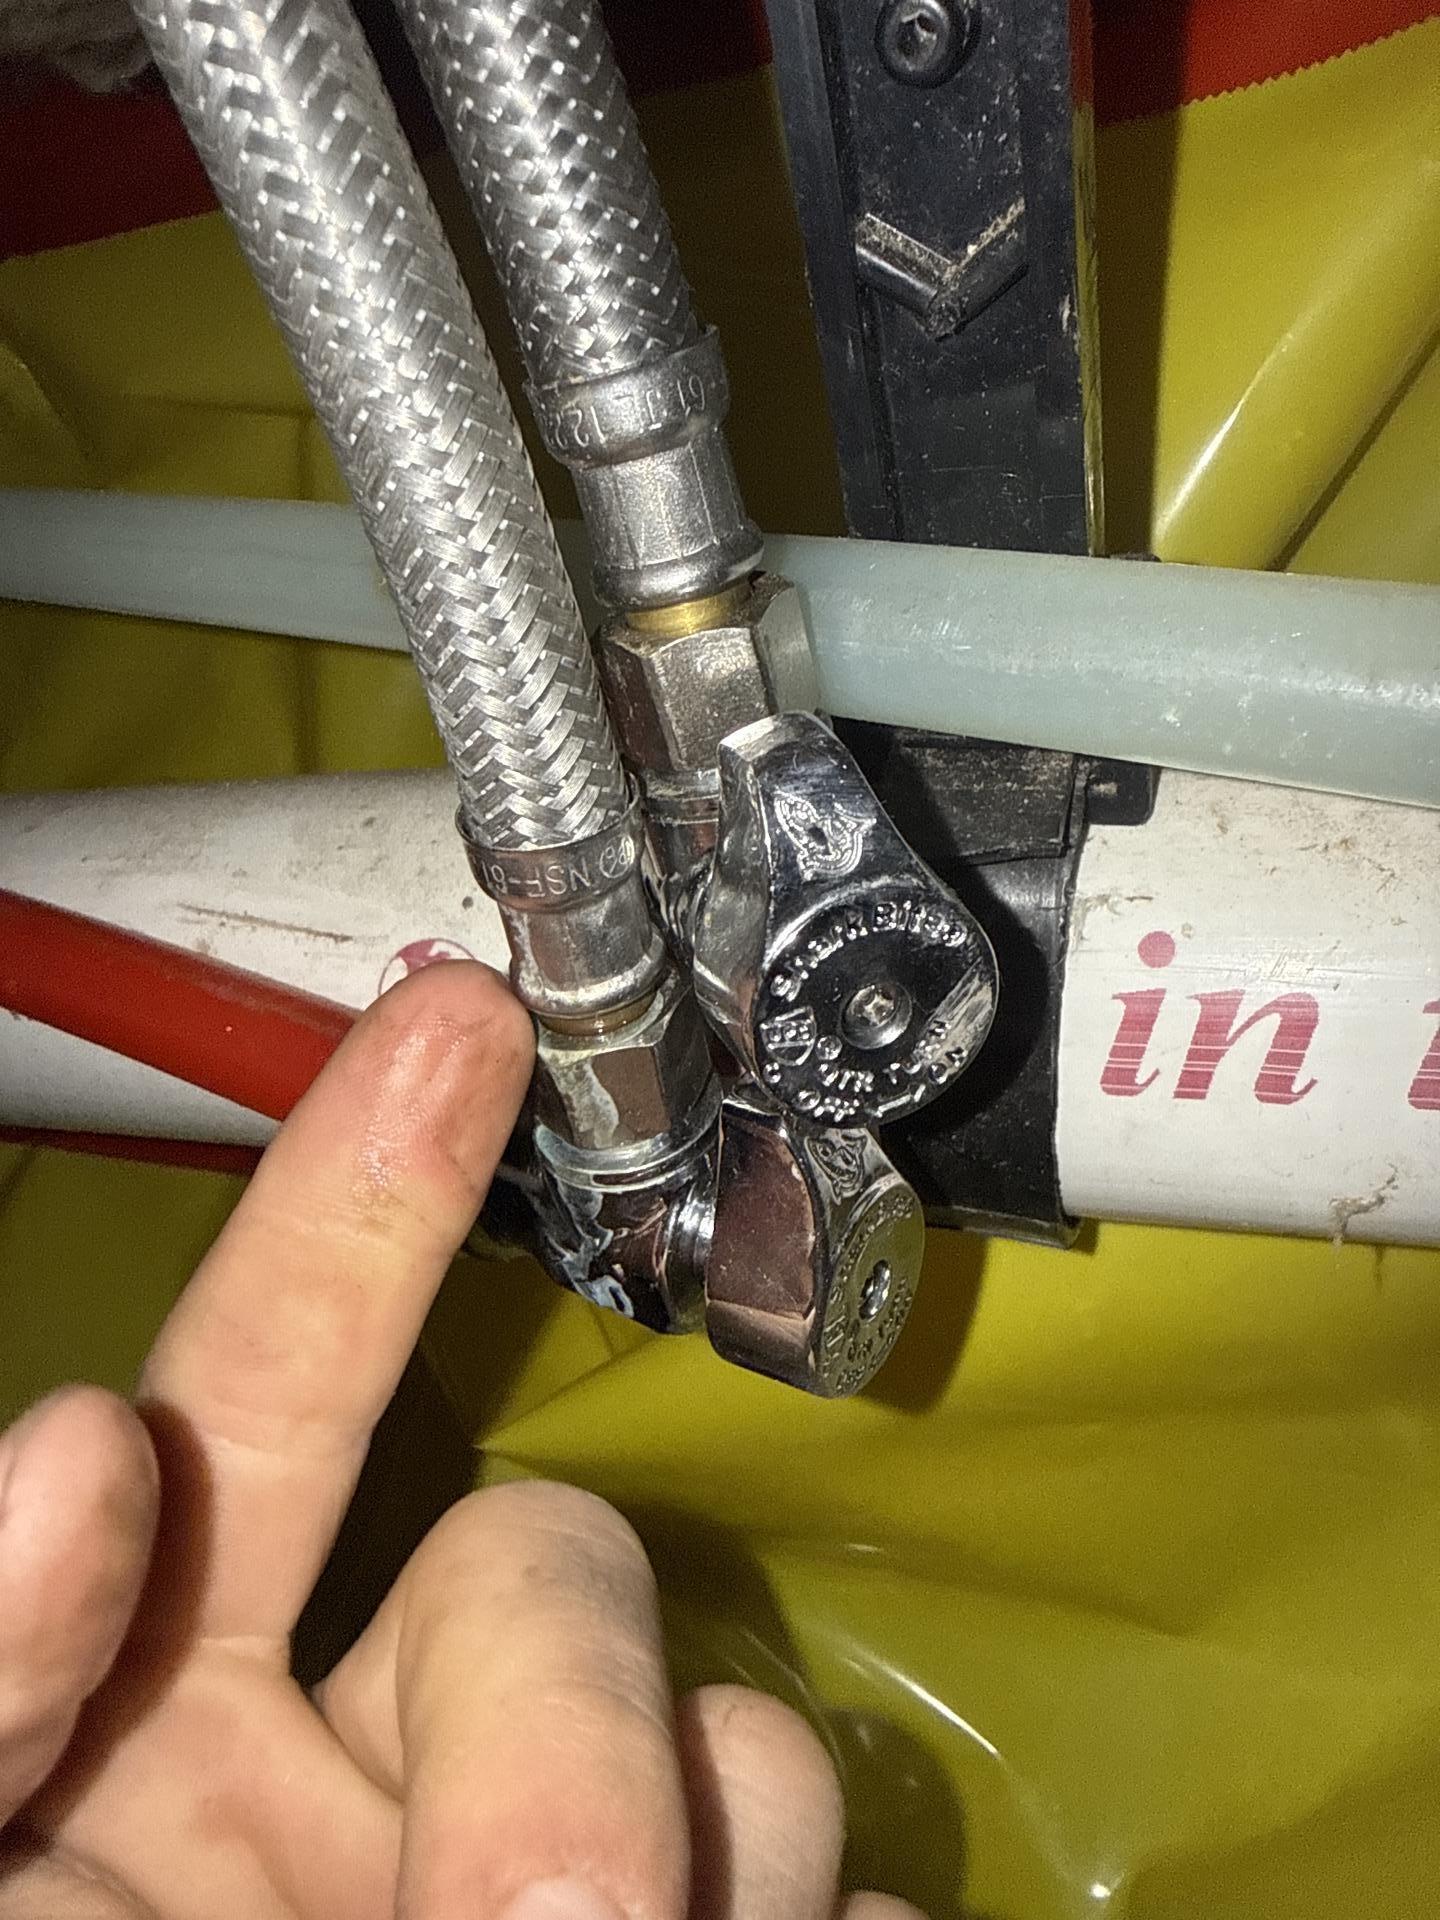
The crawlspace needed a different touch. Much of it is tight and hard to reach, so we used antimicrobial fogging to cover surfaces our brushes couldn’t. It treats confined spaces without missing the corners.
 |
 |
 |
 |
 |
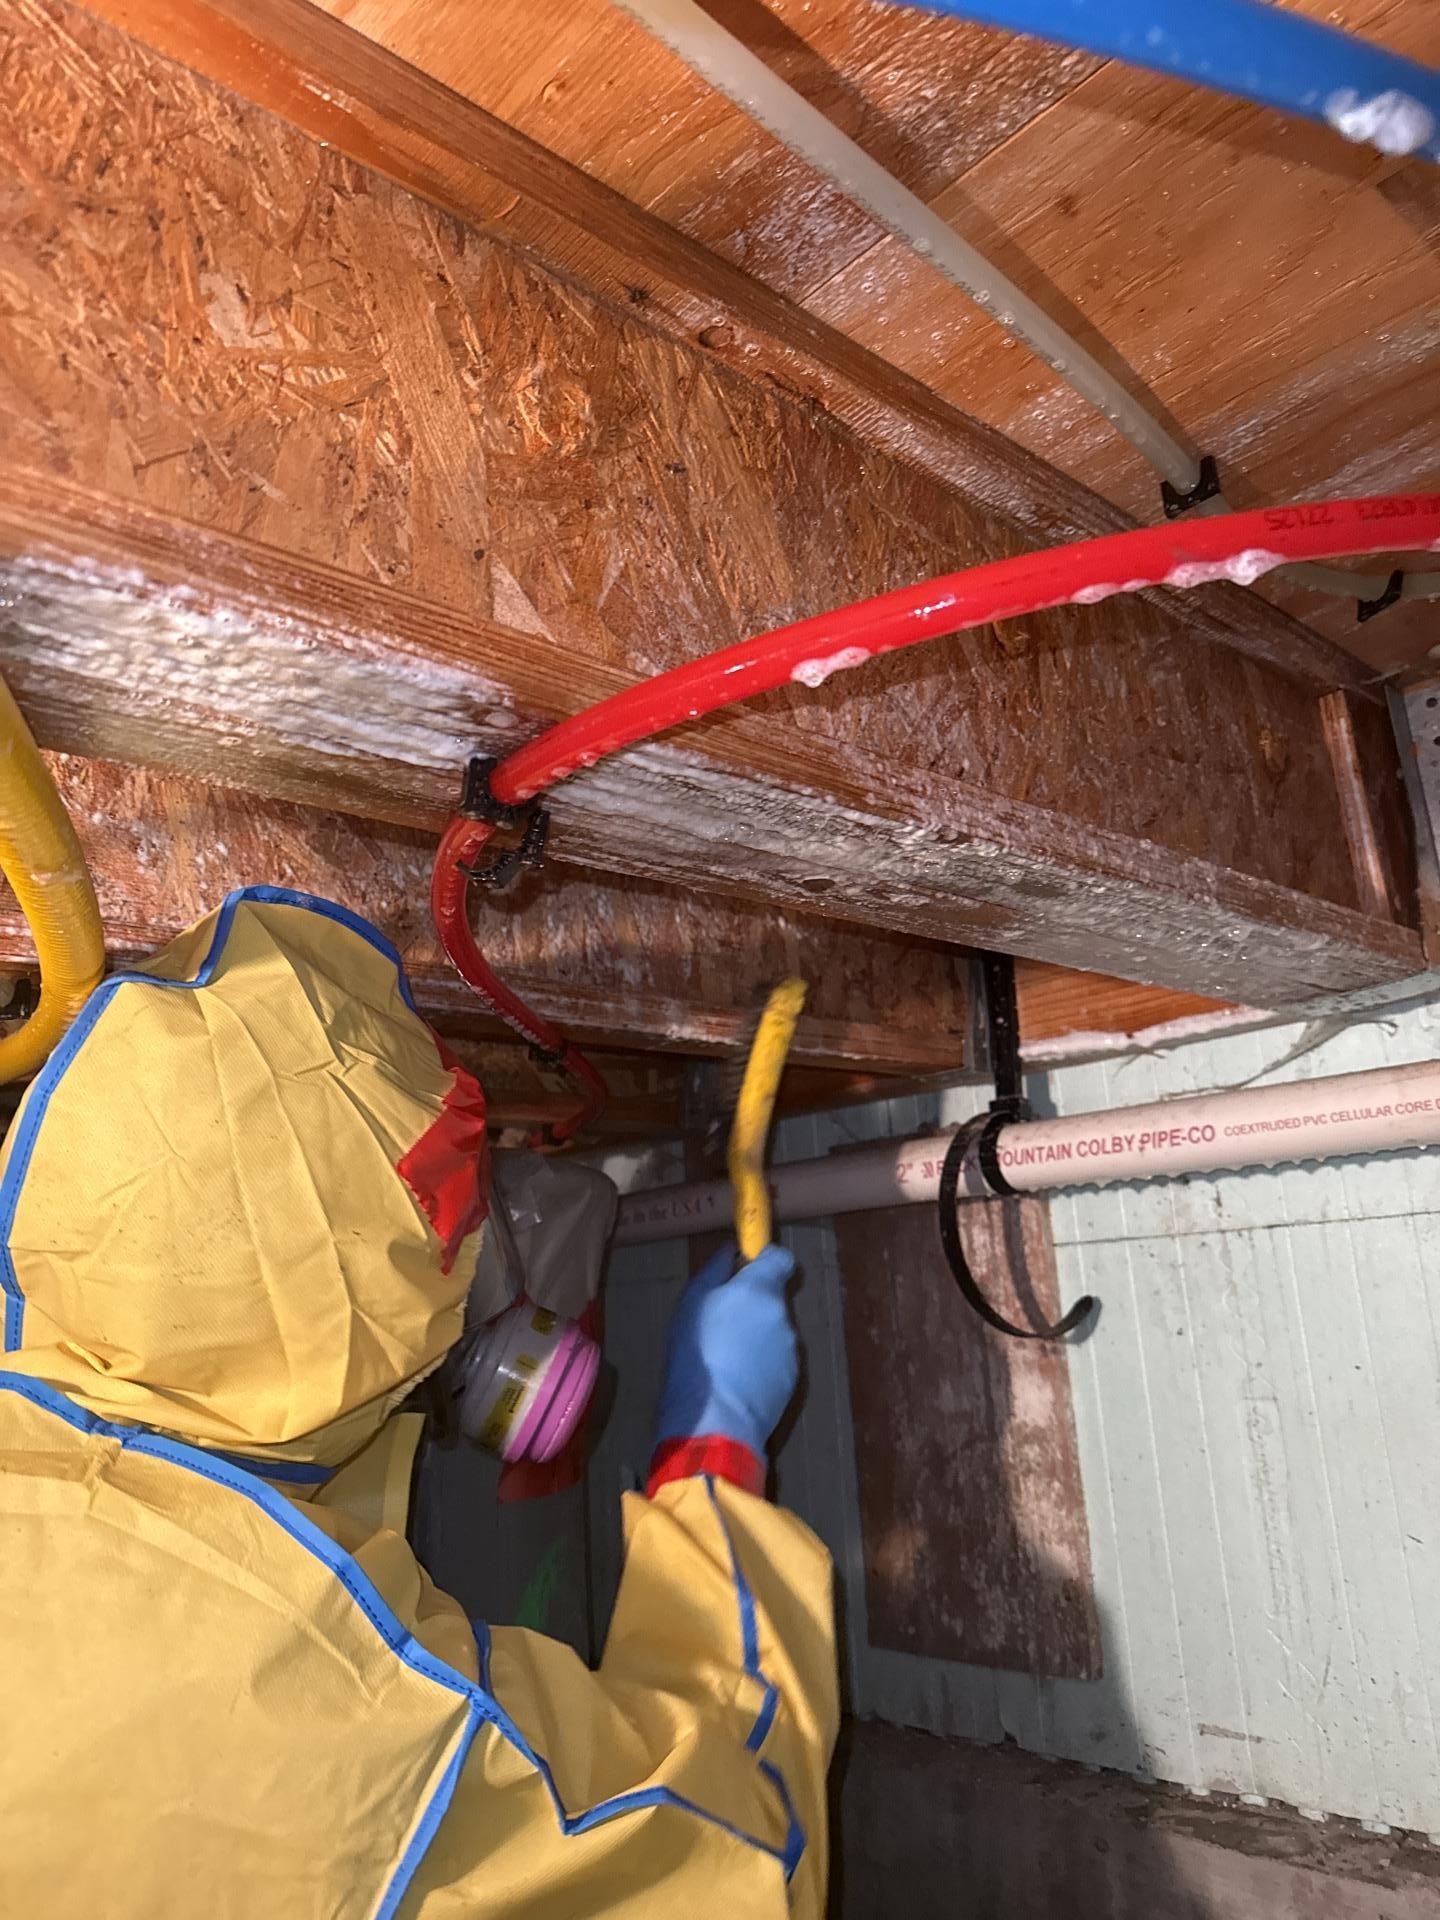 |
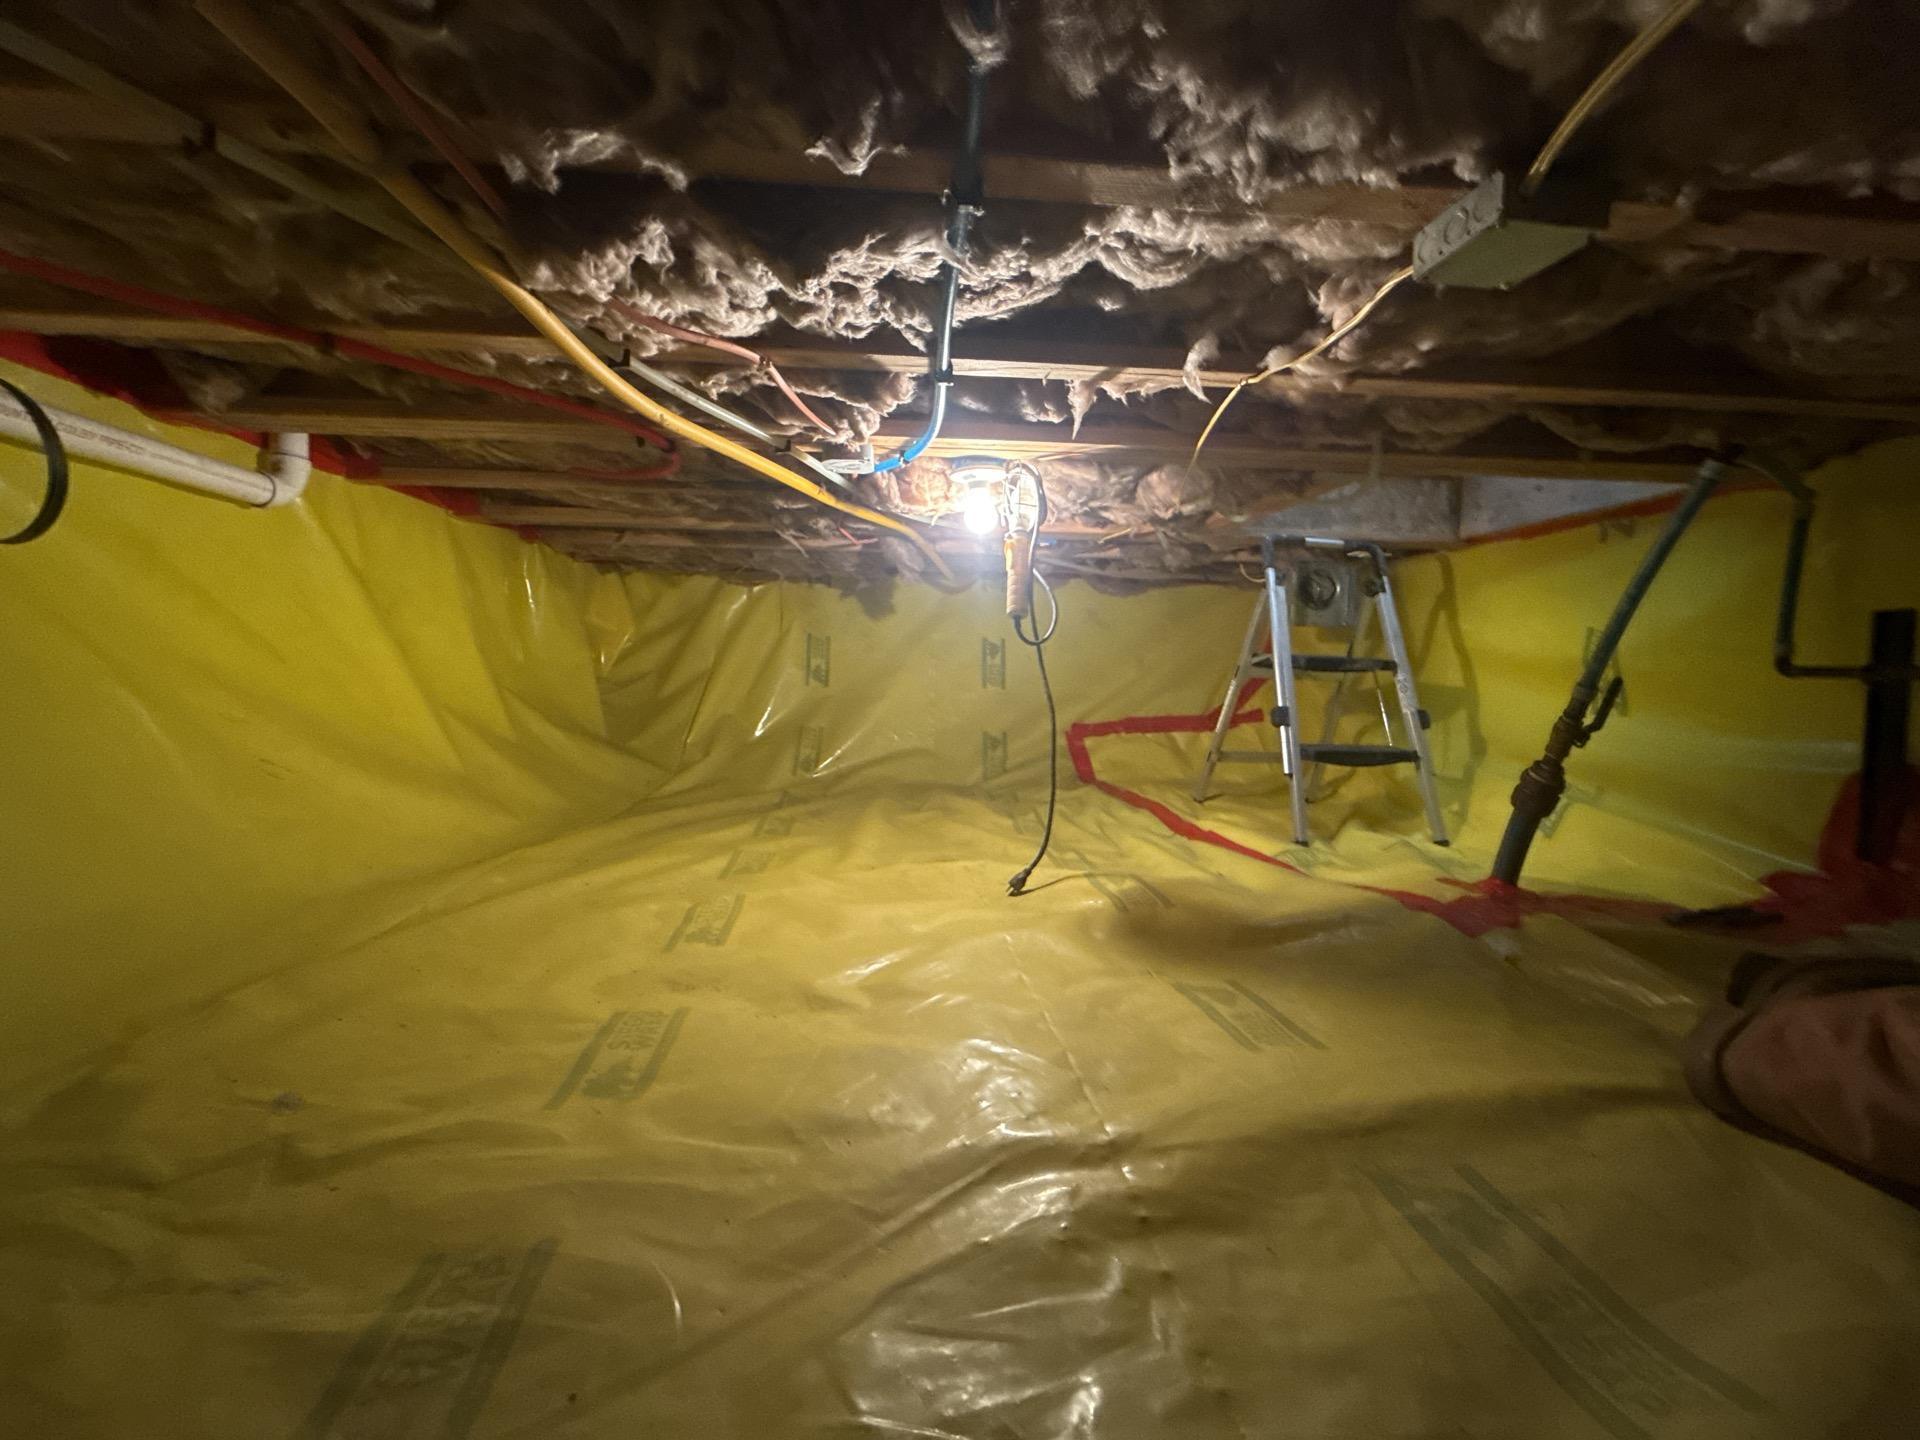
The crawlspace went from damp and contaminated to clean and treated.
Fixing the Moisture So It Doesn’t Come Back
Killing mold is only half the job. If the moisture stays, the mold comes back. So we treated the crawlspace’s damp environment as the root problem.
We installed a ground vapor barrier across the crawlspace floor to block soil moisture from rising. Then we ran commercial-grade dehumidifiers and air movers to bring humidity down and hold it steady. Our drying targets were based on real moisture readings, not a set number of days.
If you own an older mountain home, this part matters. A crawlspace without a vapor barrier invites humidity. Our guide on how black mold forms after water damage covers why damp spaces are such reliable trouble spots.
Putting the Home Back Together
With the space clean and dry, we handled the approved add-on: insulation replacement. Some crawlspace insulation had to come out during the work, so we removed the old material and installed fresh insulation to restore the home’s thermal performance.
By the end, every area flagged in the inspection was addressed. Growth was removed and treated, and the moisture that fed it was under control. The main living areas tested clean from the start and never needed a thing. For homeowners weighing whether a smell is worth a call, our look at mold remediation and insurance coverage is a helpful next read.
 |
 |
 |
 |
 |
 |
The loft chimney area, contained, cleaned, and restored to a healthy condition.
What Our Marble Customer Had to Say
The best part of any job is hearing back from the homeowner. Here’s the review this Marble, CO customer left us once the work was done.
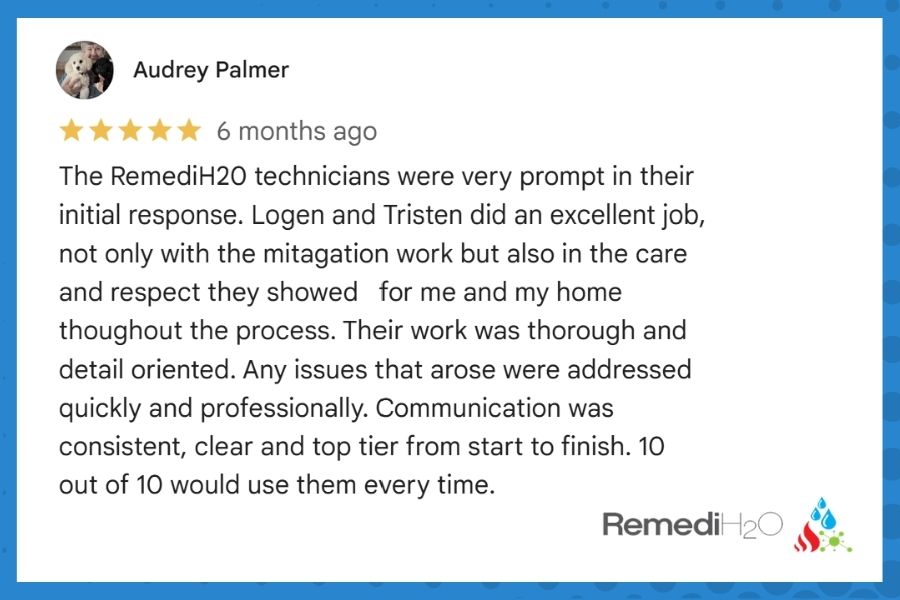
Read the full review on Google
Smell Something Musty? Don’t Wait It Out.
If your home has a smell you can’t explain, there’s a good chance moisture is hiding somewhere you can’t see. Our IICRC-certified team serves Marble and the whole Western Slope with fast, honest help, 24/7. We work directly with insurance to keep things simple.
Frequently Asked Questions
How do I know if I have mold if I can’t see it?
A persistent musty smell is often the first sign, even when no stains are visible. Mold frequently hides in crawlspaces, wall cavities, and around chimneys. A professional inspection with moisture meters can confirm whether hidden growth is present.
Why does mold keep coming back after cleaning?
Mold returns when the moisture source isn’t fixed. Wiping down surfaces treats the symptom, not the cause. Lasting results come from controlling humidity with vapor barriers, dehumidification, and proper drying.
Do you have to remove drywall to get rid of mold?
Sometimes, yes. When porous materials like drywall are contaminated, they usually can’t be fully cleaned and need removal. We use selective demolition, taking out only what’s affected and leaving healthy material in place.