Professional mold remediation is a planned, contained process that removes mold growth, fixes the moisture behind it, and keeps spores from spreading to the rest of your home. If you’ve just booked professional mold remediation, you’re probably wondering what’s about to happen to your house. Fair question. Strangers in protective suits are about to tape plastic over your hallway.
Our team at RemediH2O handles mold jobs across Colorado’s Western Slope and the Roaring Fork Valley, from basements in Silt and Rifle to vacation homes in Aspen. We’re IICRC certified, and we’d rather you know exactly what’s coming than spend the week guessing. So here’s the whole process, minus the jargon.
What Does Professional Mold Remediation Actually Involve?
Mold remediation means physically removing mold and correcting the moisture problem that let it grow. It’s not a spray that “kills” mold and leaves it in place. Dead mold can still trigger allergies, so the goal is removal. A good remediation job also protects the clean parts of your home while the work happens.
That’s why you’ll hear us talk about containment, air filtration, and moisture readings more than chemicals.
When is it time to call in a crew? According to the EPA’s mold cleanup guidance, homeowners can usually tackle patches under about 10 square feet themselves. Bigger areas, mold tied to heavy water damage, or anything involving sewage are jobs for professionals. Same goes for mold you suspect is inside your HVAC system.
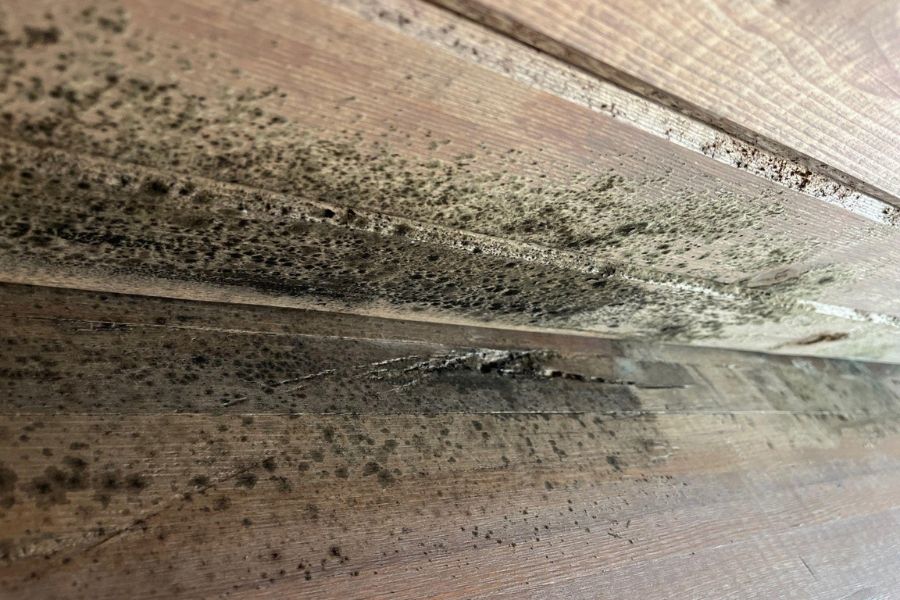
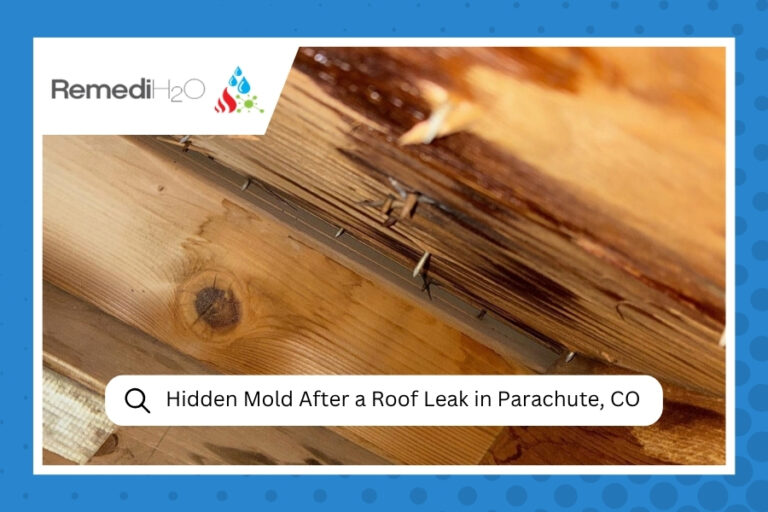
Mold on wood framing is a sure sign moisture has been hanging around too long.
Mold Usually Means Water Is Getting In Somewhere
A slow leak, a frozen pipe, or a soggy crawl space will keep feeding mold until it’s fixed. If you’ve got an active leak, let’s dry it out first.
What Happens During Mold Remediation, Step by Step?
Most mold remediation jobs follow the same core sequence: inspection, containment, air filtration, removal, drying, and a final check. The details shift with the size of the job and the materials involved. These steps line up with the IICRC S520 standard for professional mold remediation, which our technicians train on.
Step 1: Inspection and Finding the Moisture Source
We start with a visual inspection and moisture meters to see how far the problem reaches. Mold you can see is often only part of the story. It can creep behind drywall, under flooring, or across the underside of a roof deck.
We also track down why it’s there. A dripping supply line, poor bathroom ventilation, ice dams pushing water under shingles. If the moisture isn’t handled, the mold comes back. Simple as that.
Step 2: Containment
Next, we seal off the work area with plastic sheeting and zipper doors. For larger jobs, we use negative air pressure, which pulls air into the work zone instead of letting it drift out. That keeps disturbed spores from riding the air into your bedrooms.
We’ll also ask you to keep the HVAC off if it serves the affected area. Running it could spread spores through the whole house.
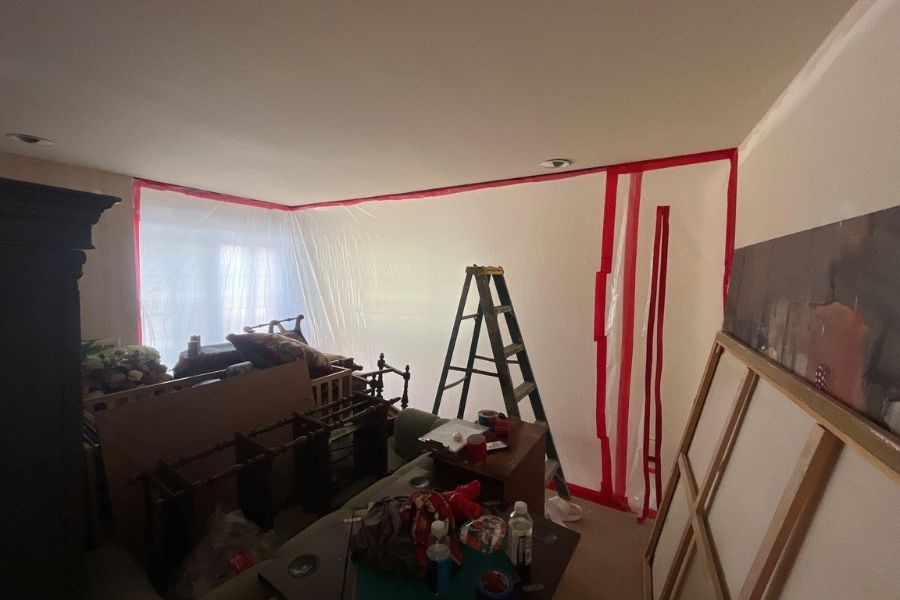
Plastic containment keeps disturbed spores in the work zone and out of your living space.
Step 3: HEPA Air Filtration
Air scrubbers with HEPA filters run throughout the job. Yes, they hum. Think of them as very loud, very dedicated roommates who clean the air around the clock.
HEPA filters capture the tiny particles that removal work stirs up. Our crew also wears respirators, gloves, and protective suits inside containment, so don’t be alarmed by the outfits. It’s standard gear, not a sign your house is a hazmat site.
Step 4: Removing and Cleaning Moldy Materials
This is the main event. Porous materials with heavy growth, like drywall, insulation, and carpet pad, usually get cut out, bagged, and hauled away. Hard surfaces like wood framing get HEPA vacuumed, scrubbed, and cleaned.
You may hear about fogging or “mold killing” paint. Neither one replaces physical removal. Painting over mold just hides it until the paint starts peeling.
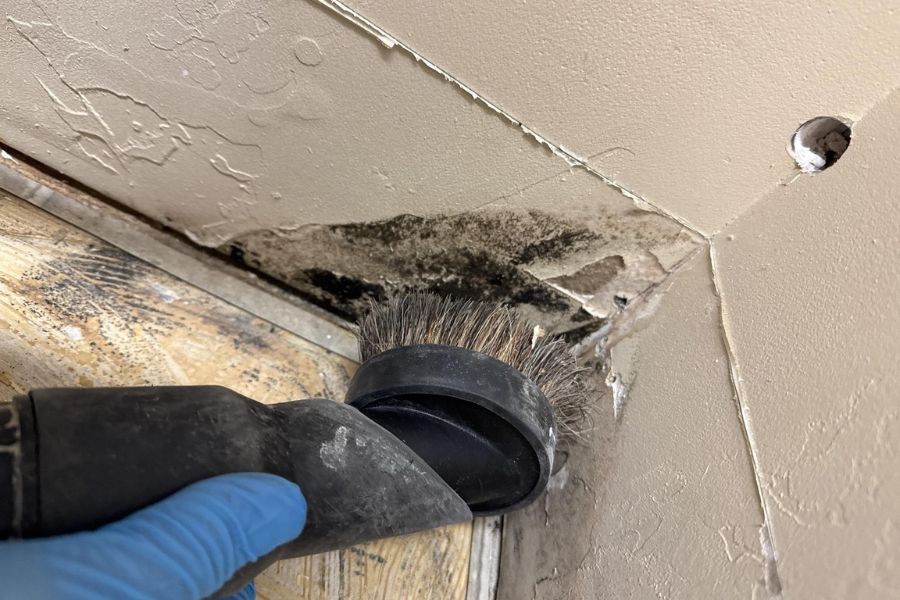
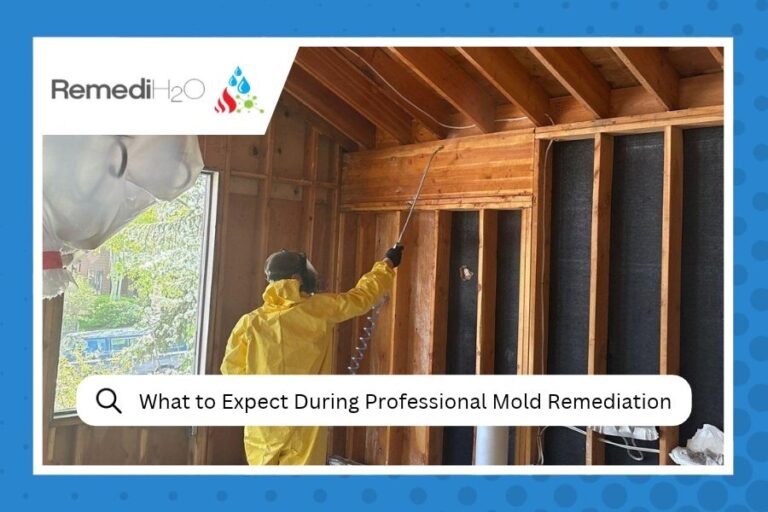
HEPA vacuuming and scrubbing physically remove mold from framing that can be saved.
Step 5: Drying and Final Cleaning
Once the growth is gone, we dry the area with dehumidifiers and air movers until materials reach normal moisture levels. Then we HEPA vacuum and wipe down the space again, because dust from removal settles everywhere.
Step 6: Final Walkthrough and Next Steps
We do a final visual check and moisture readings before containment comes down. One honest note: we don’t do mold testing or air sampling ourselves. If you’d like lab confirmation, an independent indoor environmental professional can handle that. Rebuild work, like new drywall and paint, goes to a trusted contractor we can refer you to.
What Stays and What Goes During Mold Cleanup?
Whether a material can be saved depends mostly on how porous it is and how deep the growth goes. Hard, nonporous surfaces almost always clean up well. Soft, absorbent materials trap mold in their fibers and are usually removed. Tap each material below to see how we typically handle it.
Interactive Guide: Save It or Remove It?
Drywall
Usually removed. Mold roots into the paper facing, and surface cleaning won’t reach it.
Wood Framing and Subfloor
Often saved. We HEPA vacuum and clean it, then dry it out completely.
Carpet and Pad
Pad almost always goes, and moldy carpet usually follows it right out to the dumpster.
Insulation
Removed when it’s wet or moldy, since there’s no good way to clean mold out of those fibers.
Tile, Glass, and Metal
Almost always saved with proper cleaning.
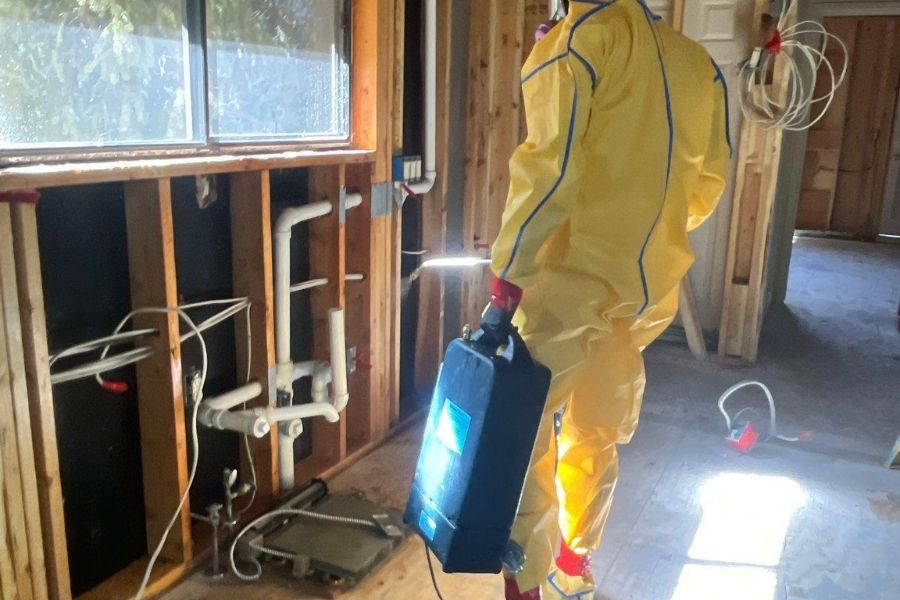
Antimicrobial treatment comes after physical removal, never as a replacement for it.
Here’s how real remediation compares with the shortcuts people try first:
| Approach | Removes Mold? | Fixes the Cause? |
|---|---|---|
| Professional remediation | Yes | Yes, moisture is part of the plan |
| Bleach spray | Lightens stains on the surface | No |
| Painting over it | No, it hides it | No |
| Fogging alone | No physical removal | No |
How Should You Prepare Your Home Before the Crew Arrives?
A little prep makes remediation faster and easier on your household. You don’t need to clean anything, and please don’t scrub the mold yourself. Disturbing it releases spores. Focus on clearing a path, protecting your stuff, and keeping people and pets away from the affected area until we’re done.
- Move cars, bikes, and furniture so we have a clear path to the work area.
- Pull valuables and keepsakes out of nearby rooms if you can do it without touching moldy items.
- Keep pets and kids out of the affected space.
- Leave the HVAC off if it serves that part of the house.
- Snap photos of the damage for your records and your insurance adjuster.
- Jot down when you first noticed the smell, stain, or leak.
Worried about coverage? Our guide on mold remediation insurance coverage in Colorado walks through what policies typically look at. We also work directly with insurance companies, which takes a lot of back and forth off your plate.
How Long Does Mold Remediation Take in a Mountain Home?
A small, contained job can wrap up in a day or two, while larger projects tied to water damage take longer. The biggest factors are how much material has to come out, how wet the structure is, and how hard the space is to reach. Crawl spaces and attics always add a little time.
Mountain homes bring their own quirks, and they show up on our schedule every year.
Aspen and Snowmass Vacation Homes
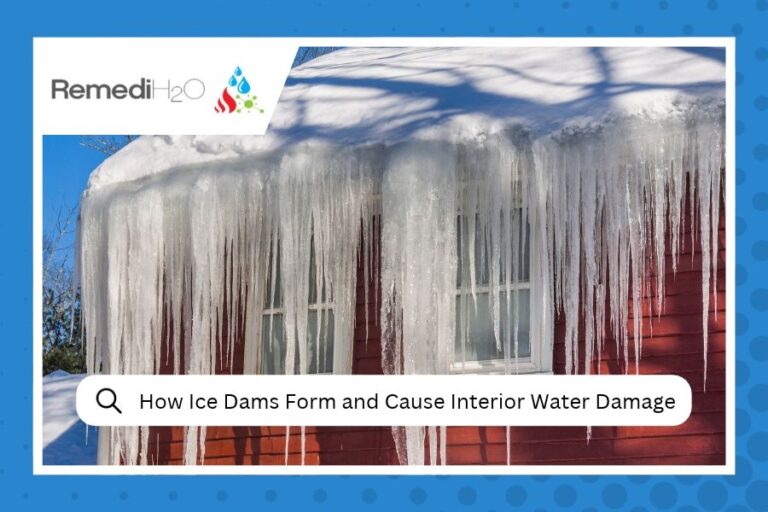
Second homes often sit closed up for weeks at a time. A small winter leak from a frozen pipe or an ice dam can quietly grow into a big problem before anyone notices. A neighbor or property manager checking in can save a lot of drywall.
Basements Down Valley
In Glenwood Springs, Carbondale, and New Castle, we see a lot of basement and crawl space mold after spring runoff or a sump pump failure.
If your mold started with a flood, the drying phase can stretch the timeline, and our flood damage restoration crew often handles both pieces together. Curious how a real job unfolds? Read about hidden mold in a Carbondale home from start to finish.
Homeowners near Garfield County can learn more about our mold removal in Glenwood Springs and the surrounding valley. And if you’re wondering about the dark stuff specifically, here’s how black mold forms after water damage.
Spotted Mold? We’ll Walk You Through It.
RemediH2O offers free estimates and 24/7 emergency response from Grand Junction to Vail. Call us and talk to a real person.
Frequently Asked Questions About the Mold Remediation Process
Can I stay in my house during mold remediation?
In many cases, yes. Containment and HEPA filtration are designed to keep the rest of the home usable. If anyone in the house has asthma, allergies, or a weakened immune system, talk with your doctor about staying elsewhere during removal.
Why do you have to cut out drywall instead of just cleaning it?
Drywall is porous, so mold grows into the paper and gypsum, not just on top. Surface cleaning leaves growth behind, and it tends to come right back. Cutting it out is the reliable fix.
Will the musty smell go away after remediation?
It should fade once the growth is removed and the area is dried. If a musty smell lingers, that’s a sign of moisture or mold somewhere else, and it’s worth another look.
Do you test the air after mold removal?
We don’t perform mold testing or air sampling. We confirm our work with a visual inspection and moisture readings. If you want lab results, you can hire an independent indoor environmental professional.