Jump To:
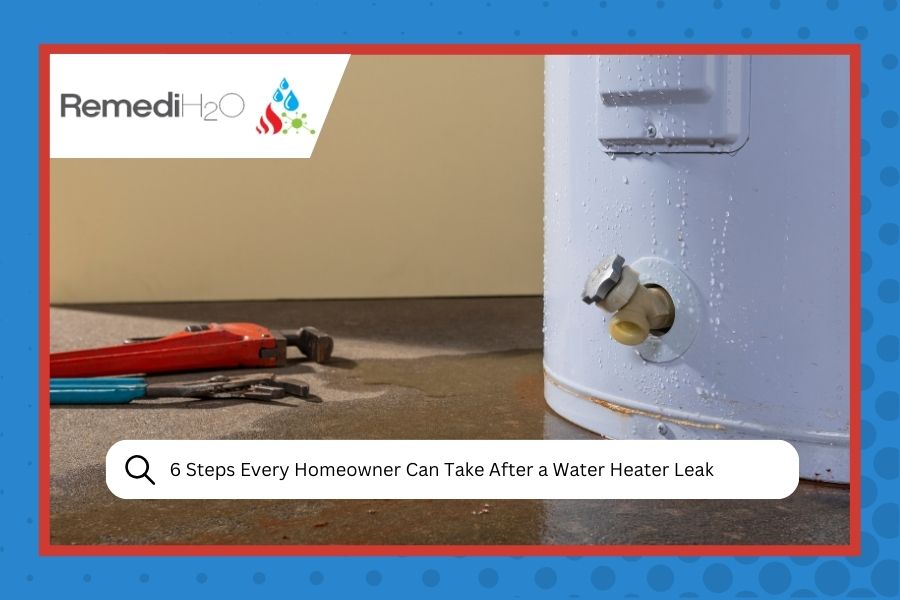
It’s a cold December morning in Colorado, and you head to the basement to grab something. Your foot hits water. Your water heater has sprung a leak, and now you’re standing in a growing puddle wondering what on earth to do first. Take a deep breath. We’ve got you covered.
Water heater leaks are one of the most common winter emergencies we see across Colorado’s Western Slope. When temperatures drop, tank failures increase, and the damage can escalate quickly if you don’t act fast. That’s why our team at RemediH2O has put together this step-by-step guide to help you respond immediately and minimize the damage to your home.
Whether you’re dealing with a slow drip or a full tank rupture, these six steps will help you protect your property and get things back to normal. And if you need help, remember that our water damage restoration services in Silt and Aspen are available 24/7.
1. Shut Off the Water Supply
Your first priority is stopping the flow of water. Every second counts when water is actively leaking into your home, so don’t waste time investigating the source just yet.
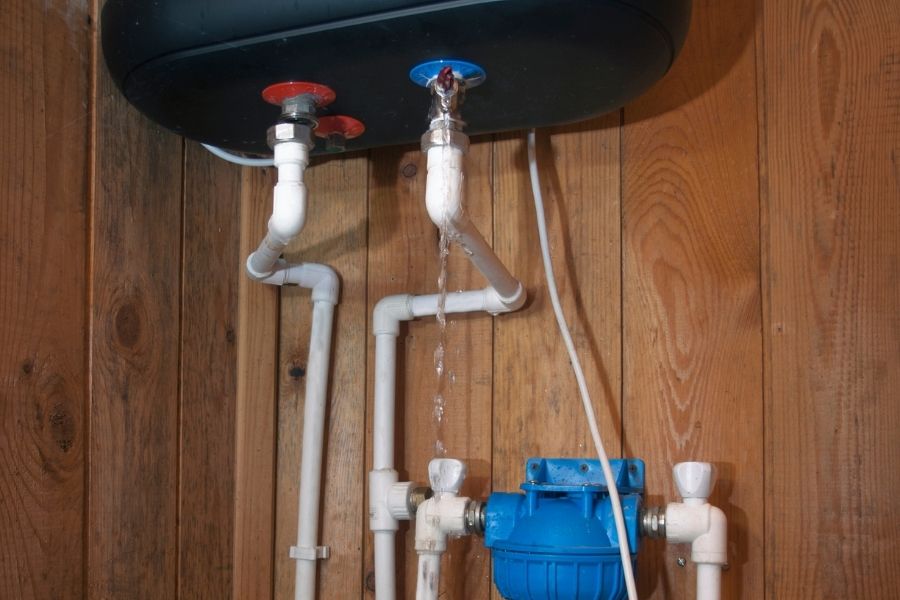
Locate the cold water shut-off valve on your water heater. It’s usually on top of the unit or on the side, and it looks like a lever or a round knob. Turn it clockwise until it stops. If you can’t find it or it’s stuck, head to your main water shut-off valve, typically located near where the water line enters your house.
Acting quickly to shut off the water supply can save you from extensive damage.
According to the EPA’s WaterSense program, household leaks waste nearly 1 trillion gallons of water annually nationwide, and water heaters are a common culprit. If you’re not sure where your emergency water shut-off locations are, check out this helpful guide on emergency water shutoff locations every homeowner should know. It’s worth bookmarking for moments like these.
Need Emergency Water Damage Help?
Don’t wait for the damage to spread. Our certified team responds fast to water emergencies across Colorado’s Western Slope.
2. Turn Off the Power Source
Water and electricity are a dangerous combination, so your next step is to cut power to the water heater. This prevents electrical hazards and further damage to the unit.
For electric water heaters, go to your electrical panel and flip the breaker labeled for the water heater. If you have a gas water heater, turn the gas control valve to the “off” position. It’s usually located on the front of the unit near the bottom.
If you’re standing in water and can’t safely reach the breaker box, don’t risk it. Call a professional immediately. Safety always comes first.
3. Protect Your Belongings
Once the immediate danger is controlled, it’s time to protect your stuff. Move furniture, boxes, and any valuables away from the water. If items are already wet, relocate them to a dry area where they can air out.
Pay special attention to anything stored on the floor in your basement, utility room, or wherever the leak occurred. Cardboard boxes, wood furniture, and fabric items absorb water quickly and can develop mold if left sitting in moisture.
Quick Checklist: What to Move First
- Electronics and appliances
- Important documents and photos
- Furniture and rugs
- Stored clothing or linens
- Anything with sentimental value
If water has spread to other areas of your home, take time to identify signs of water damage behind walls, which can be easy to miss in the initial panic.
4. Document the Damage
Before you start cleaning up, grab your phone and document everything. Take photos and videos of the water heater, the leak source, the standing water, and any damaged belongings. Make sure to capture wide shots and close-ups.
This documentation is critical for insurance claims. Your insurance company will want to see the extent of the damage, and having clear evidence makes the claims process much smoother. Date and time stamp your photos if possible.
Professional assessment helps ensure proper restoration and insurance documentation.
Write down when you first noticed the leak, what actions you took, and any other relevant details. Keep receipts for any emergency supplies you purchase. The more organized you are, the easier the recovery process will be.
| What to Document | Why It Matters |
|---|---|
| Photos of leak source | Proves origin and cause of damage |
| Water-damaged items | Supports insurance claims for replacements |
| Standing water depth | Shows severity of flooding |
| Affected rooms and areas | Documents full scope of restoration needed |
| Timeline of events | Establishes response time and actions taken |
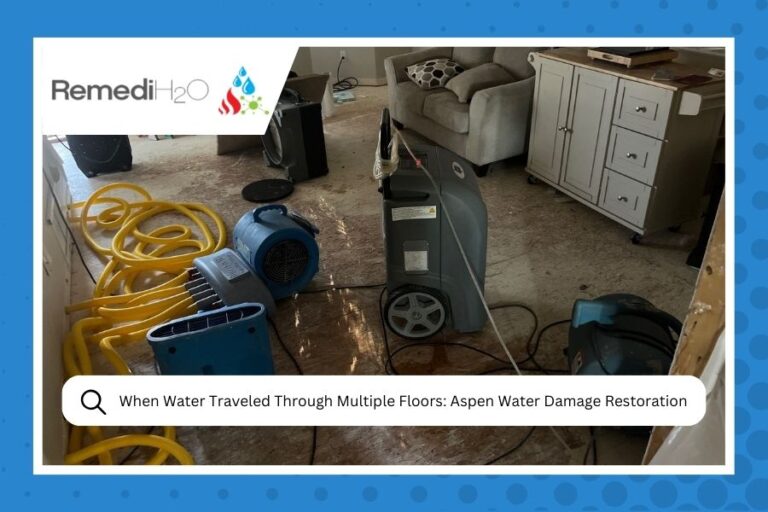
5. Extract Standing Water
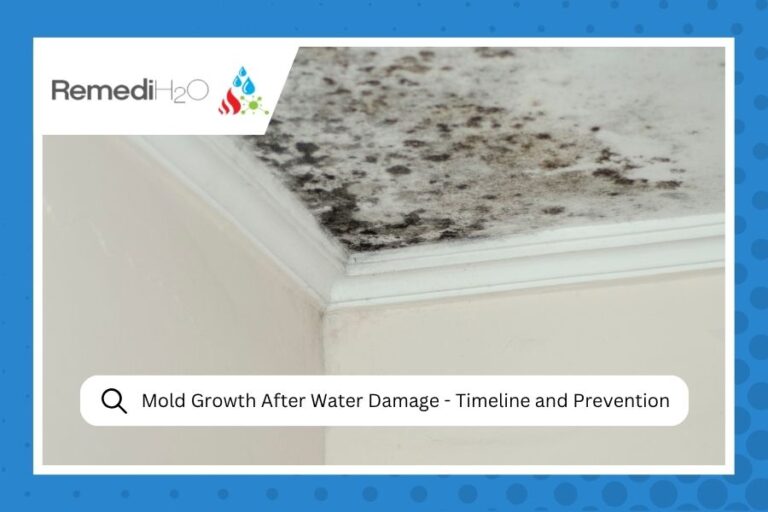
Now comes the physical work. You need to get that water out as quickly as possible to prevent further damage and mold growth. Time is not on your side here, mold can start developing within 24 to 48 hours in damp conditions.
For small amounts of water, towels and a mop might do the trick. For larger floods, you’ll need a wet/dry vacuum or a pump. If you don’t own these tools, many hardware stores rent them out.
DIY Water Extraction Tips
- Start from the furthest point and work your way toward a drain or exit
- Wring out towels and mops frequently into buckets
- Open windows and doors if weather permits to improve air circulation
- Use fans to speed up drying, but only after electrical safety is confirmed
- Remove soaked insulation, carpet padding, or drywall if necessary
Keep in mind that while you can handle some initial cleanup, professional equipment is far more effective at removing moisture from flooring, walls, and subflooring. The CDC recommends addressing water damage within 24 to 48 hours to prevent mold growth. Hidden moisture is where the real problems develop.
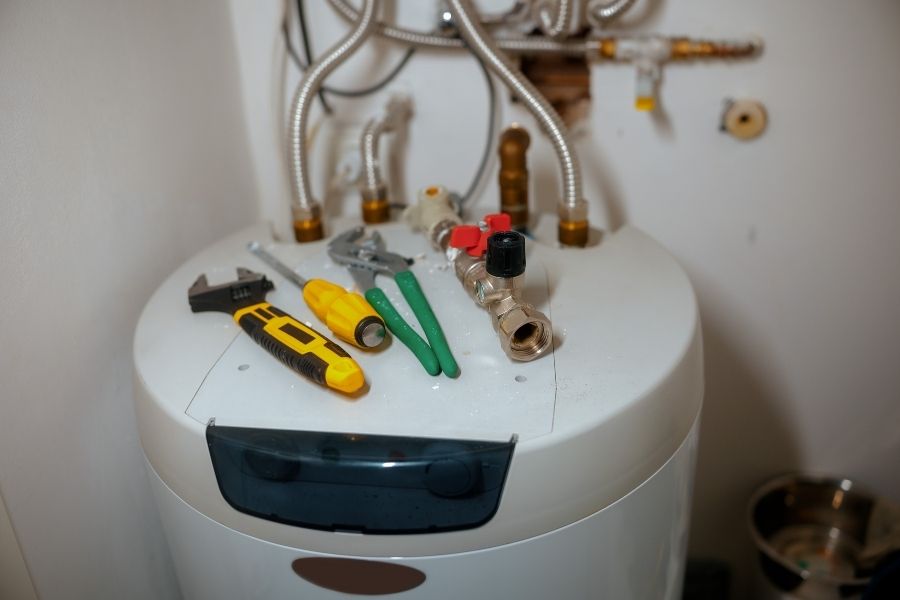
6. Call Professional Restoration Experts
This is the most important step, and honestly, it should happen sooner rather than later. Even if you’ve mopped up the visible water, moisture can linger in places you can’t see or reach. That’s where professionals come in.
Our team at RemediH2O uses industrial-grade equipment like thermal imaging cameras, moisture meters, and commercial dehumidifiers to detect and eliminate hidden water. We also handle the complicated stuff like insurance coordination and proper mold prevention protocols.
We’ve seen too many homeowners who tried to handle everything themselves, only to discover mold growing behind their walls months later. Professional water damage restoration saves you time, money, and stress in the long run.
💡 Why Professional Restoration Matters
Think of professional restoration like this: you might be able to bail out a sinking boat, but a marine expert can find the leak, patch it properly, and make sure it doesn’t happen again. Same principle applies to water damage.
Our IICRC-certified technicians have the training and tools to dry out your home completely, preventing secondary damage like warped floors, structural issues, and toxic mold growth.
When choosing a restoration company, look for IICRC certification, 24/7 availability, and experience with insurance claims. If you’re in Silt, Aspen, Glenwood Springs, or anywhere across Colorado’s Western Slope, we’re here to help. Call us at (970) 715-6990 anytime, day or night.
Preventing Future Water Heater Leaks
Once you’ve dealt with the immediate crisis, you’ll probably want to make sure it never happens again. We get it. Here are some preventive measures that can save you from future headaches.
First, have your water heater inspected annually. A professional can spot warning signs like rust, corrosion, or a failing pressure relief valve before they turn into full-blown disasters. Second, consider installing a water heater pan with a drain line, especially if your unit is in a finished basement or upstairs.
Third, if your water heater is over 10 years old, start budgeting for a replacement. Most units last 8 to 12 years, and it’s better to replace it on your schedule than during an emergency in the middle of winter. Finally, learn how to prepare your mountain home for winter to avoid other cold-weather disasters.
Frequently Asked Questions
How quickly does water damage spread after a water heater leak?
Water damage can spread surprisingly fast, especially on concrete floors and through drywall. Within the first hour, water will soak into flooring materials, baseboards, and any porous surfaces it contacts. By 24 hours, you’re looking at potential mold growth, swelling of wood materials, and damage spreading to adjacent rooms if not contained. That’s why immediate action is so critical.
Will my insurance cover water heater leak damage?
Most homeowners insurance policies cover sudden and accidental water heater leaks, but not damage from lack of maintenance or gradual leaks you should have noticed. The key is acting quickly and documenting everything. Your policy typically covers the cost of repairing water damage to your home and belongings, though it may not cover replacing the water heater itself if it failed due to age or wear. Contact your insurance company right away and keep all receipts.
Can I stay in my home during water damage restoration?
It depends on the extent of the damage. For minor water heater leaks affecting a small area, you can usually stay in your home while we work. We’ll work around your schedule and set up our equipment in the affected areas. However, if the damage is extensive or if there’s a risk of mold growth or structural issues, we might recommend staying elsewhere temporarily. We’ll always give you honest guidance about what’s safe for you and your family.
How long does it take to fully dry out a home after a water heater leak?
Drying time varies based on how much water was released and what materials were affected, but most water heater leak restorations take 3 to 5 days. Concrete floors take longer to dry than wood or tile. We use professional moisture meters throughout the process to ensure everything is completely dry before we pack up our equipment. Rushing this process can lead to hidden mold growth and structural problems down the road, so we make sure it’s done right.
Facing a Water Emergency in Colorado’s Western Slope?
Don’t let water damage destroy your home. Our IICRC-certified team is standing by 24/7 to respond to emergencies in Silt, Aspen, Glenwood Springs, and throughout the Roaring Fork Valley.
Call (970) 715-6990 Now